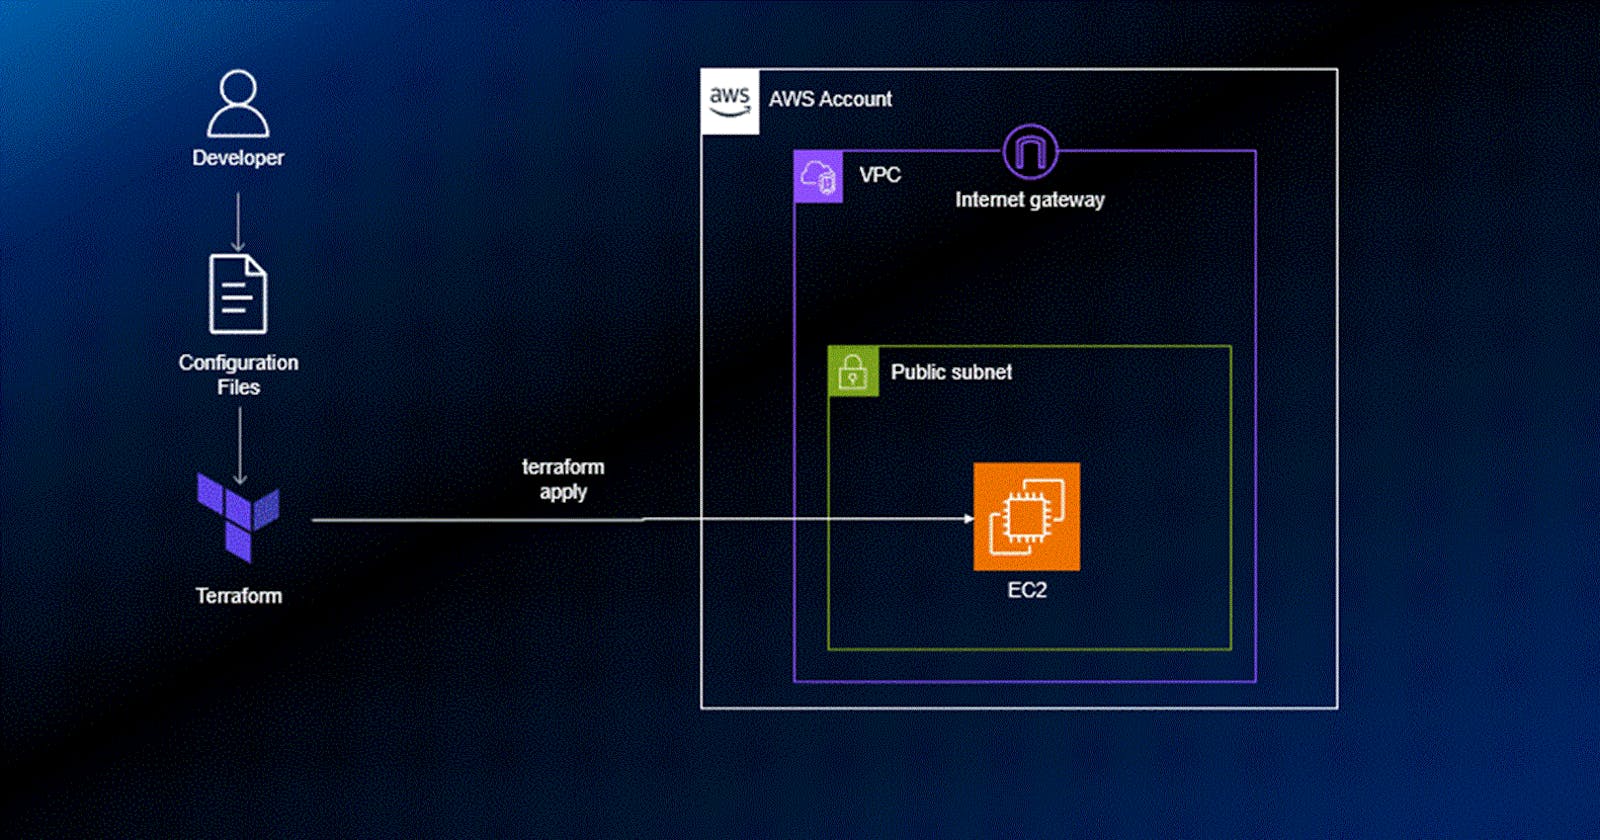
"Learn how to seamlessly configure Terraform and AWS in GitHub Code Spaces, enabling the smooth deployment of AWS EC2 instances using Terraform"


Step 1: Opening a Code Space
Navigate to your GitHub repository.
Click on "Code" and choose "Code Spaces."
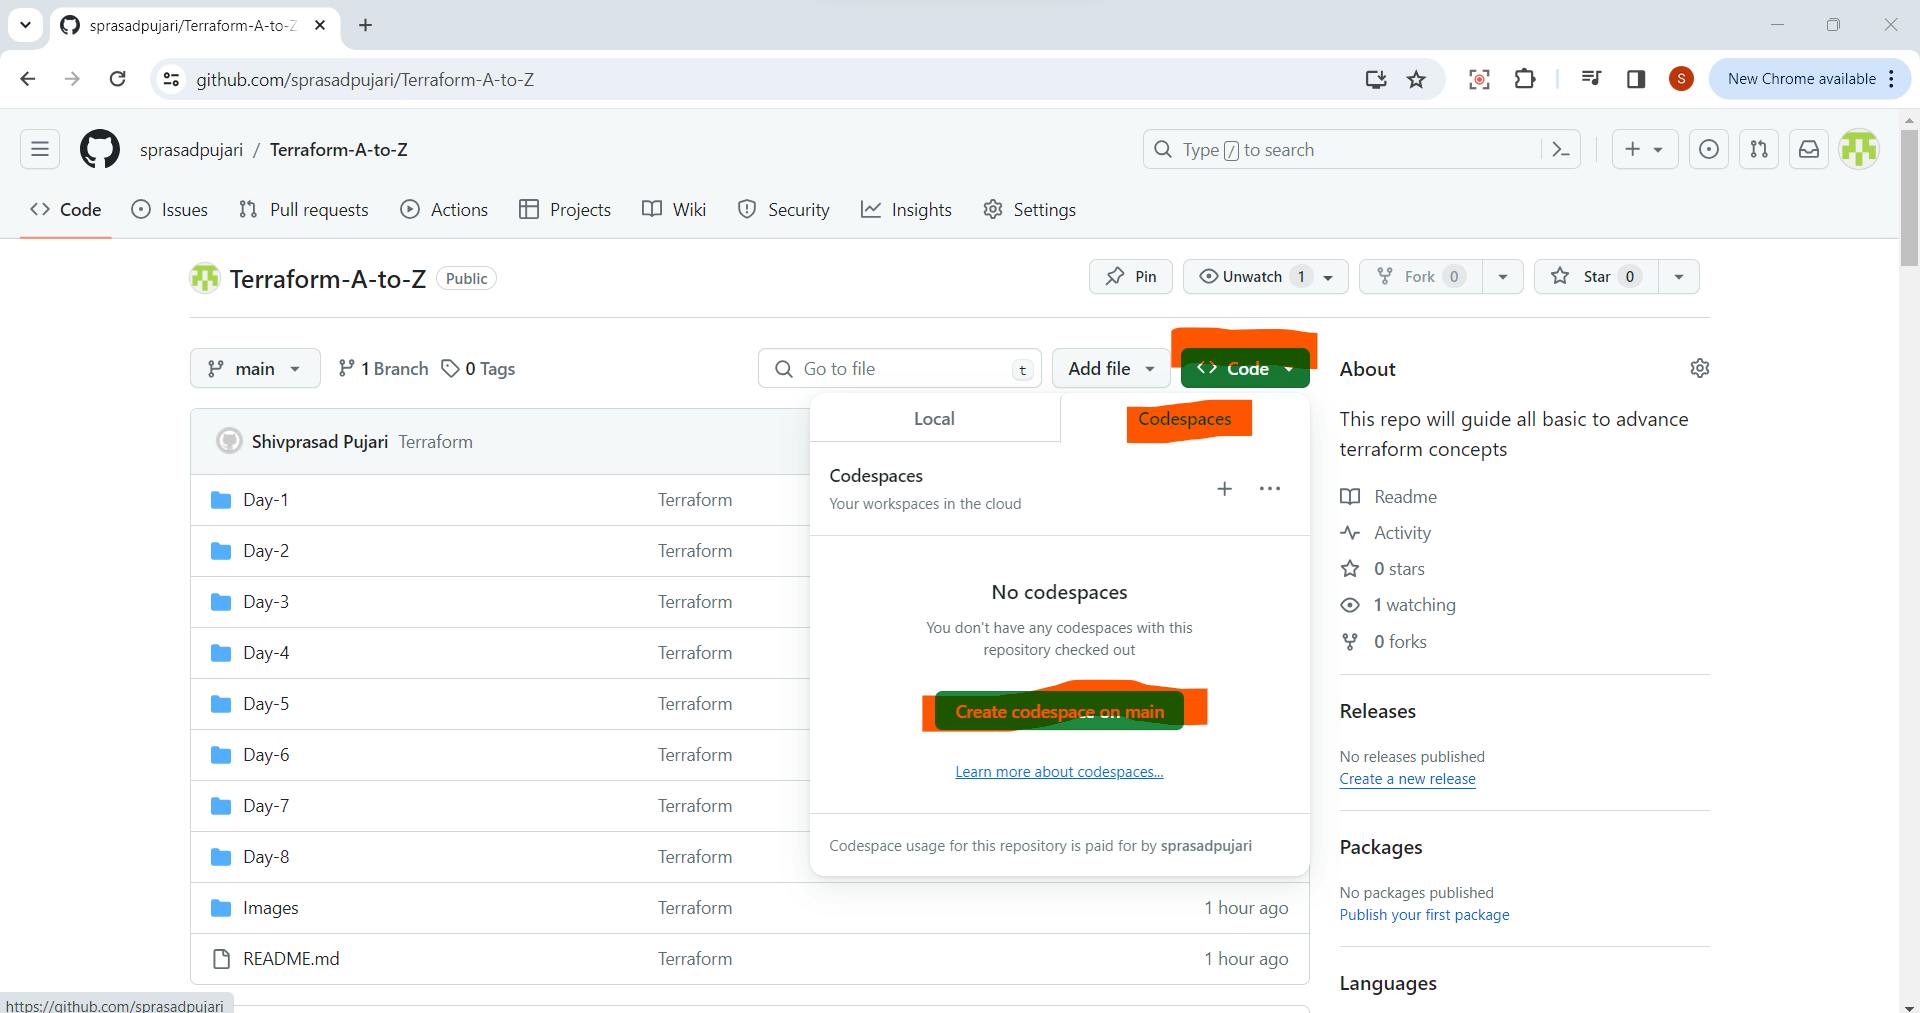
3.Click "Create codespace on Main" to open your code space in a new tab.

Step 2: Checking and Installing Terraform and AWS
1.Verify if Terraform and AWS are installed by running the following commands in the VS Code terminal:
$ terraform --version
$ aws --version

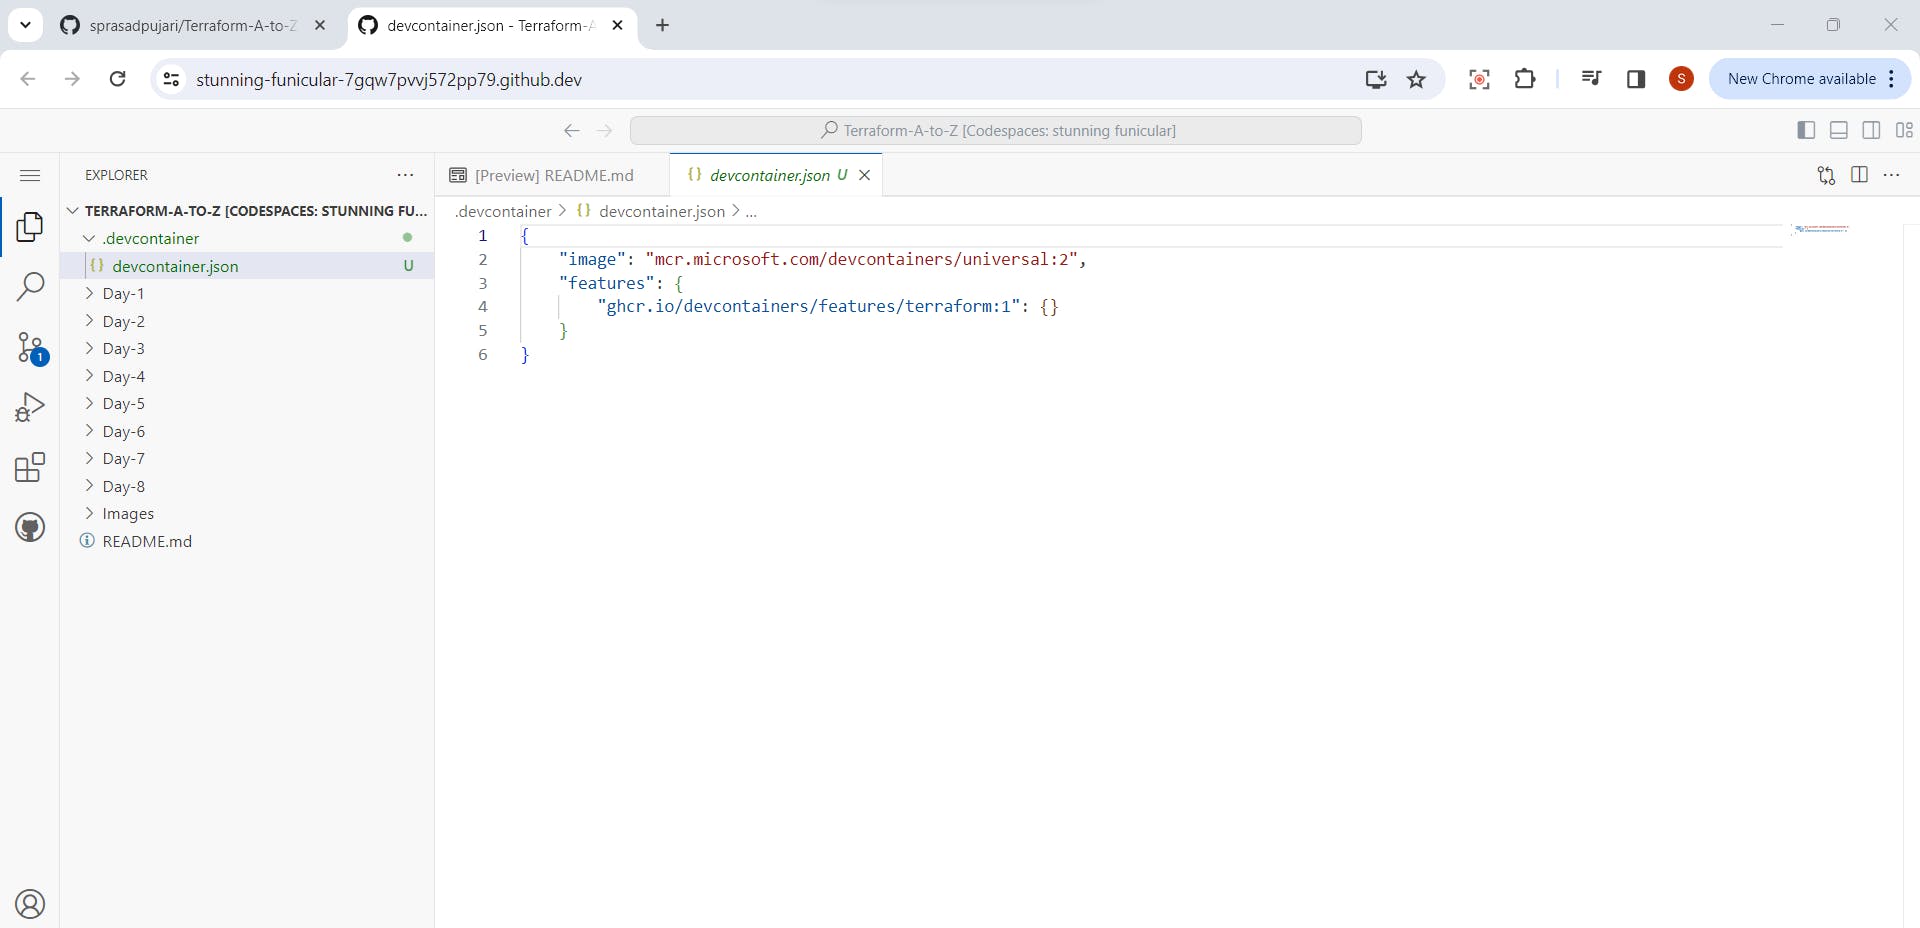
Step 3: Installing Terraform in Code Spaces
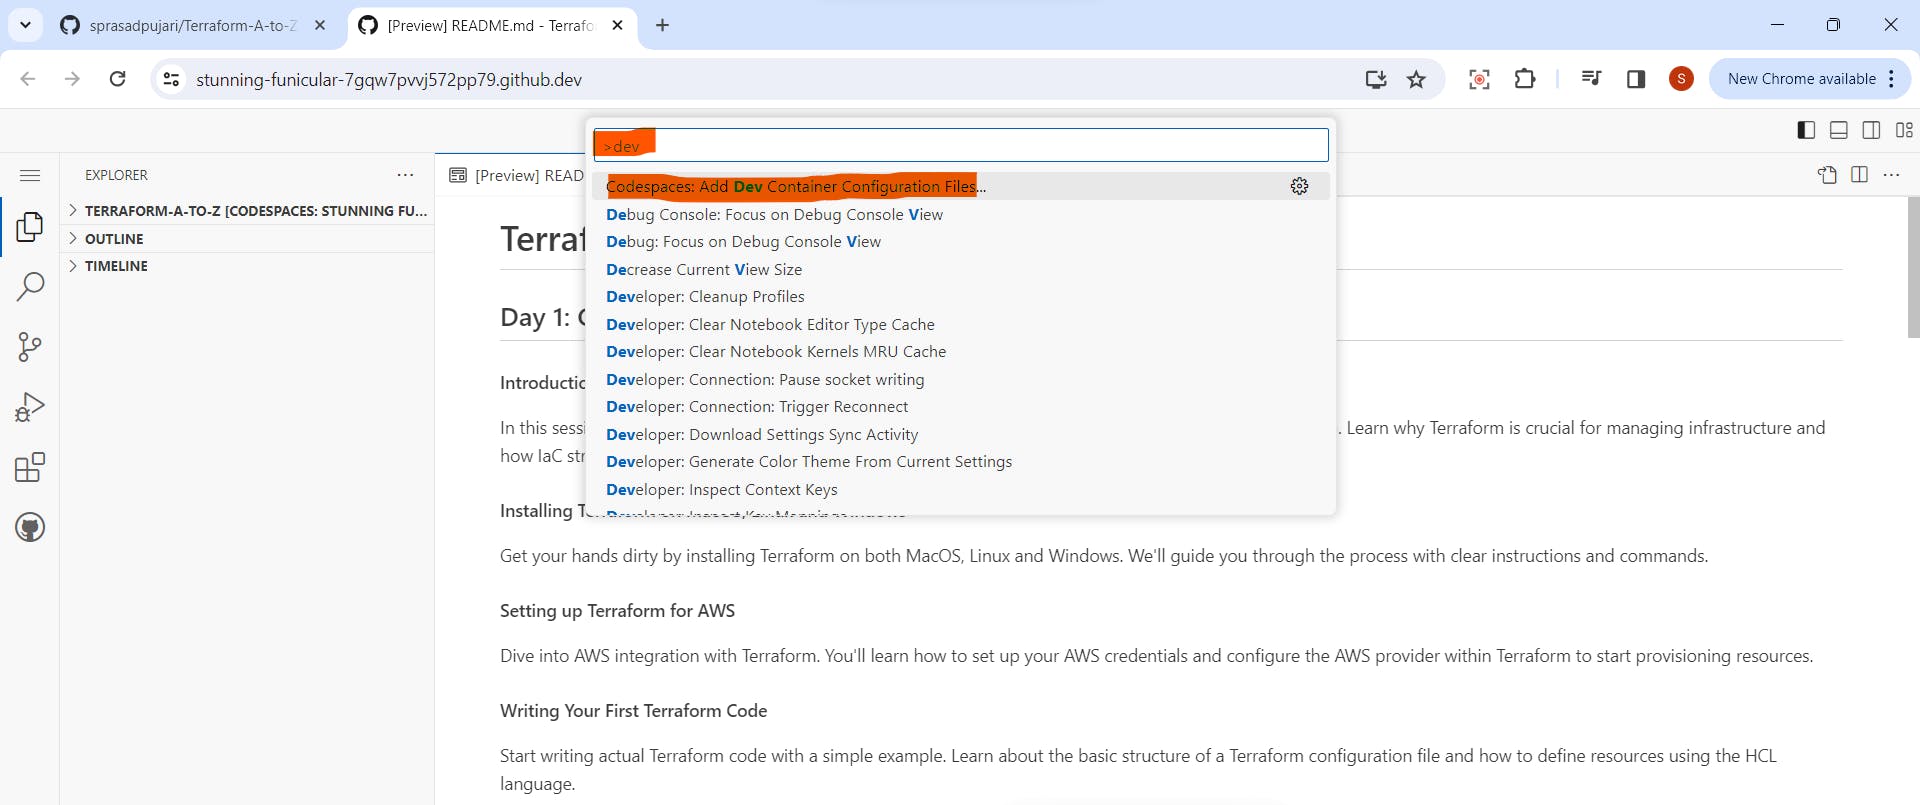
In the VS Code search bar, type
>dev.Select "Add dev container configuration files."
3.Click "Modify your active configurations."

4.Search for "Terraform," select the highlighted options, and click "Ok."
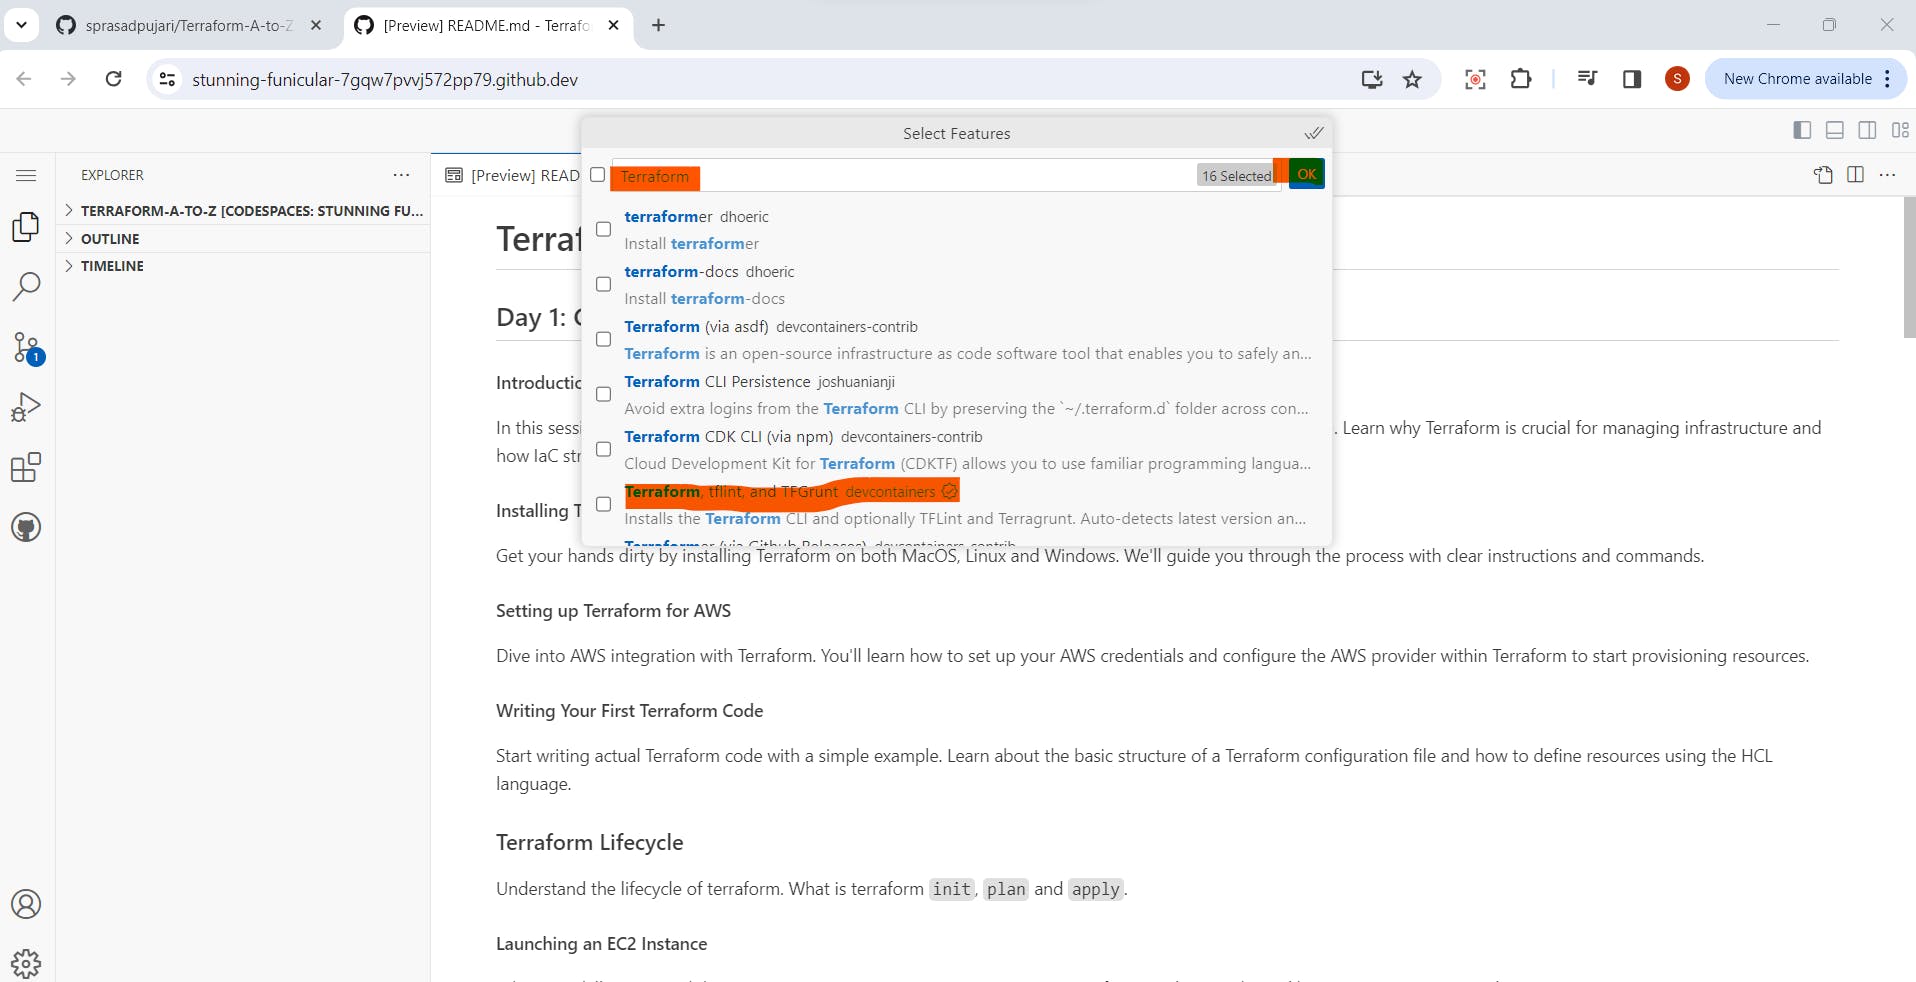
5.Choose the default options to create the Terraform container configuration.
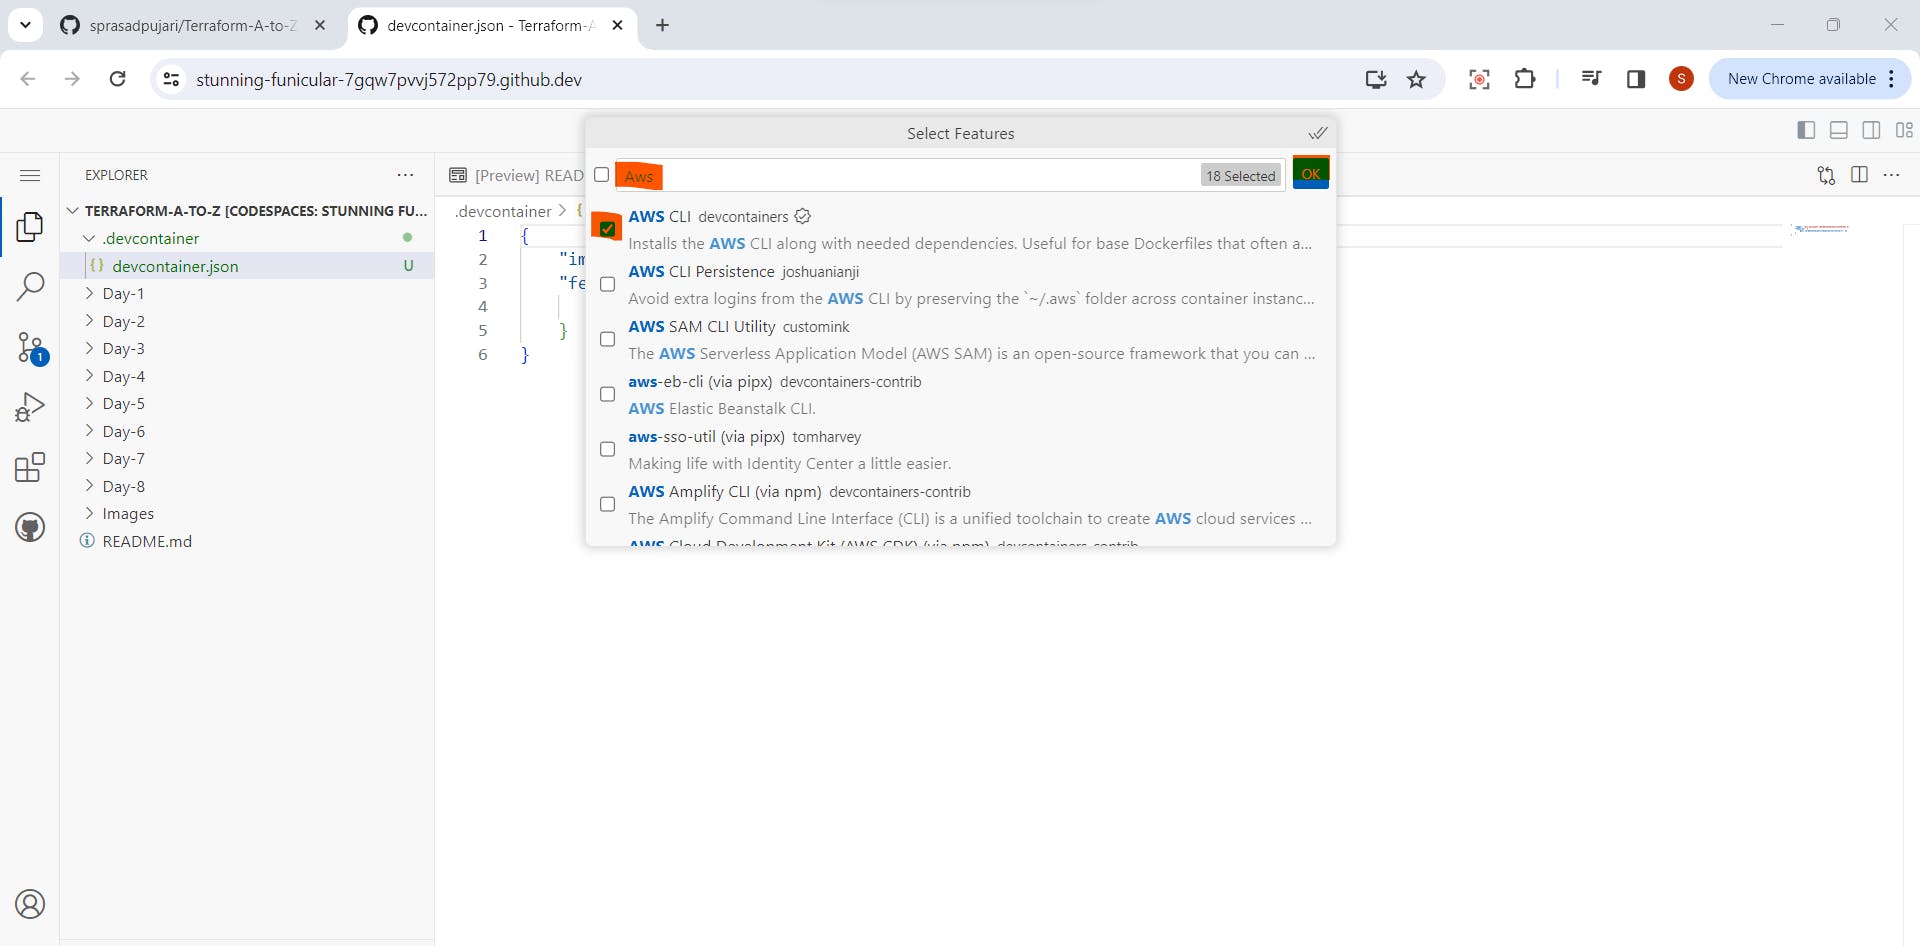
Step 4: Installing AWS in Code Space
1.Repeat the above steps for AWS, selecting the default options.
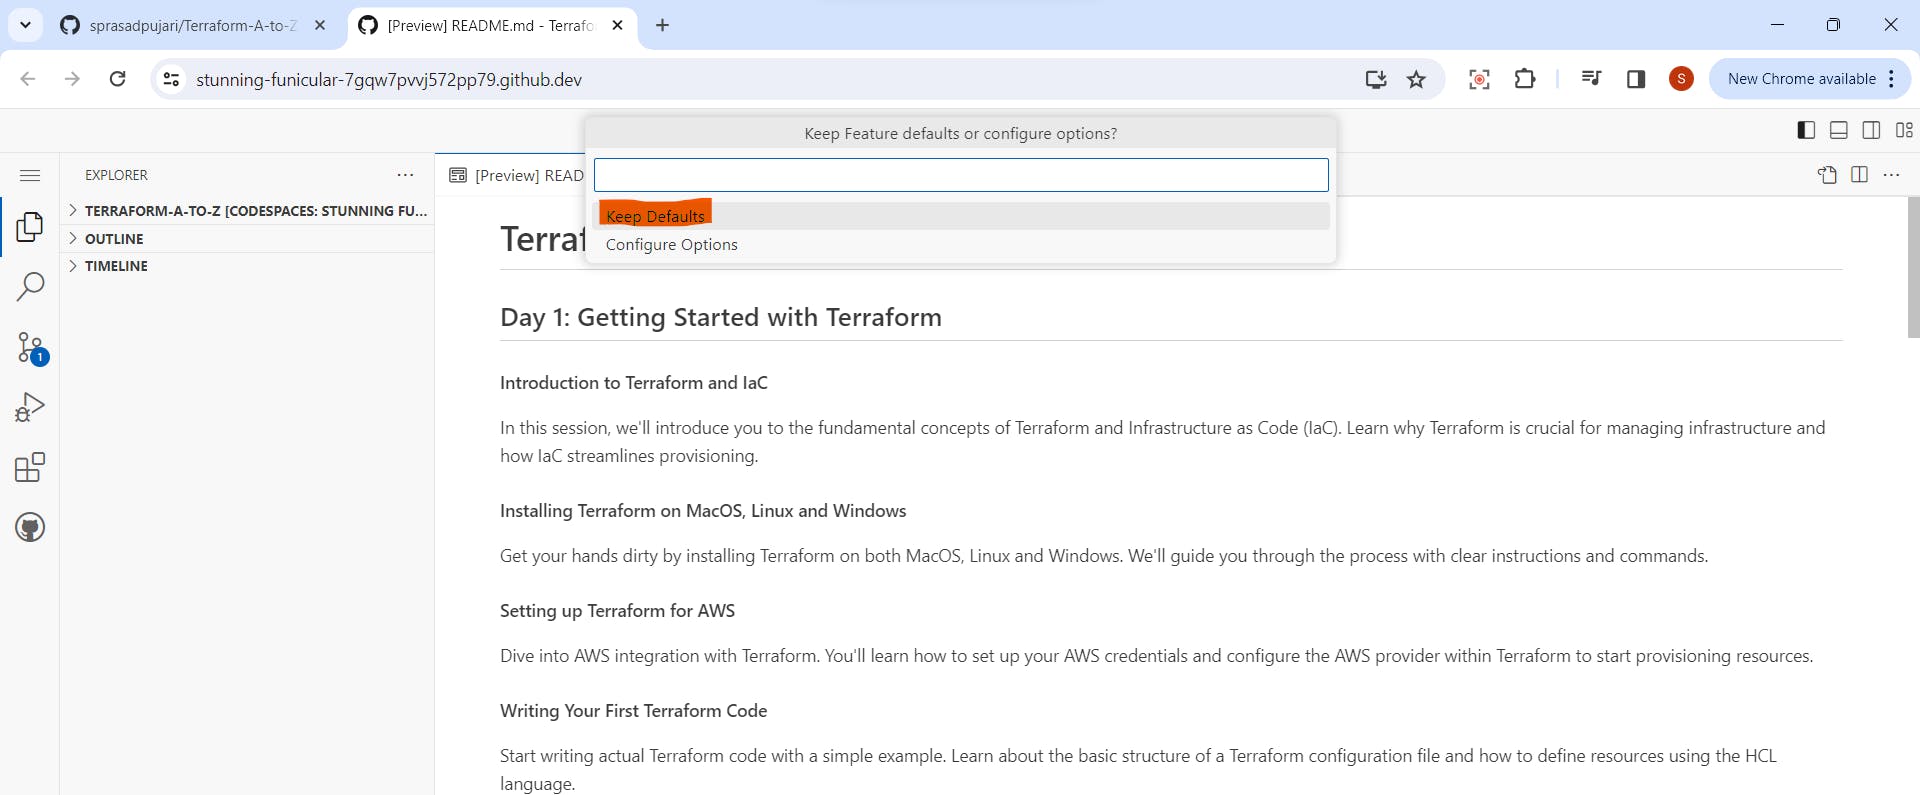
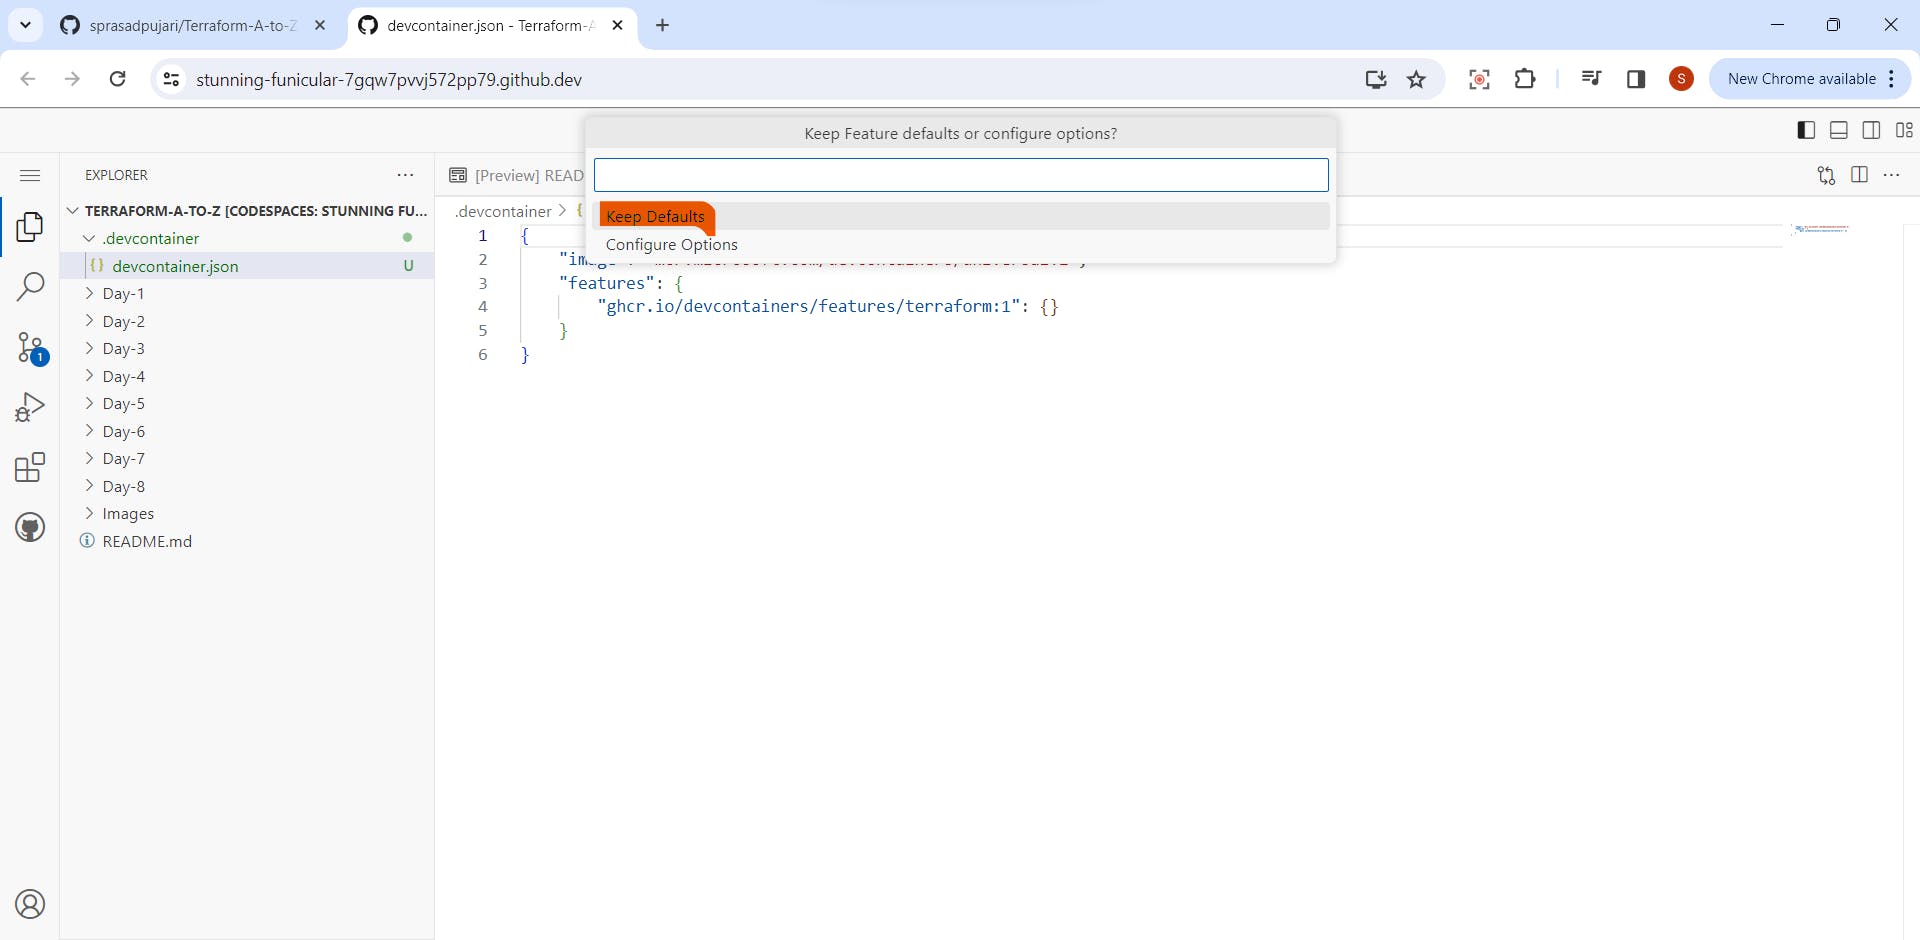
Select Keep option

Step 5: Rebuilding the Container
In the search bar, type
>rebuild.Select "Rebuild container."
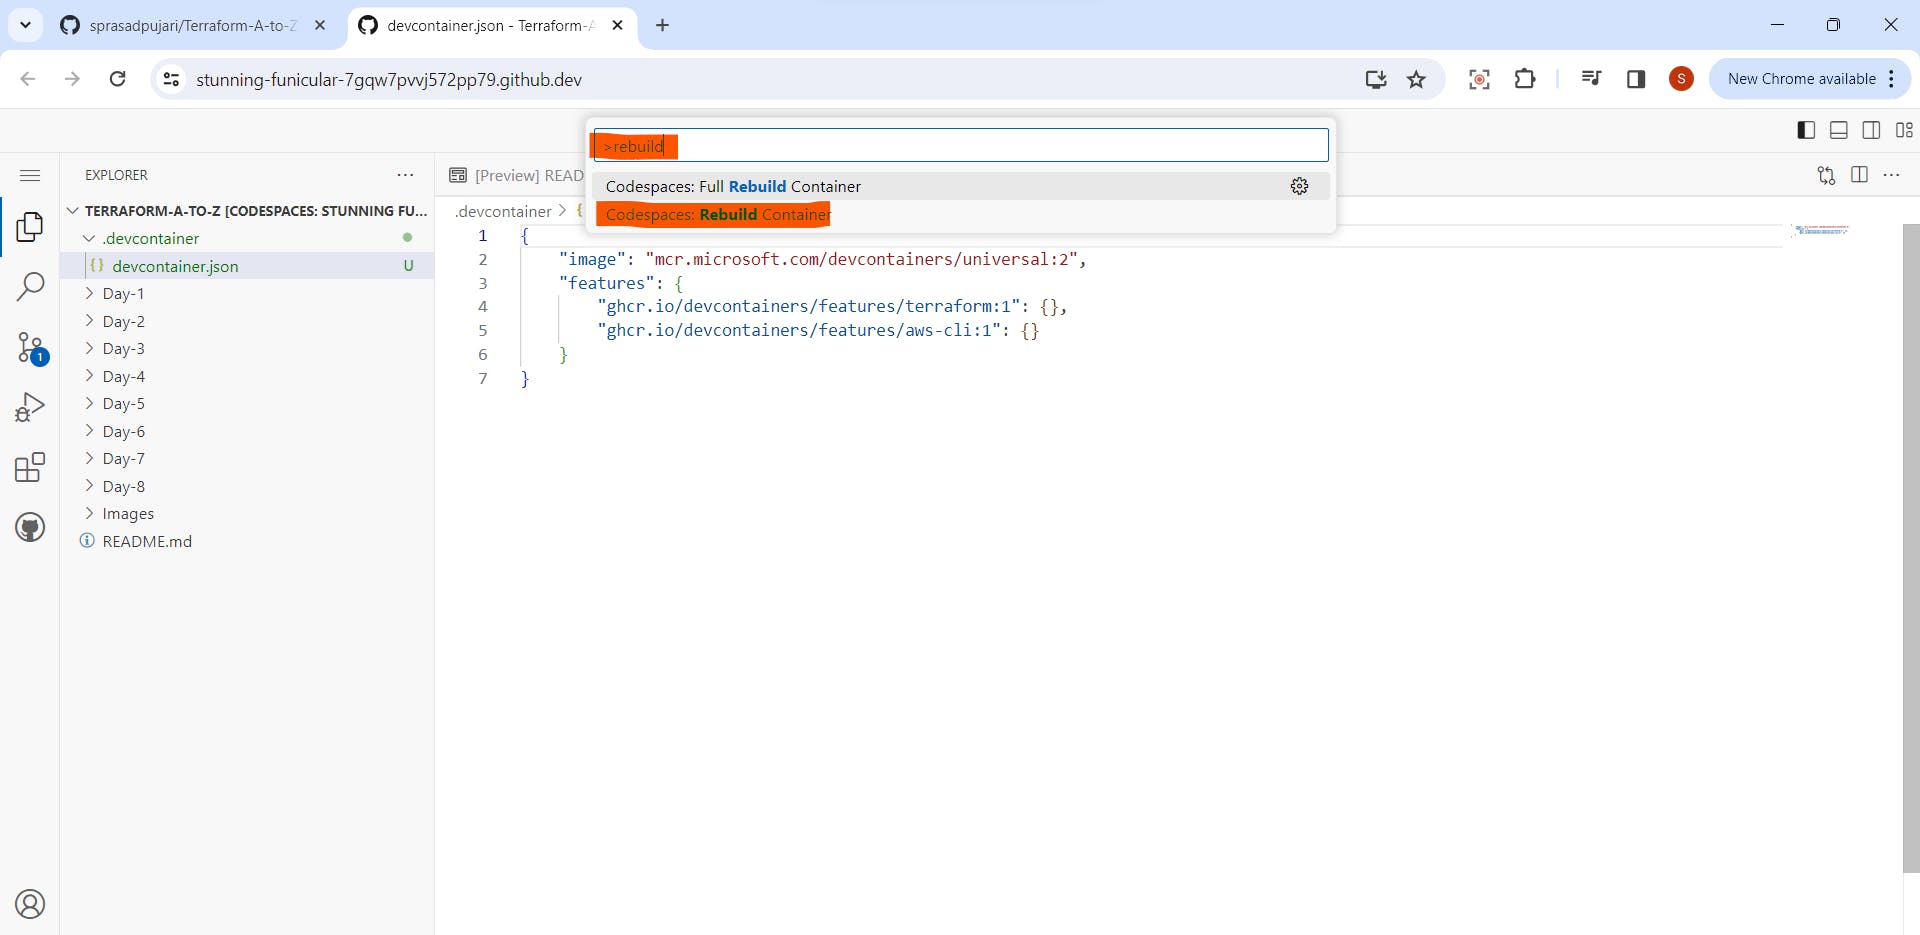

3.Wait for the container to rebuild.

Step 6: Checking Terraform and AWS Versions
1.In the terminal, run:
$terraform --version
$aws --version

Step 7: Configuring AWS
- Go to your AWS console, click on your profile, and navigate to "Security credentials."
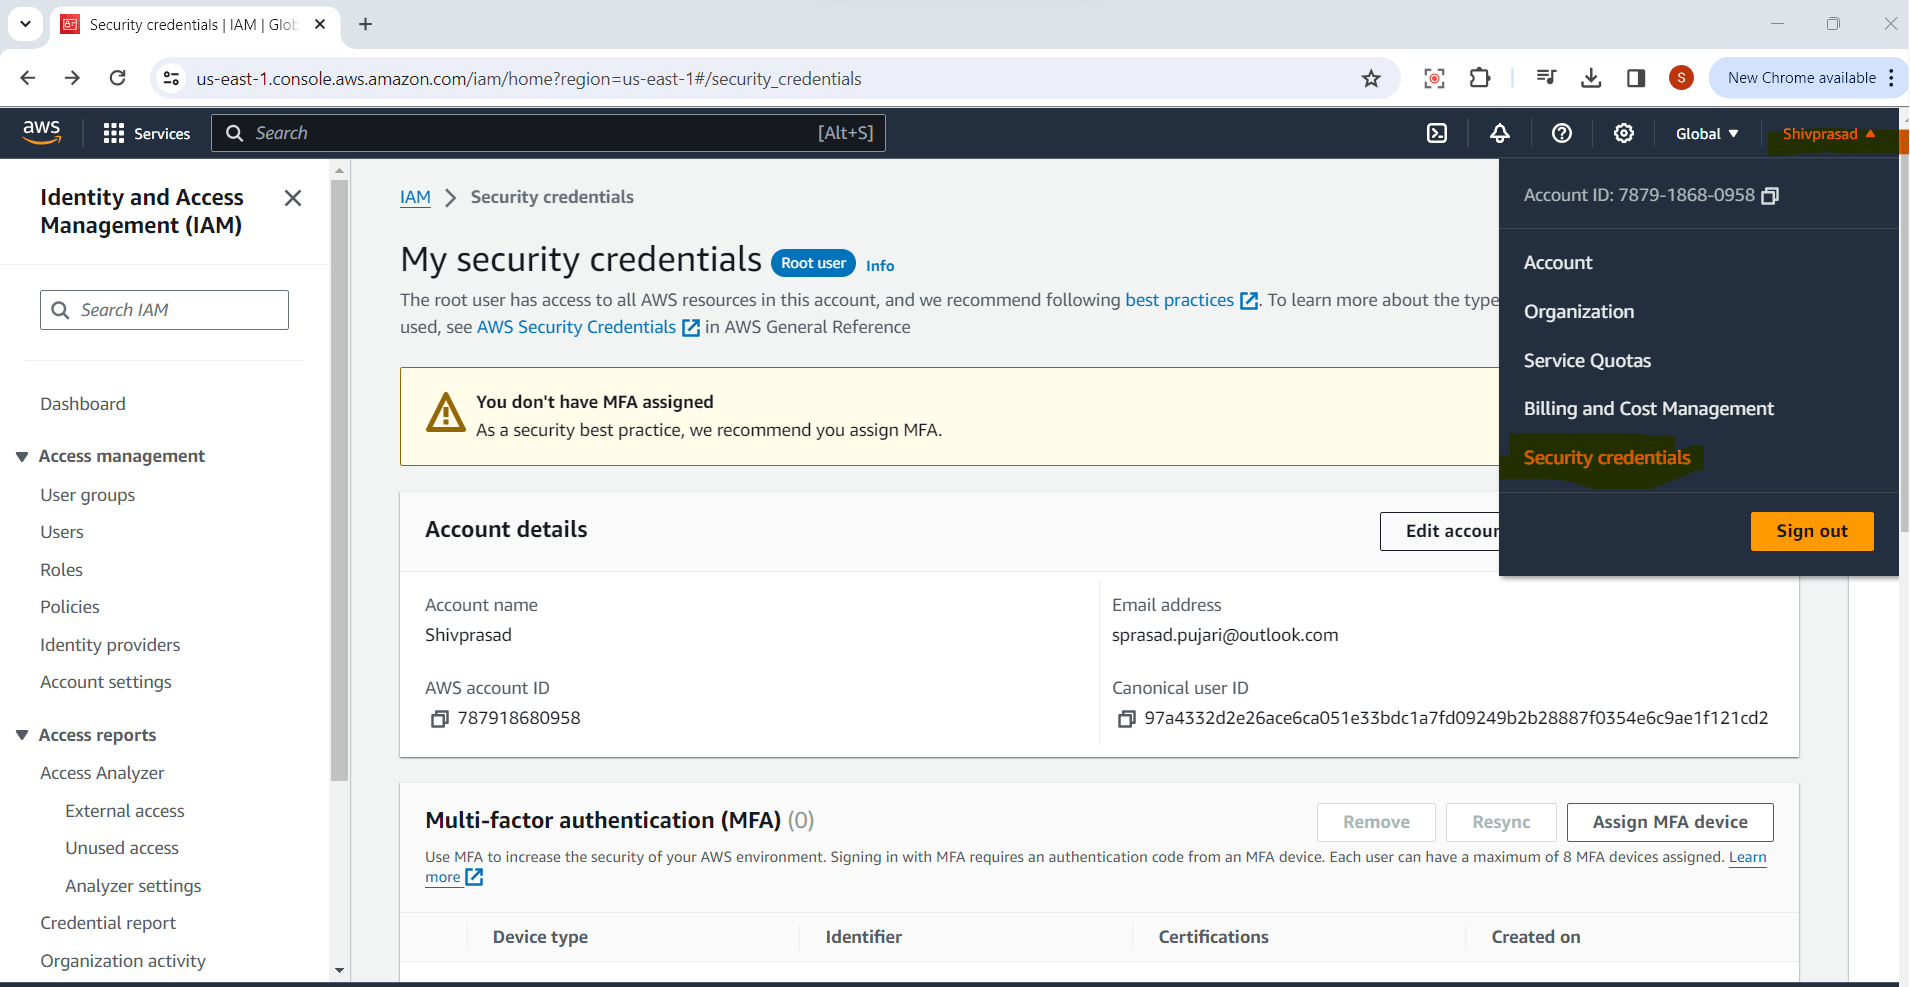
2.Under "Access Key," create a new access key.


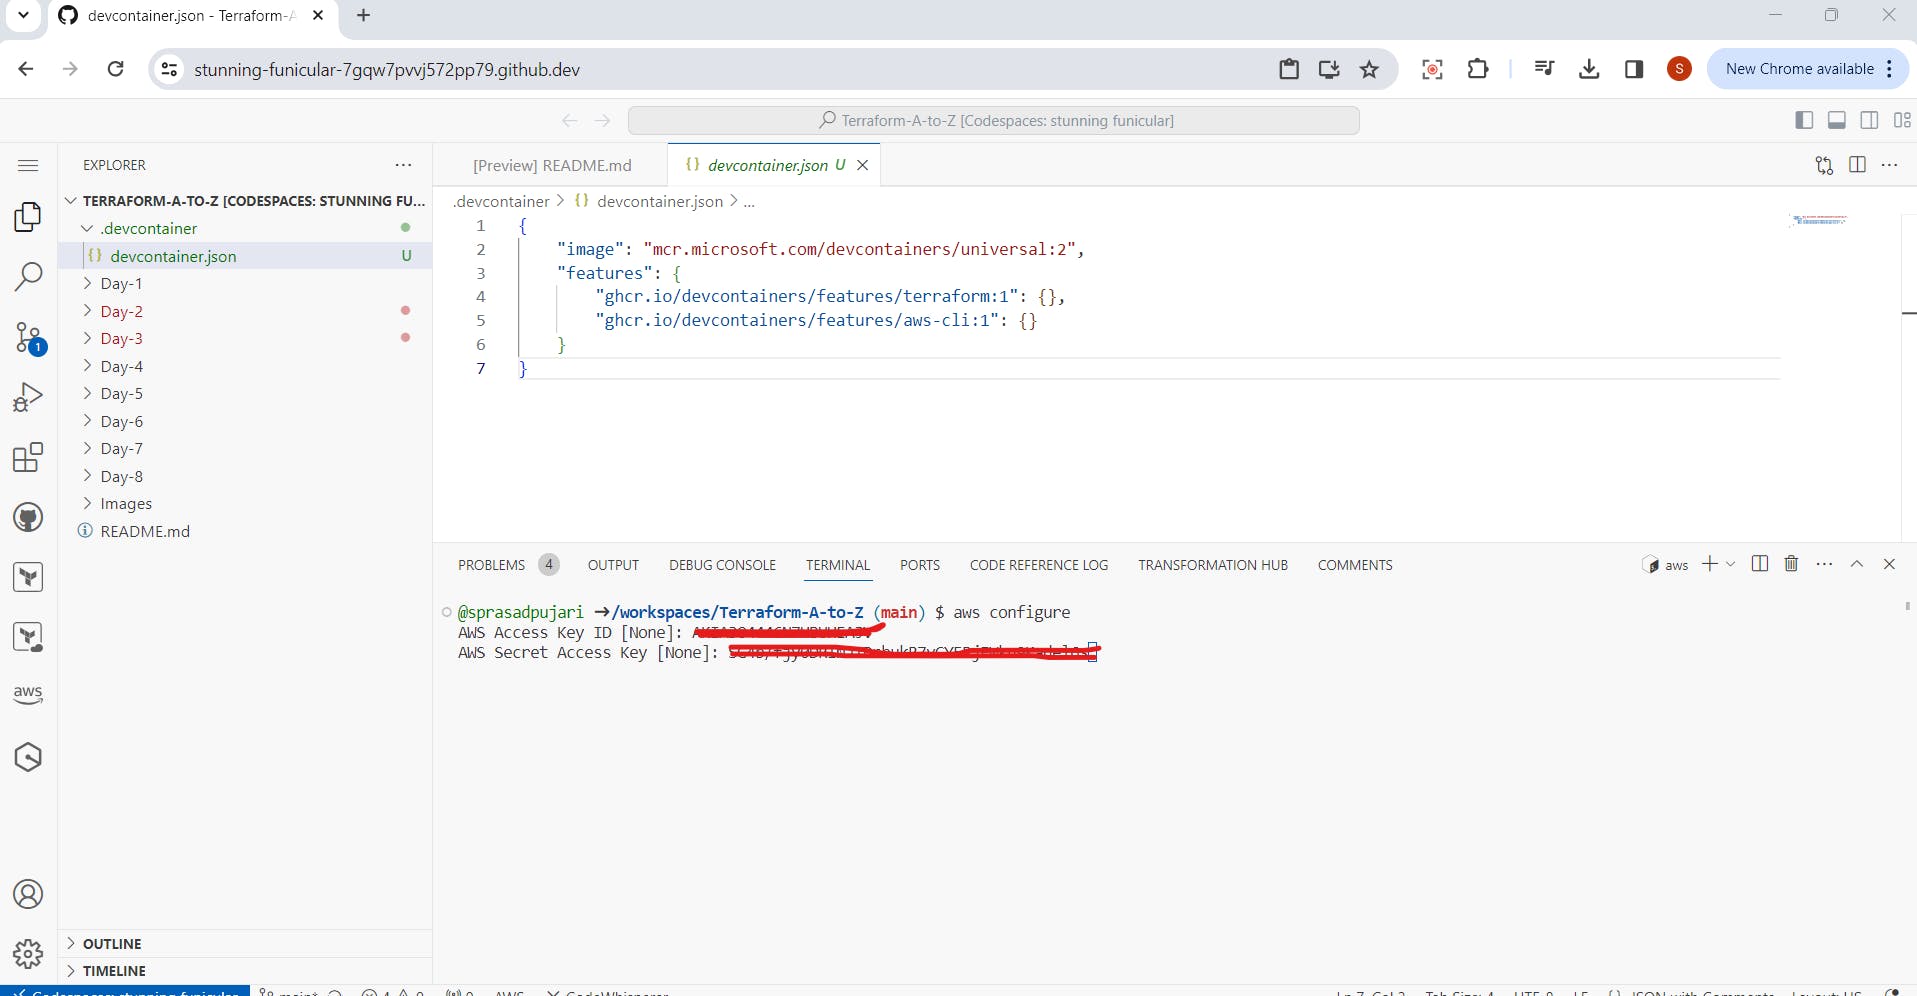
3.Back in your workspace, run:
$aws configure
AWS Access Key ID [None]:Enter your Access Key ID
AWS Secret Access Key [None]: Enter you Access Key Default region name [None]: us-east-1
Default output format [None]: json
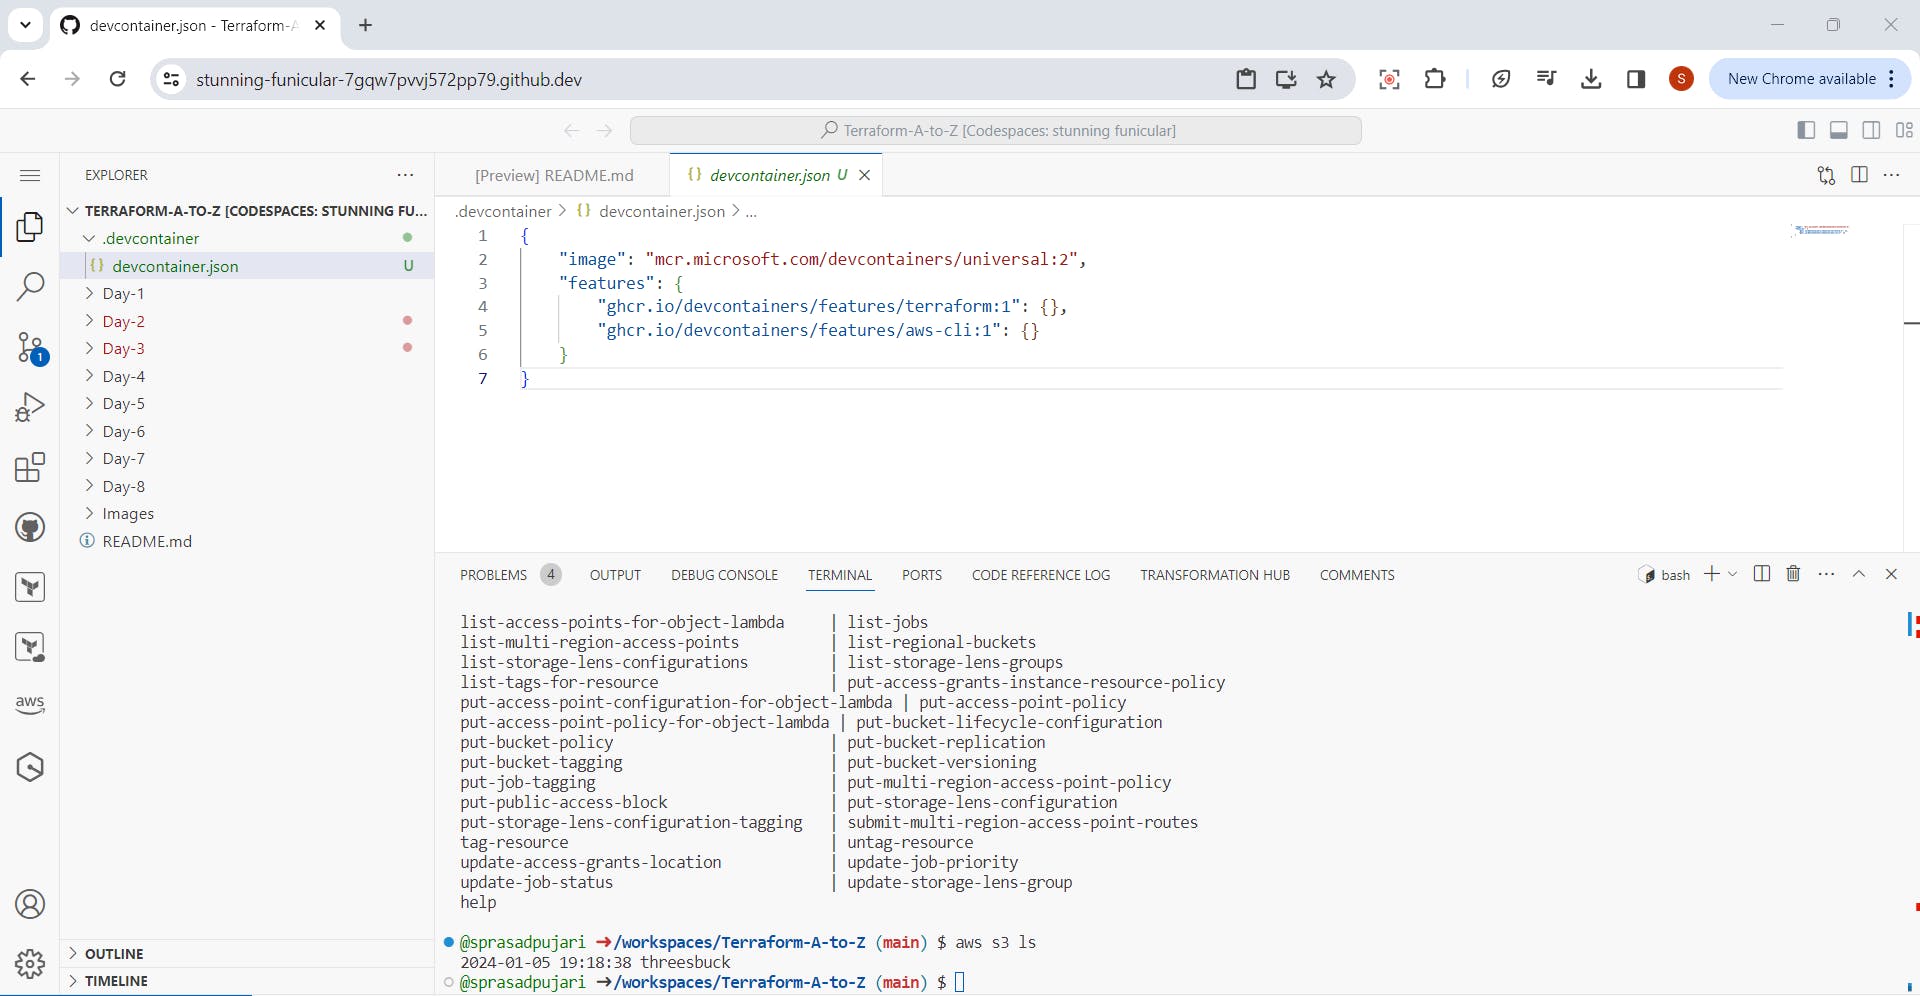
4.Verify the AWS configuration:
$aws s3 ls
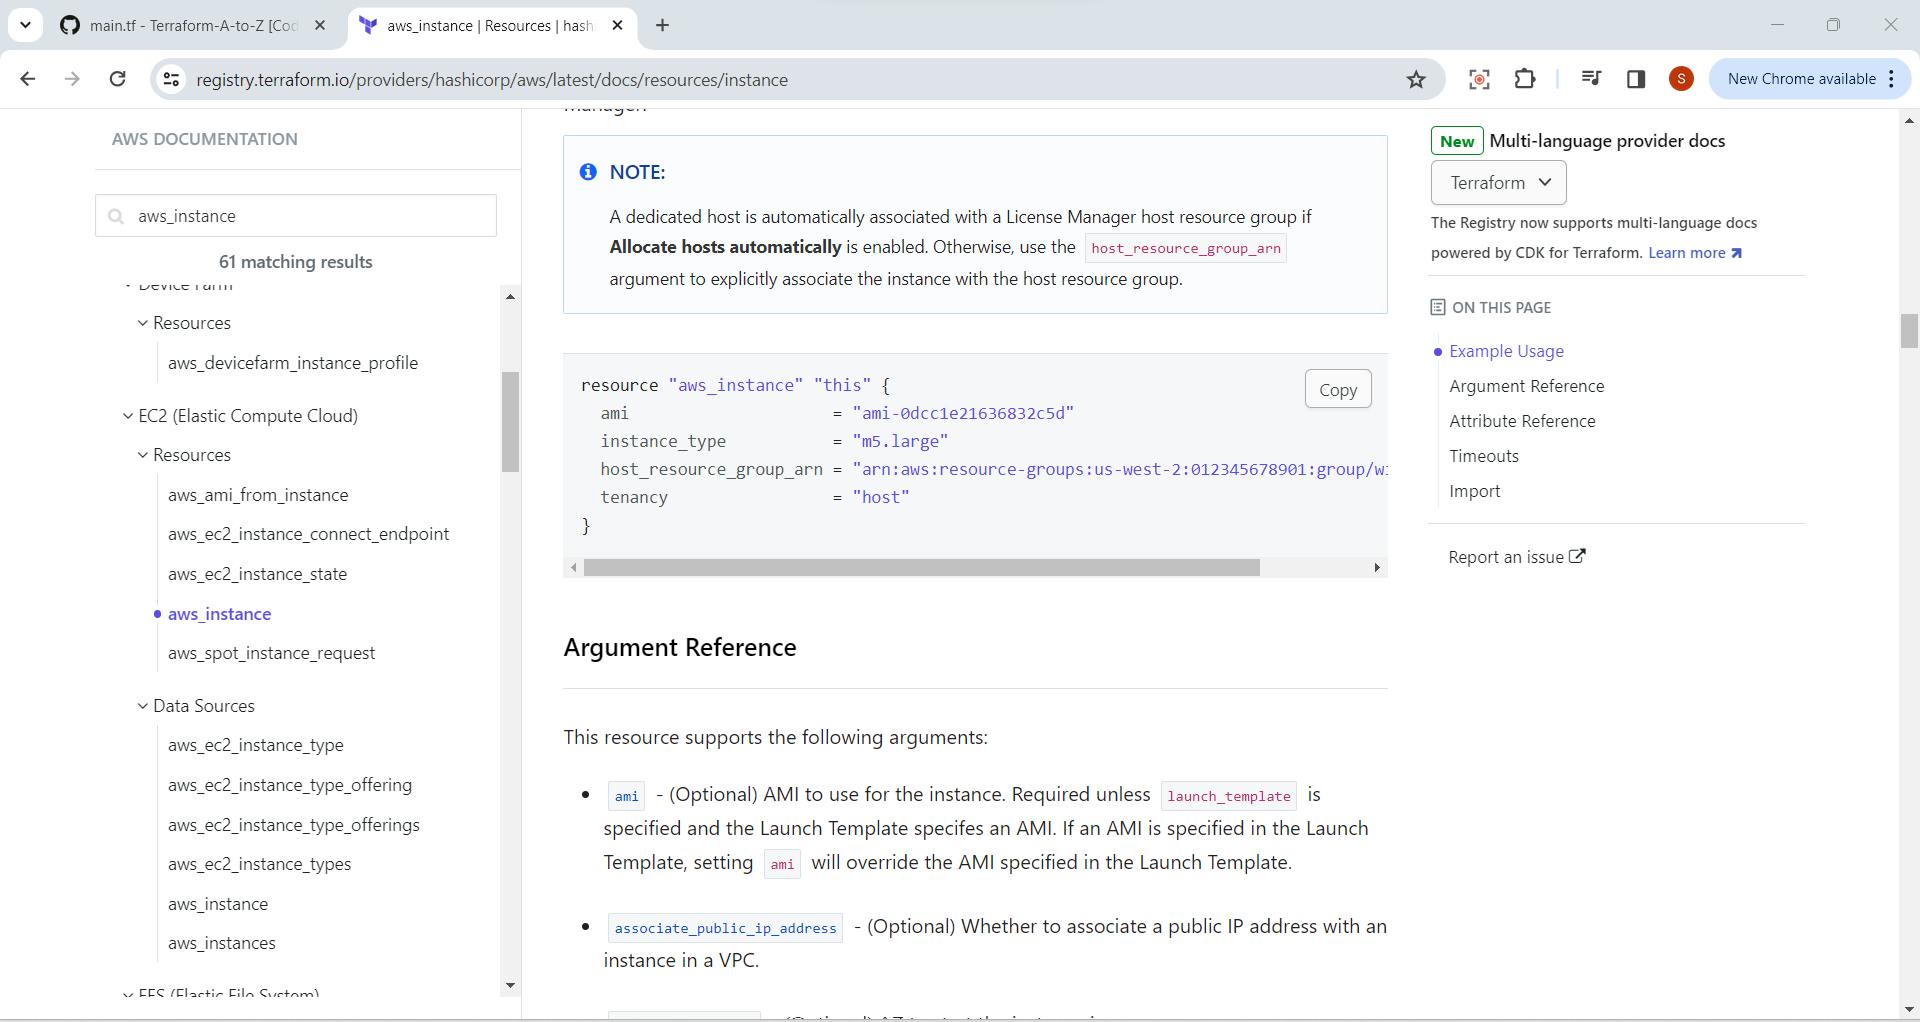
Step 8: Exploring the Terraform Script
Open the main.tf file,explore more details on it
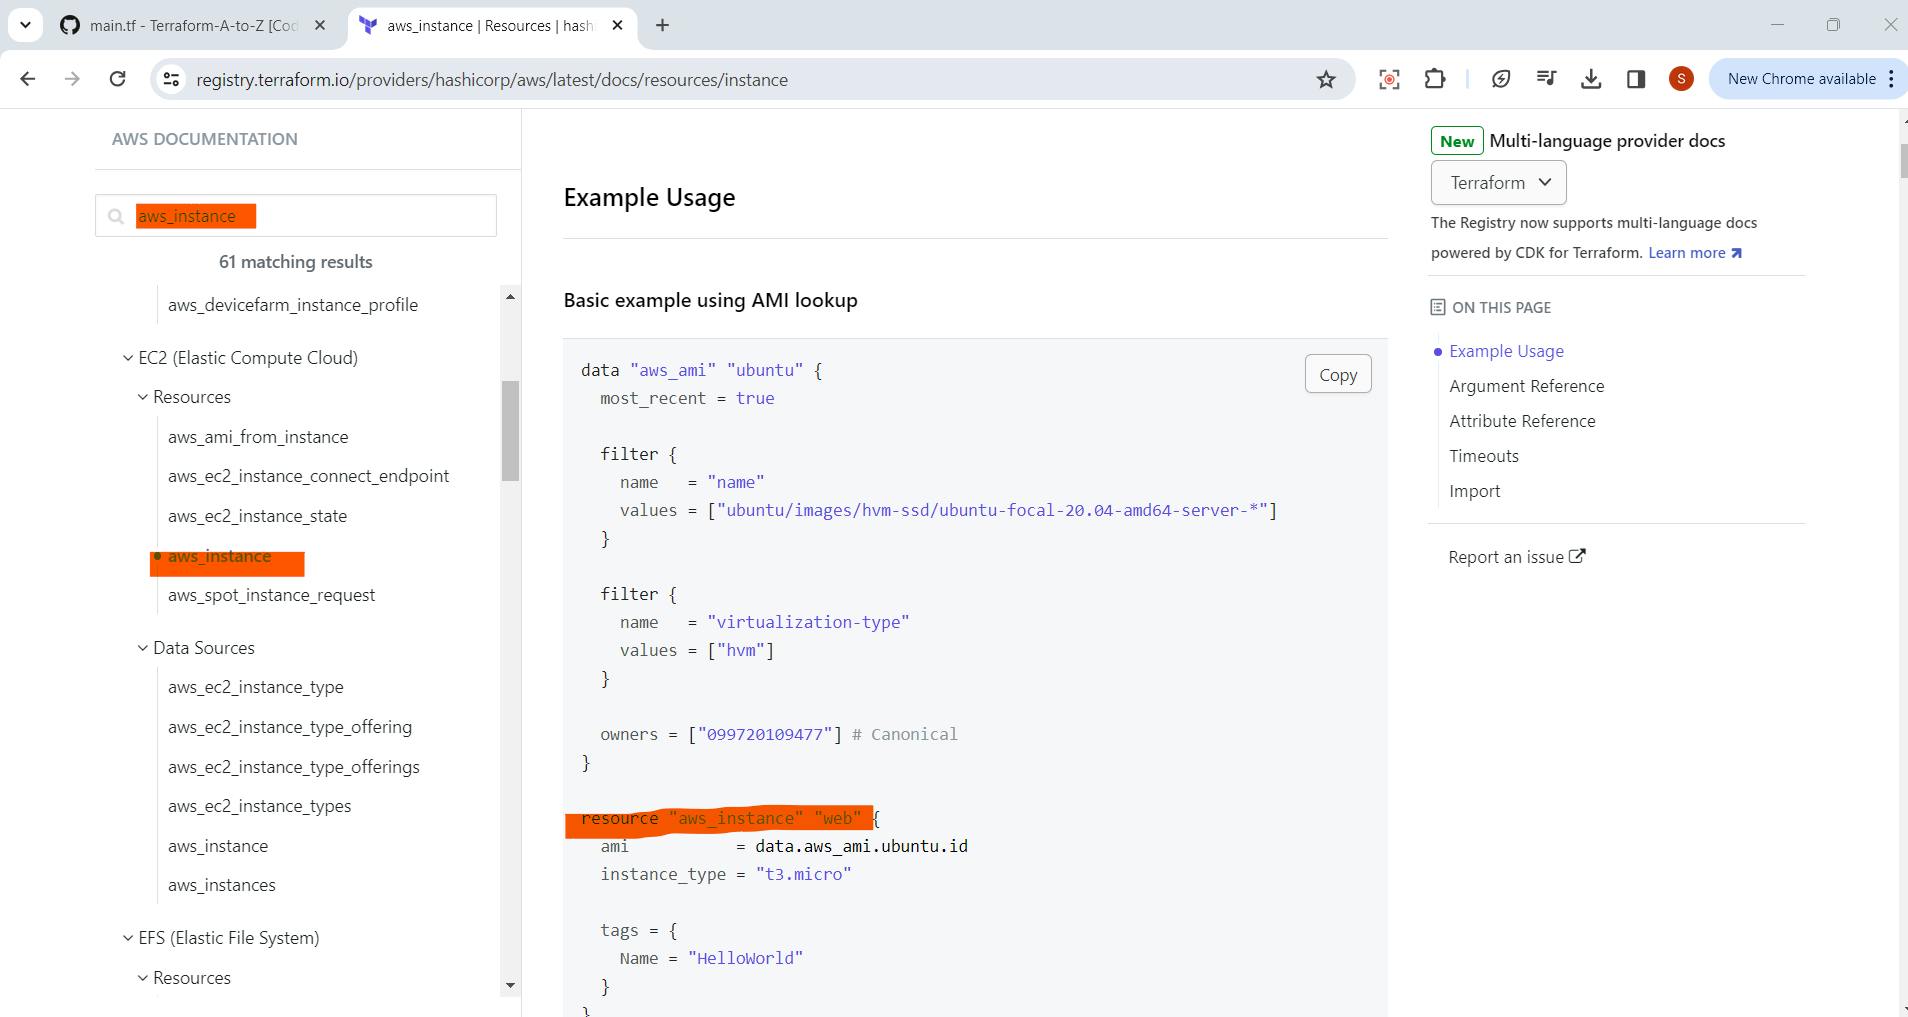
2.Search for Terraform AWS syntax online and copy a basic EC2 instance configuration.
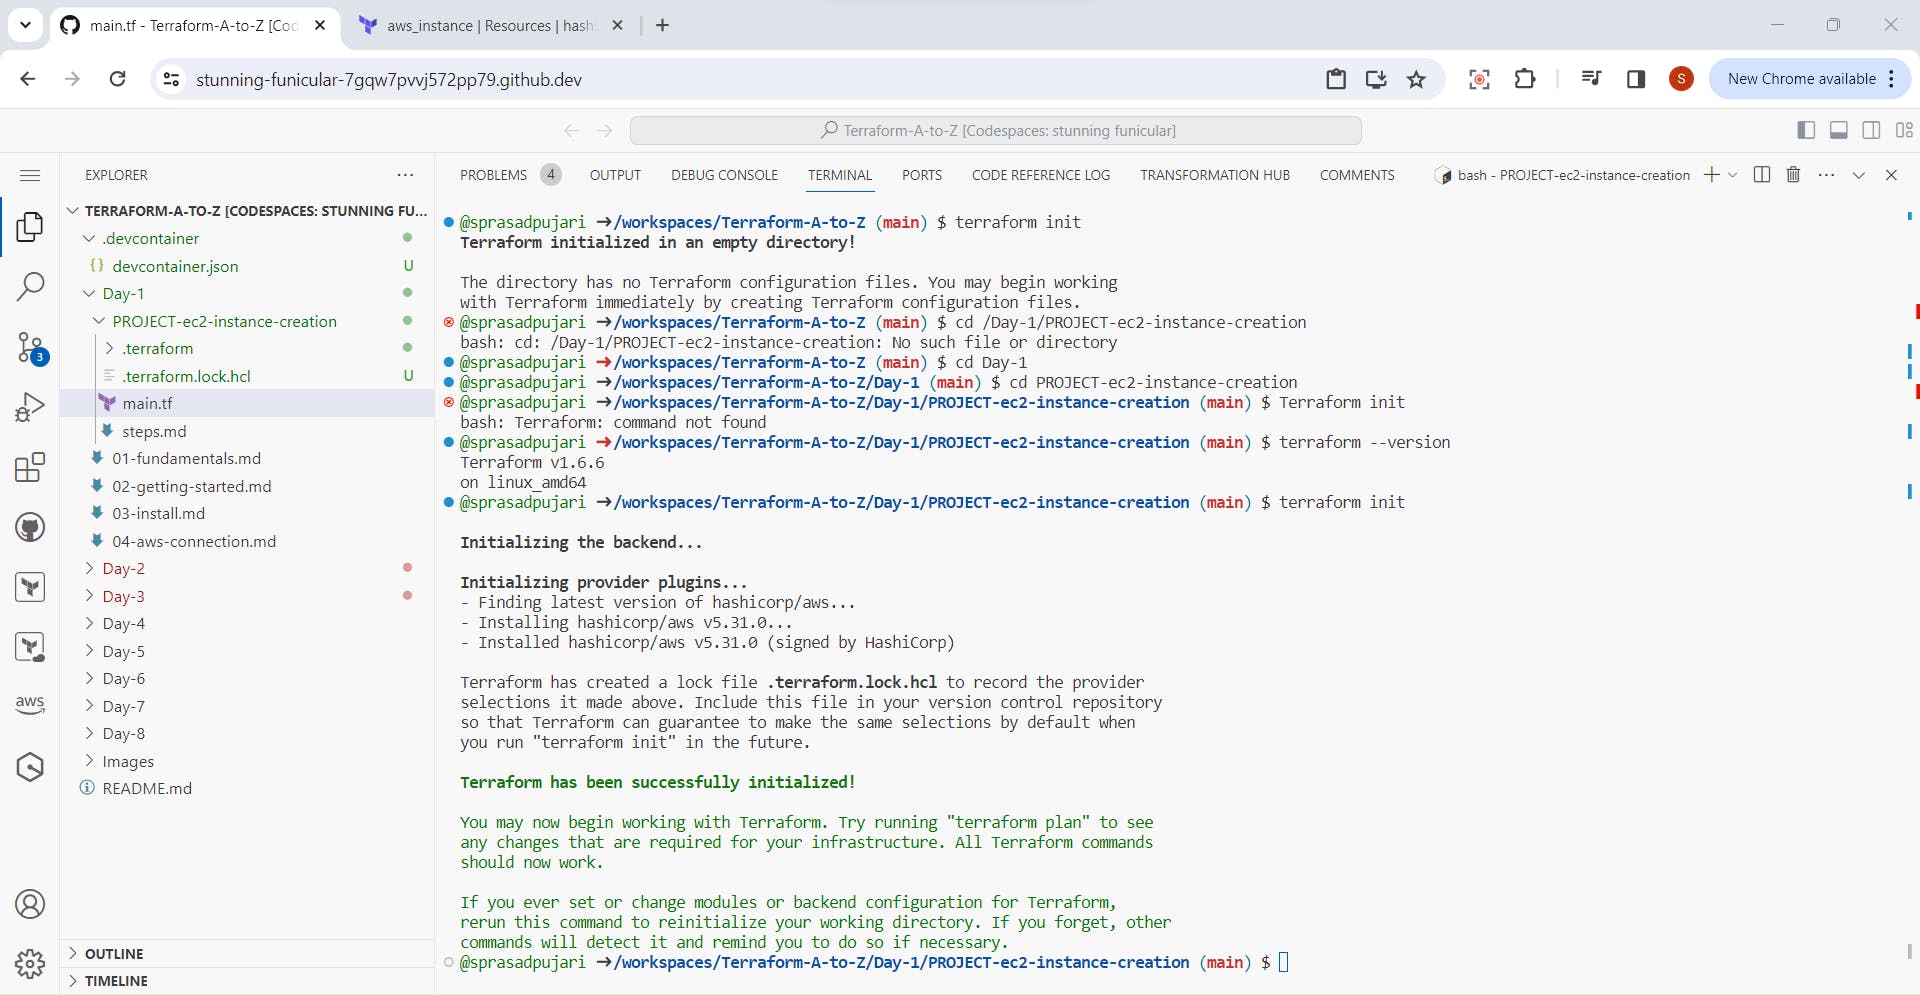
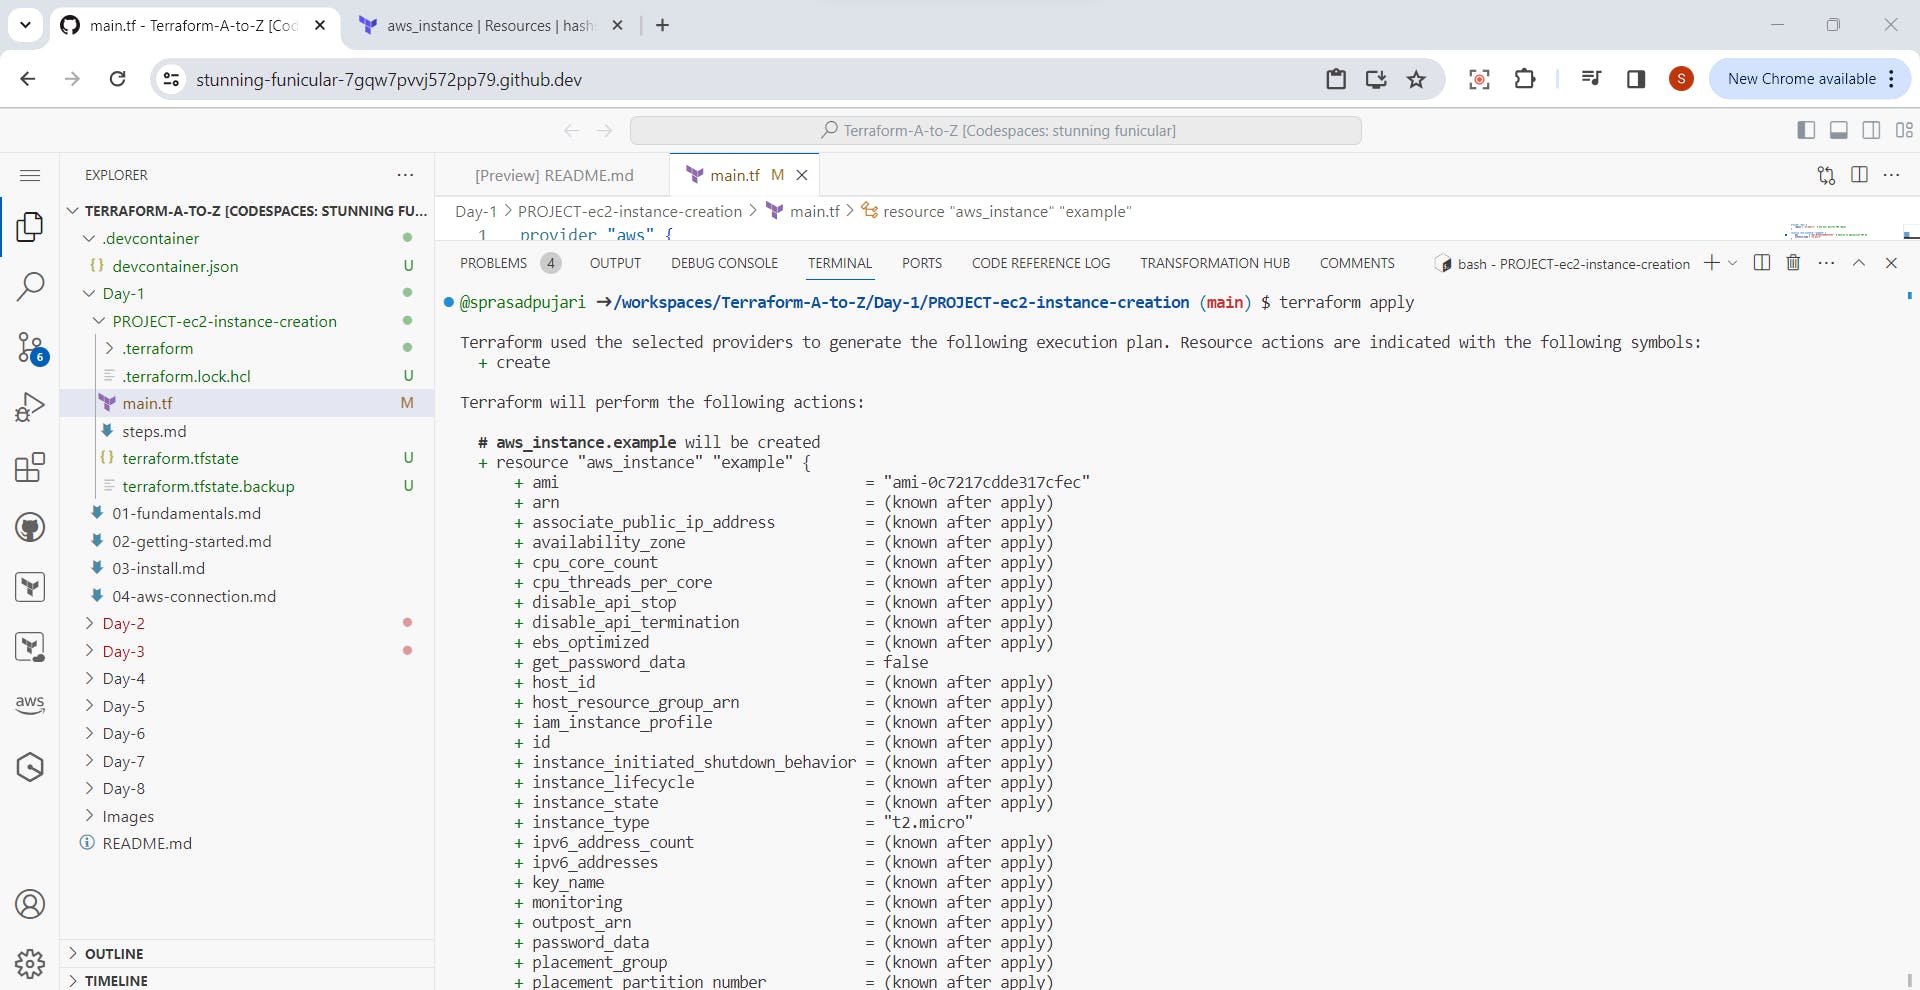
Step 9: Initializing and Applying Terraform
1.Run the command:
$terraform init
2.Before terraform applying, execute below command:
$terraform plan

3.Apply the Terraform script:
$terraform apply


Step 10: Resolving Errors
- Go to the AWS console, navigate to EC2 instances, and copy the correct AMI ID.
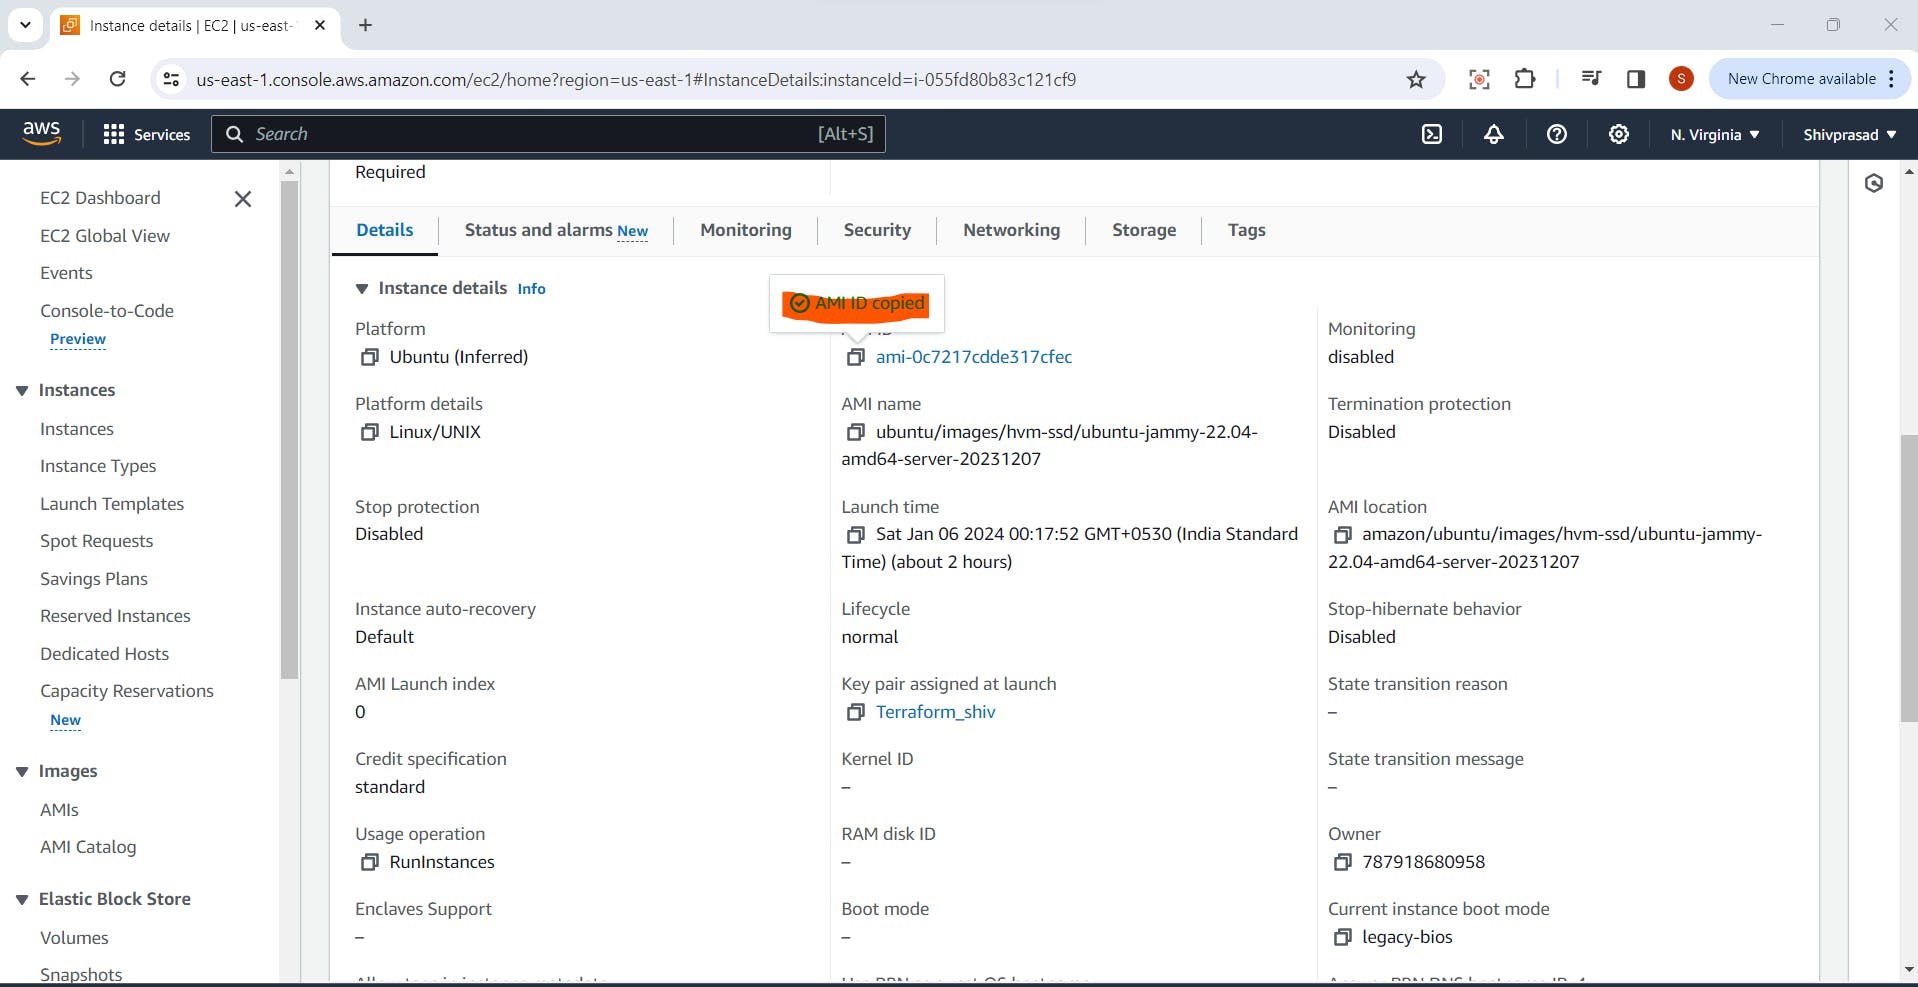
2.Paste the AMI ID in the main.tf file.

3.Rerun the terraform apply command.

Step 11: Verification
Check the terminal for the new instance ID (e.g., [id=i-06f61fac609fa65f6]).
Cross-verify in the AWS console under EC2 instances, new instance is created with id [id=i-06f61fac609fa65f6]).

Step 12: Destroying the AWS EC2 Instance
Now that you've successfully created your AWS EC2 instance using Terraform in Visual Studio Code Code Space, let's go through the process of destroying it.
$ terraform destroy
This command initiates the destruction process based on the configuration provided in your main.tf file.

2.During the process, Terraform will prompt you to confirm the destruction. Type yes and press Enter to proceed.
Wait for Terraform to complete the destruction of the resources. This might take a few minutes.
Once the process is complete, Terraform will display a summary of the destroyed resources.
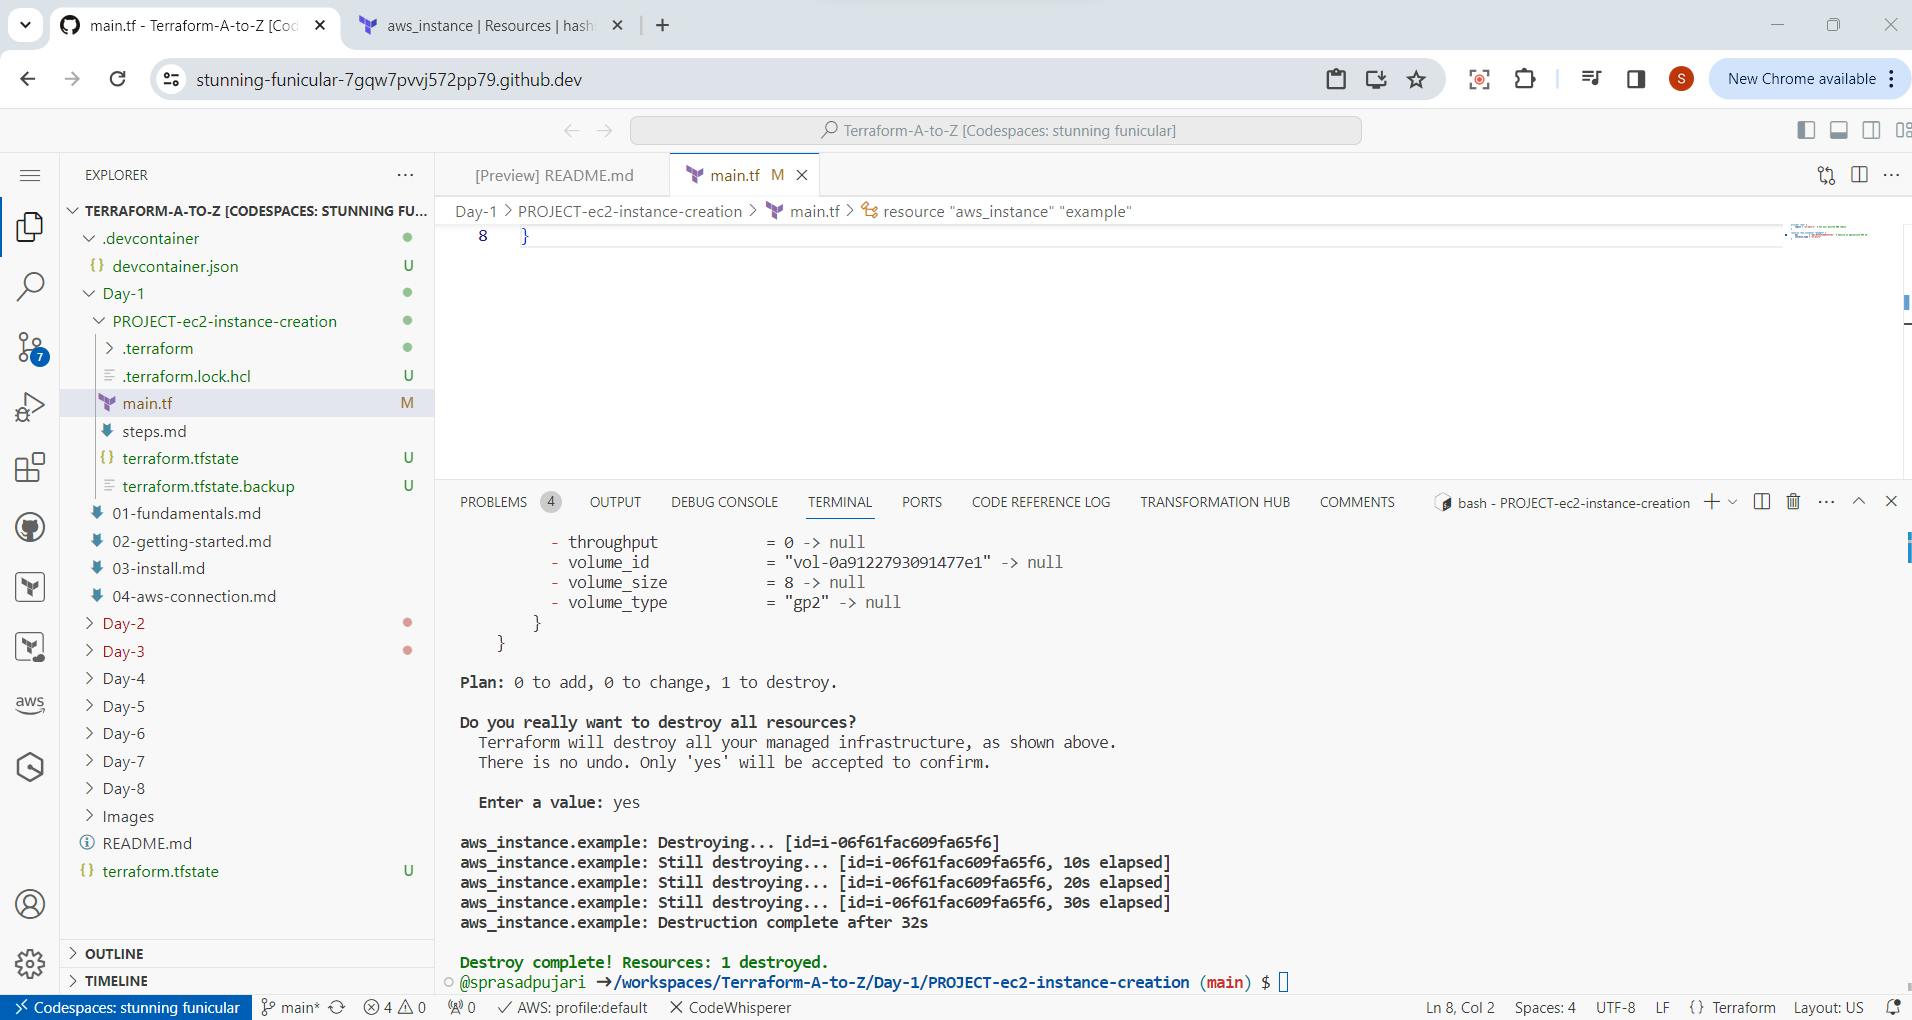
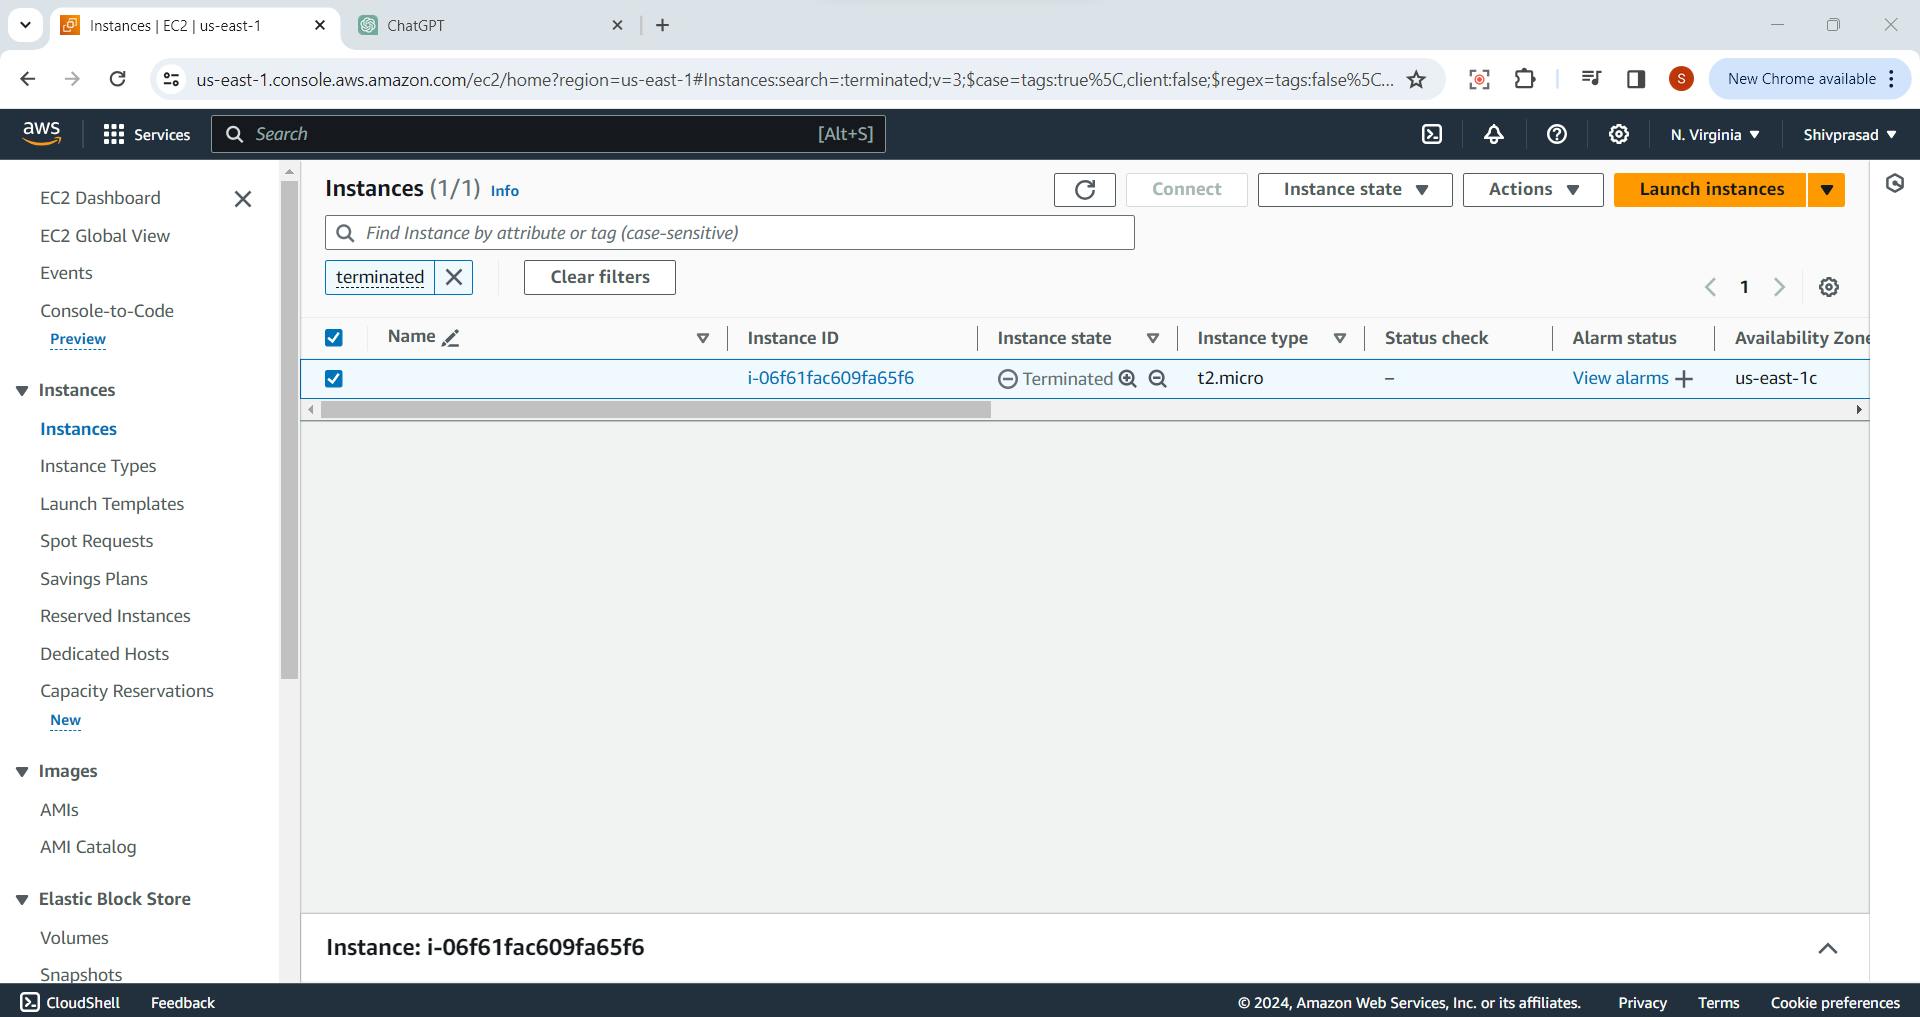
Cross-verify in the AWS console under EC2 instances, new instance is destroyed successfully with id [id=i-06f61fac609fa65f6]).
Congratulations! You have successfully destroyed the AWS EC2 instance. This ensures that you won't incur any unnecessary charges and keeps your infrastructure tidy. If needed, you can always recreate the resources using the Terraform apply command when required.
If this post was helpful, please do follow and click the like button below to show your support .
- Thank you for reading💚
Best Regards,
Sprasad 🌐✨