AWS:Hosting a static website on Amazon S3 and using Route 53 for DNS with a GoDaddy


Title: "Unlocking Your Online Presence: Get a Free Domain and Deploy Your Static Website with AWS Route 53 and S3"
Introduction: In today's digital era, establishing an online presence is crucial. One of the first steps is getting a domain and hosting your website. In this guide, we'll explore how to get a free domain and deploy your static website using AWS Route 53 and S3, ensuring a seamless and cost-effective solution for your web presence.
For practice purposes, I have purchased a domain from Hostinger at a minimal cost.
If you'd like to explore getting a free domain, you can visit the following URL: https://freedomain.one/. I personally use this service for acquiring free domains."
Example :: Freenom or Dot.tk. or https://freedomain.one/
Step 2: Setting Up AWS S3 for Hosting
Step 1: Sign in to AWS Console
Go to the AWS Management Console.
Sign in to your AWS account.
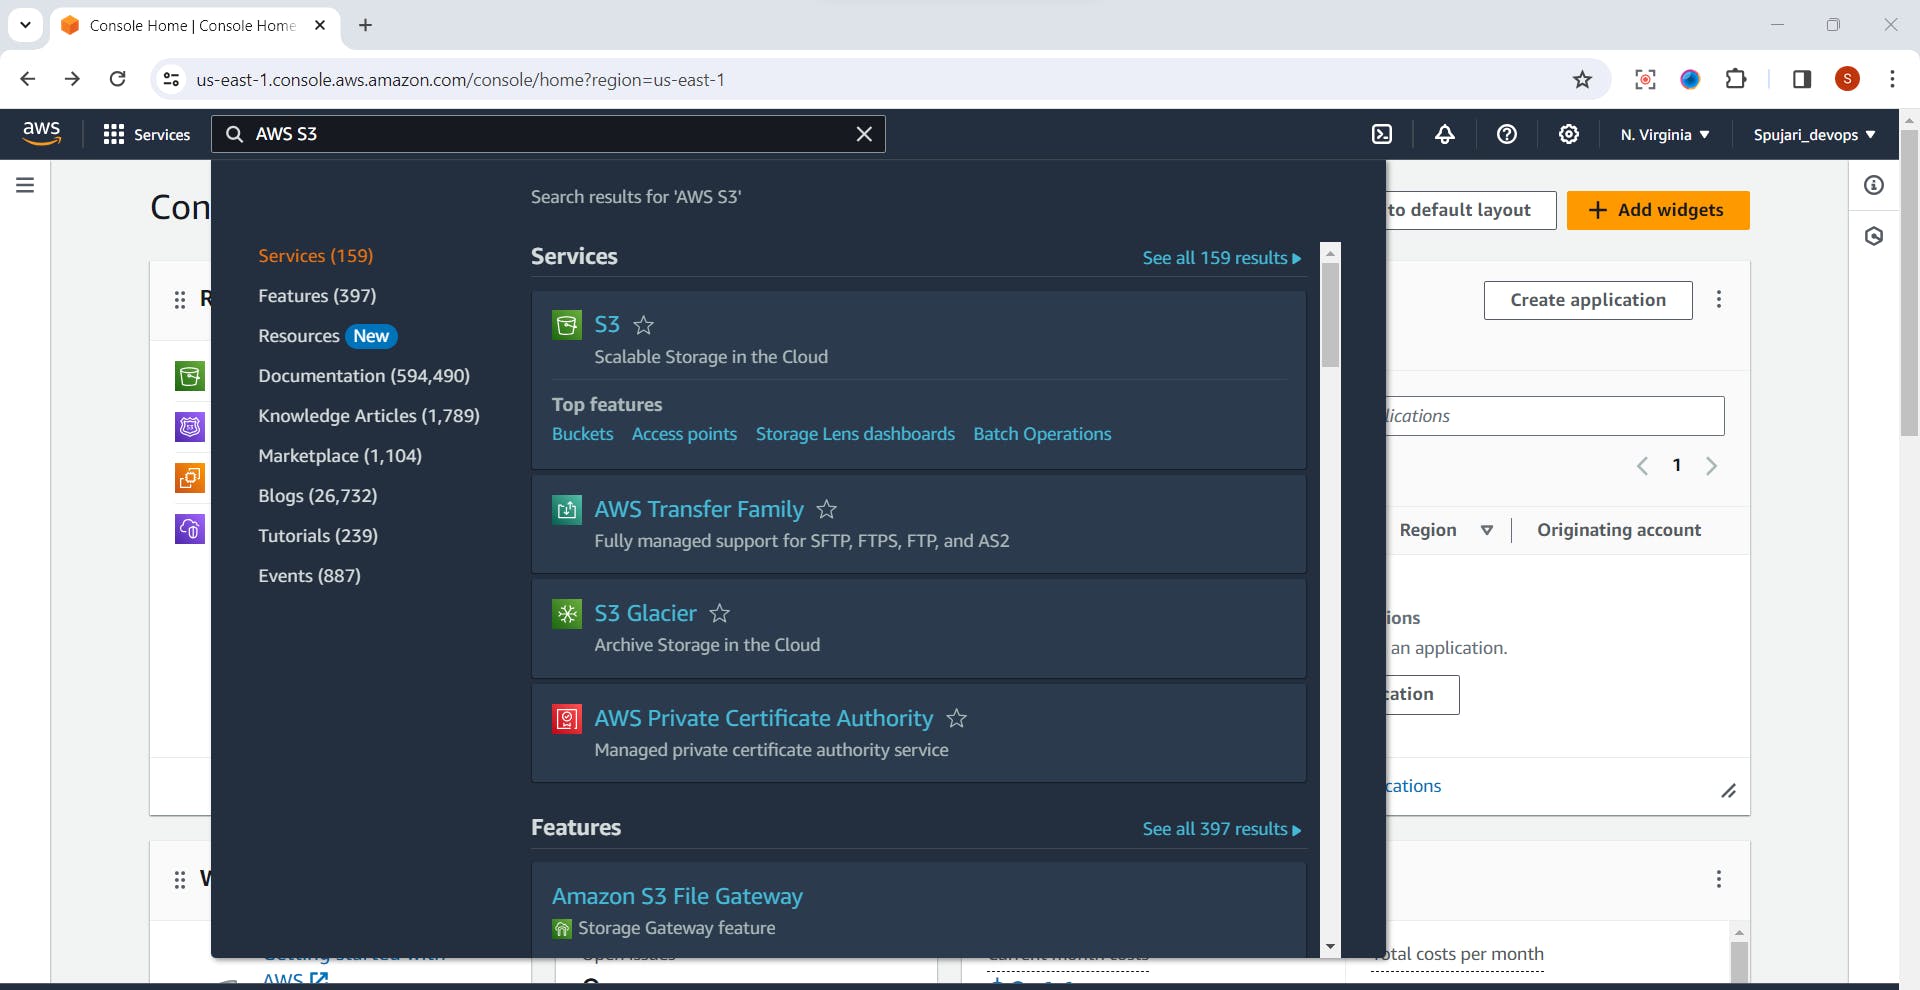
Step 2: Navigate to S3 Service
In the AWS Management Console, find and click on the "Services" dropdown.
Select "S3" under the "Storage" category.
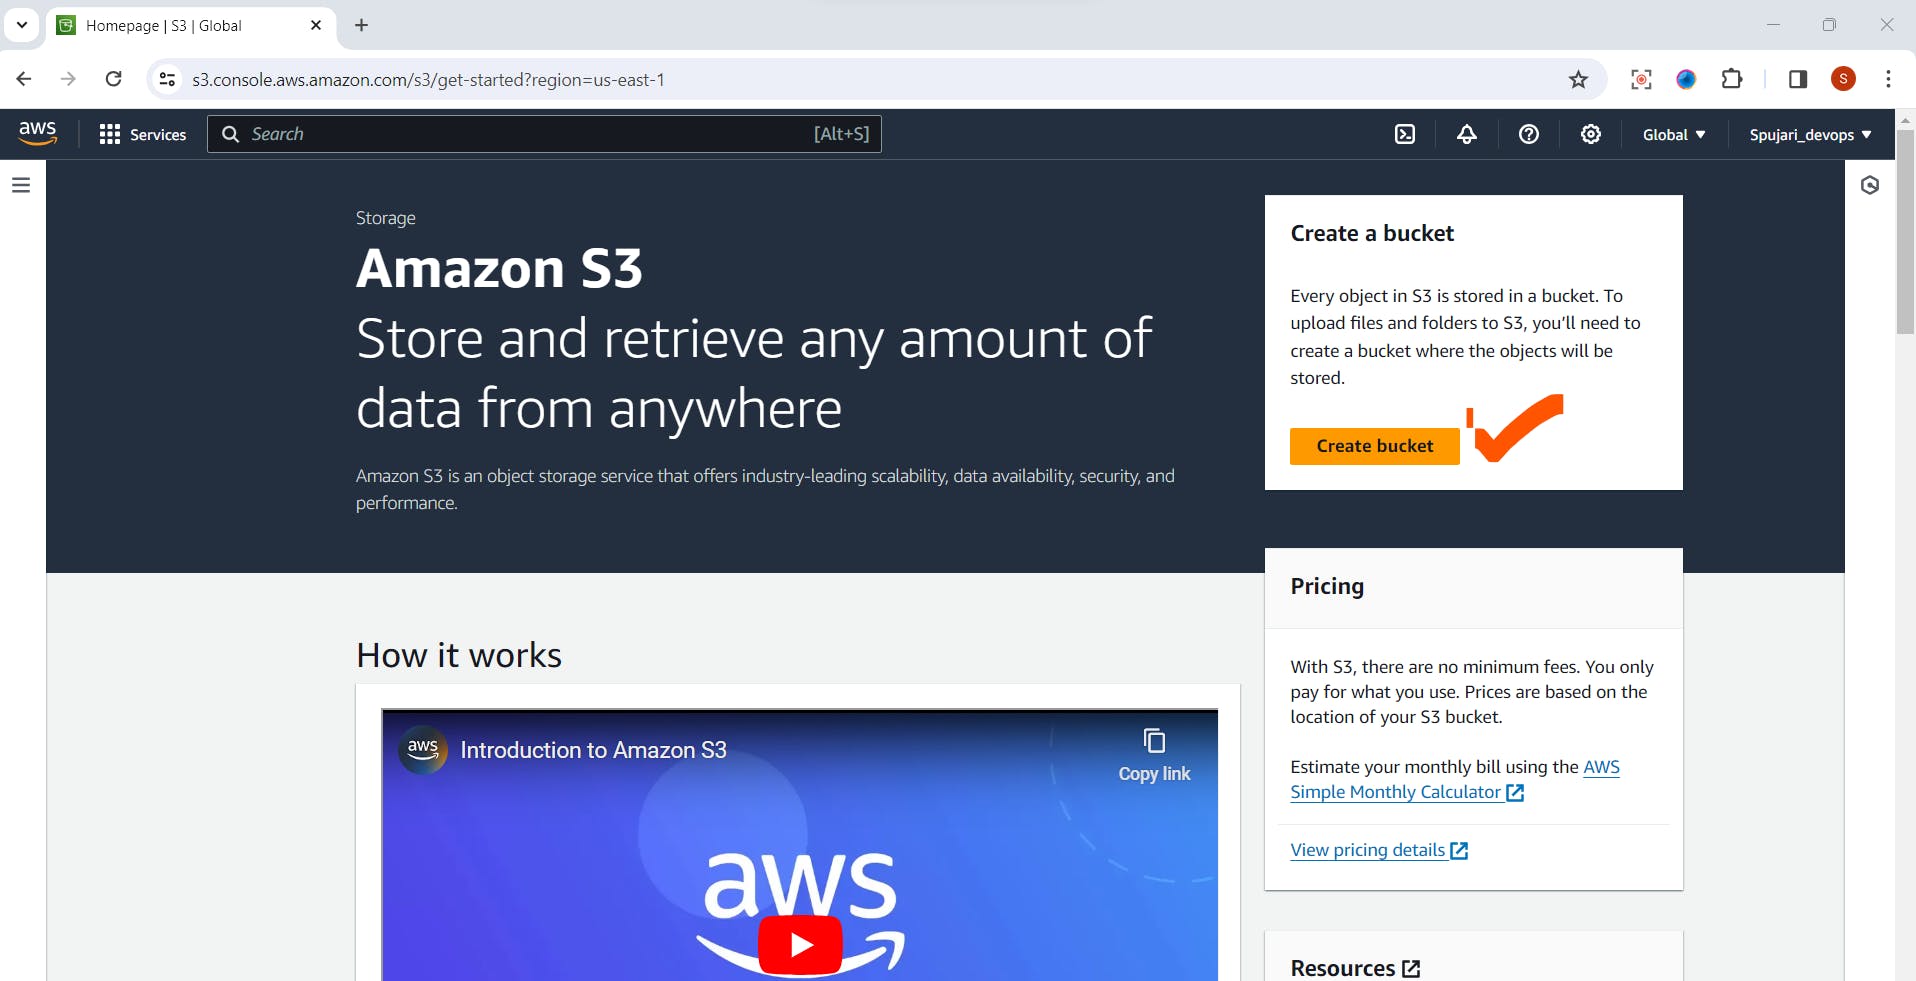
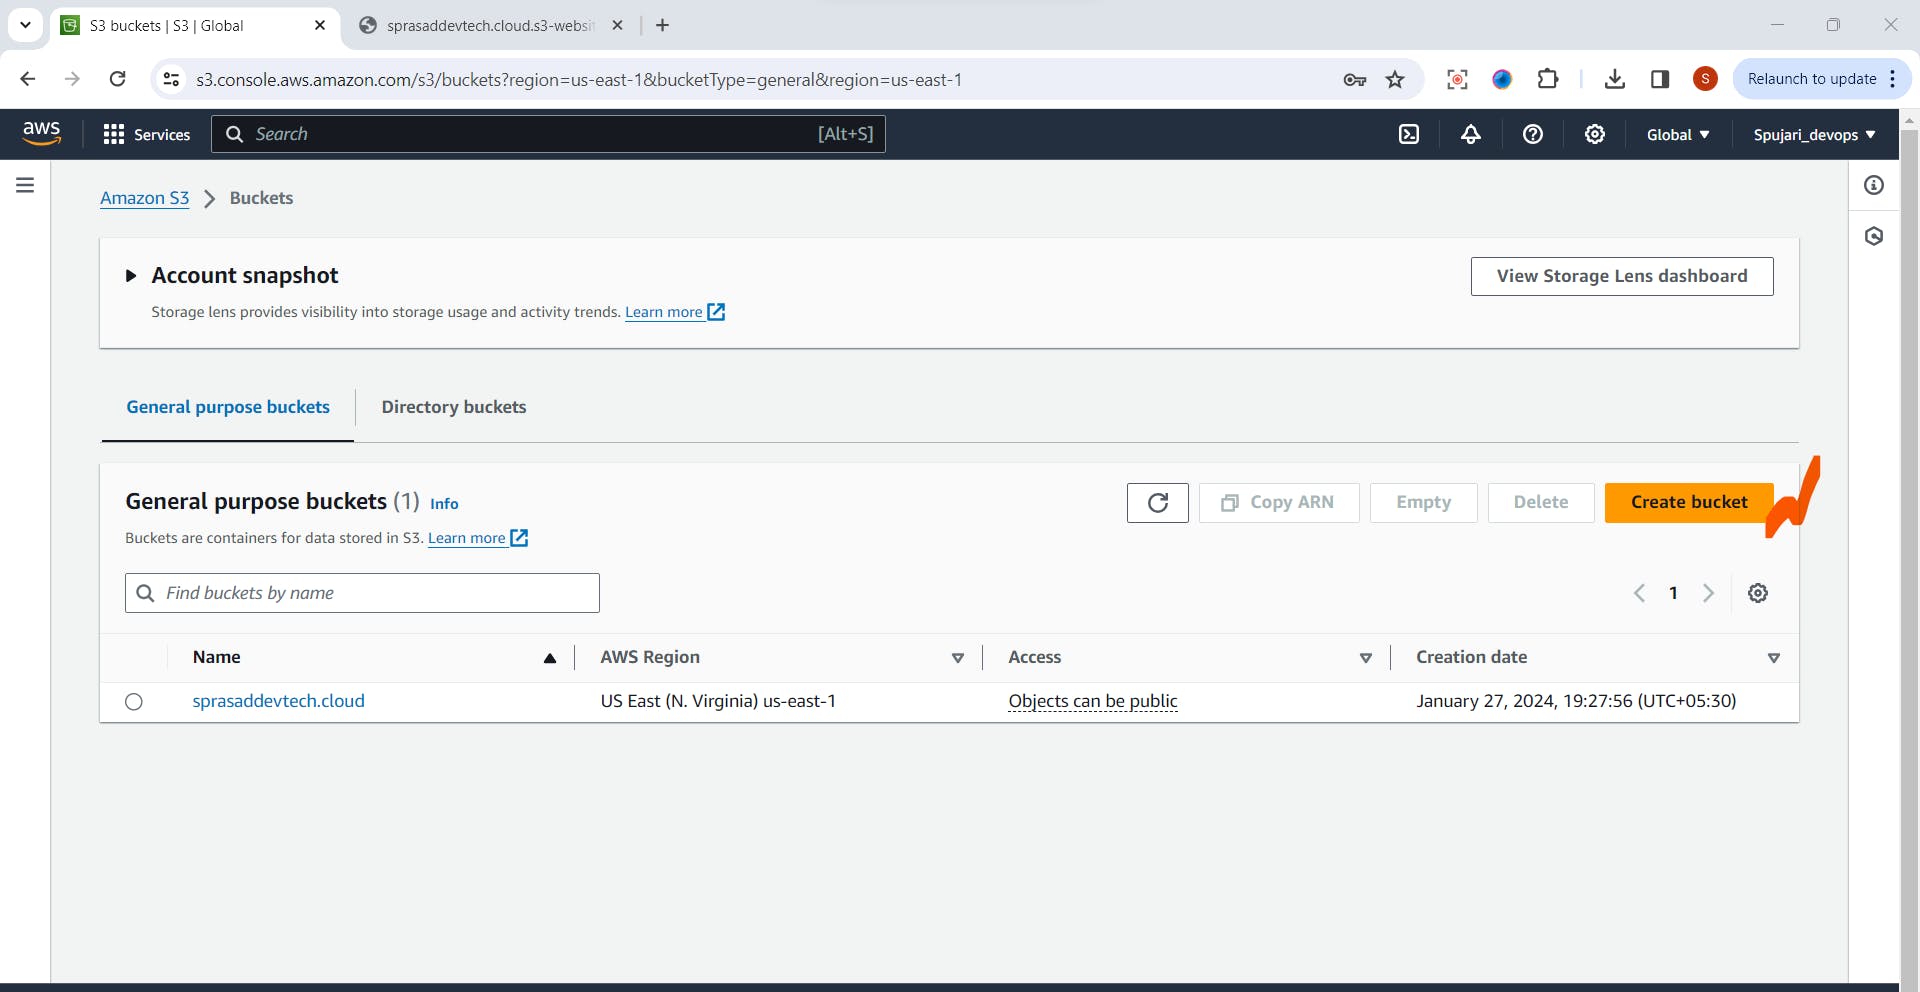
Step 3: Create a New S3 Bucket
Click the "Create bucket" button.
Enter Bucket Name -its your domain name here
Region -Select as default or select Mumbai
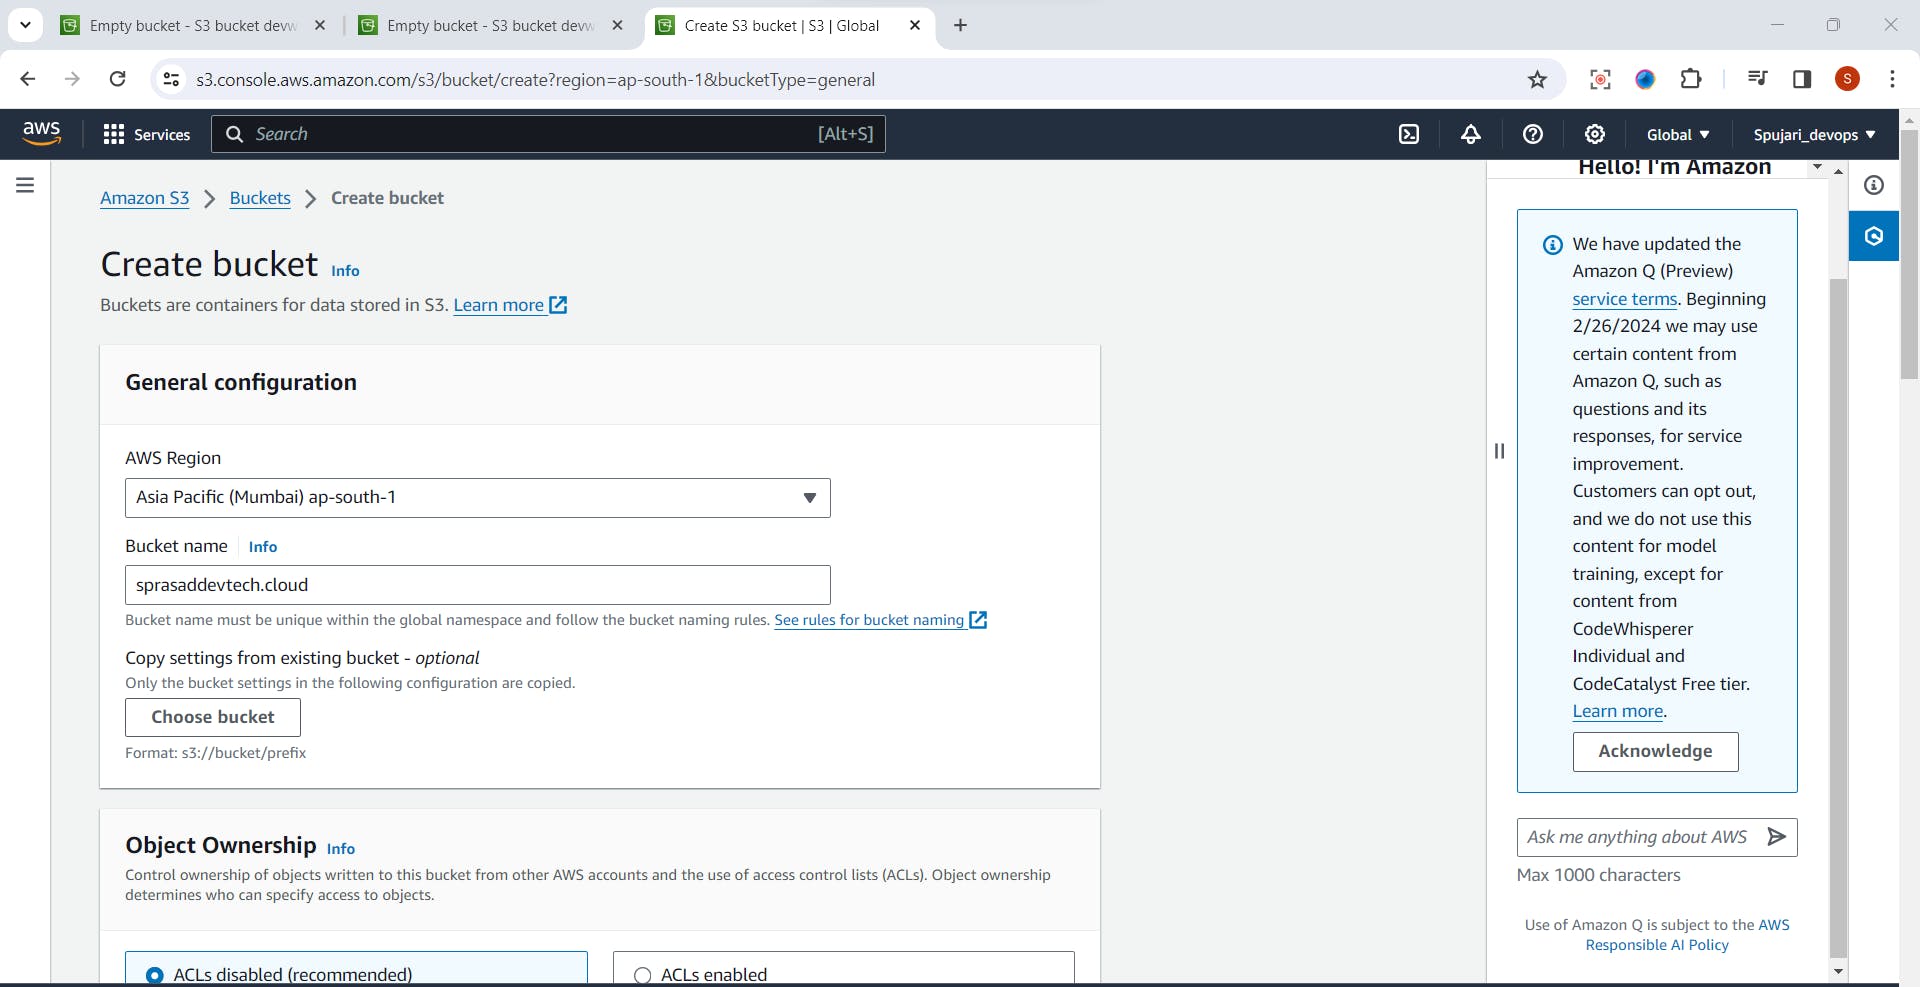
Object Ownership-Set as default
Block Public Access Settings for this bucket -Uncheck
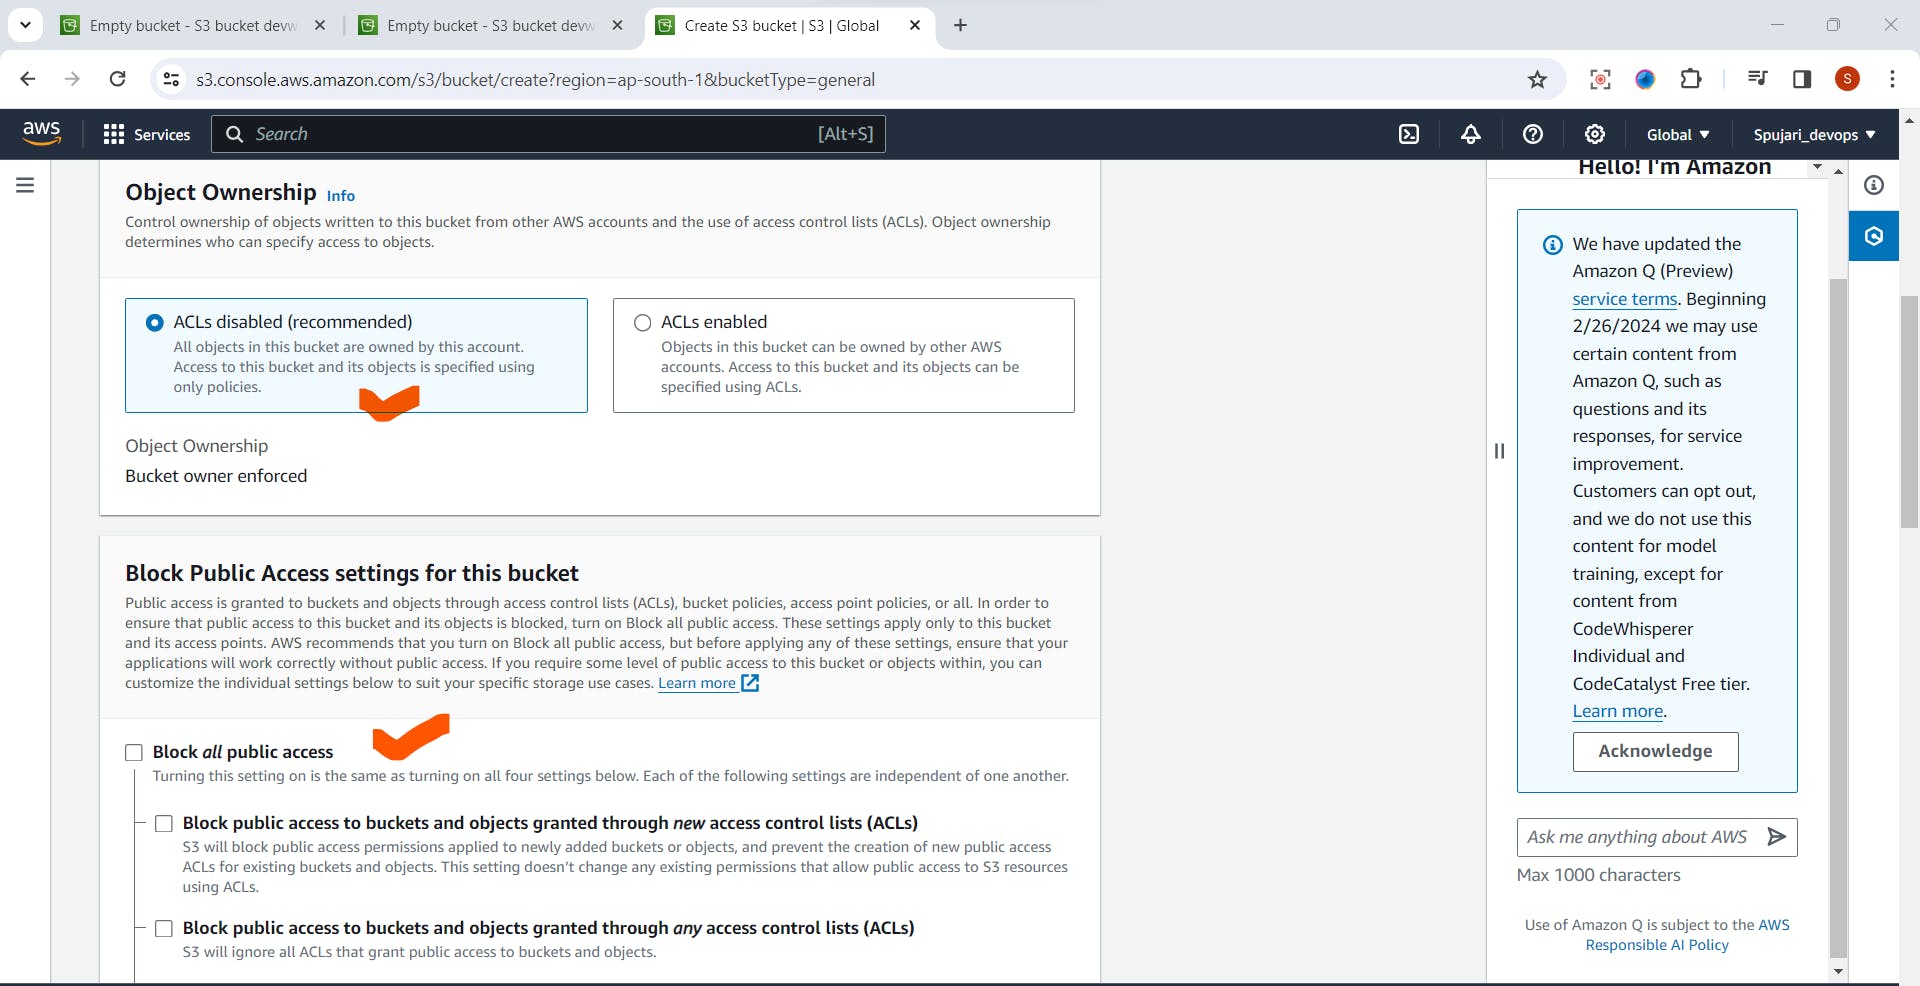
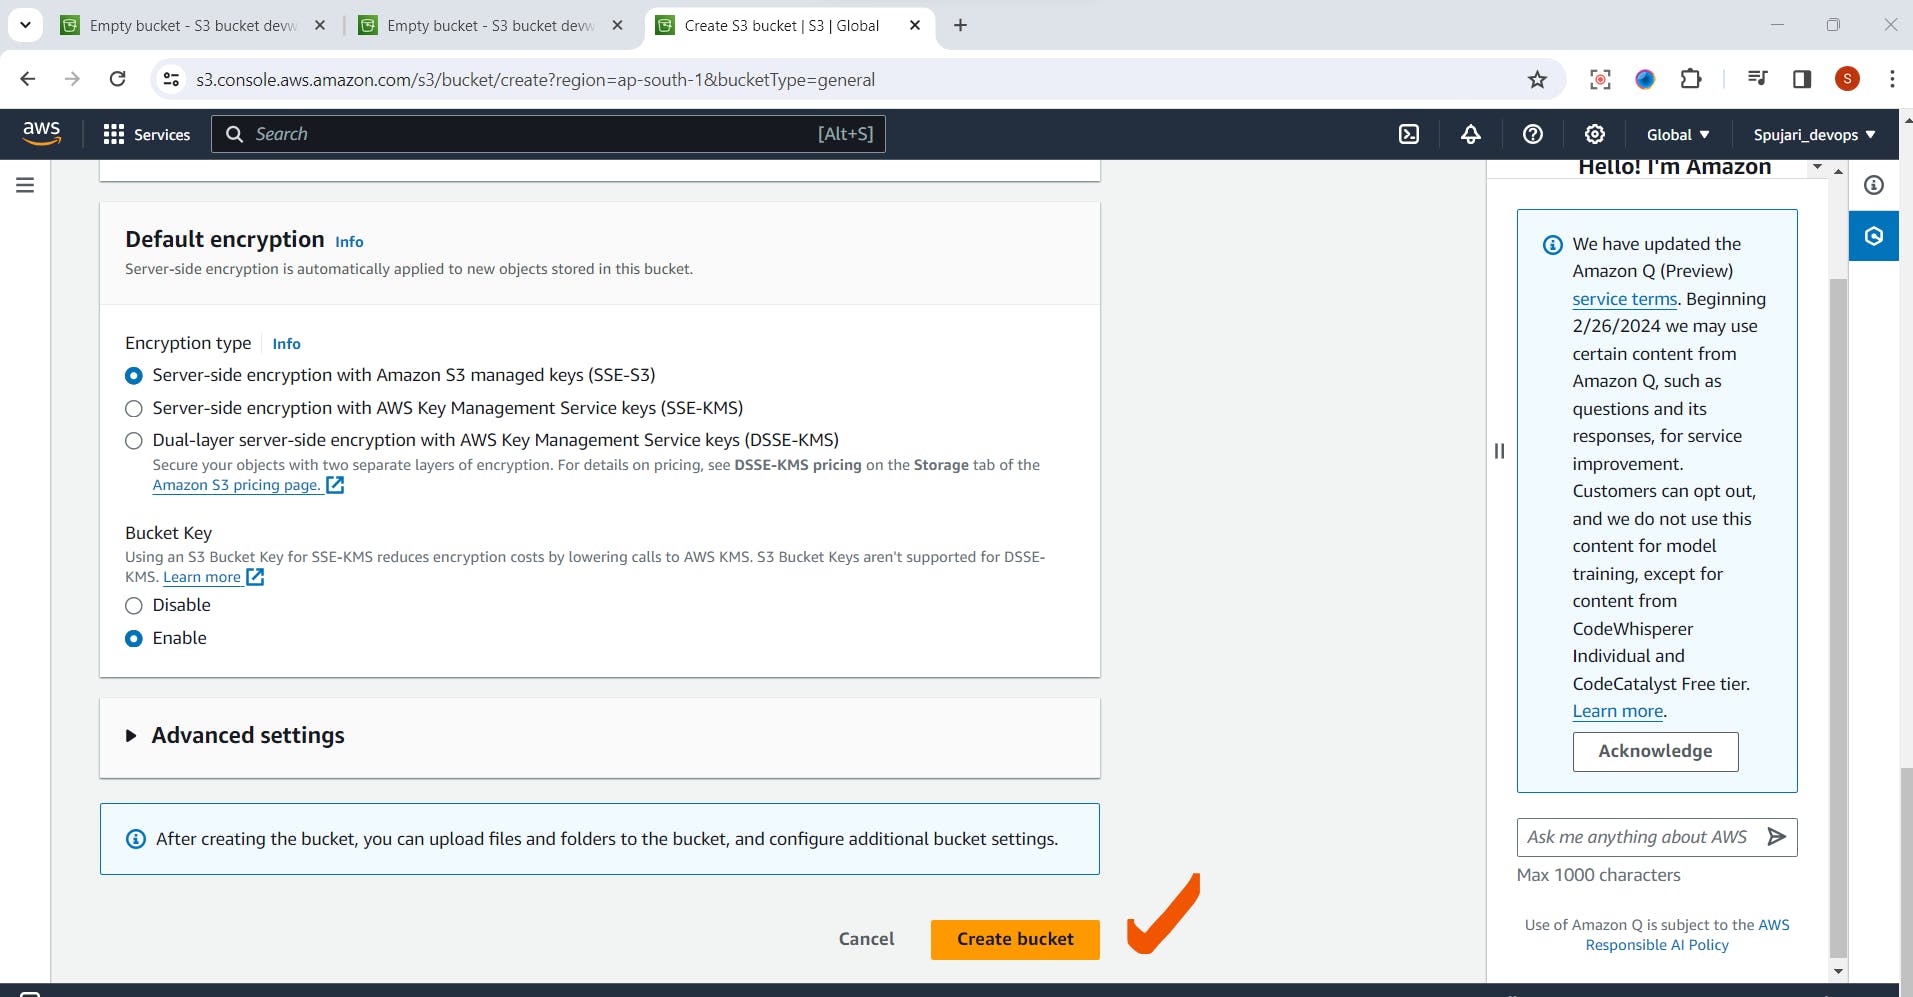
Rest of the option -Set as Default as it is
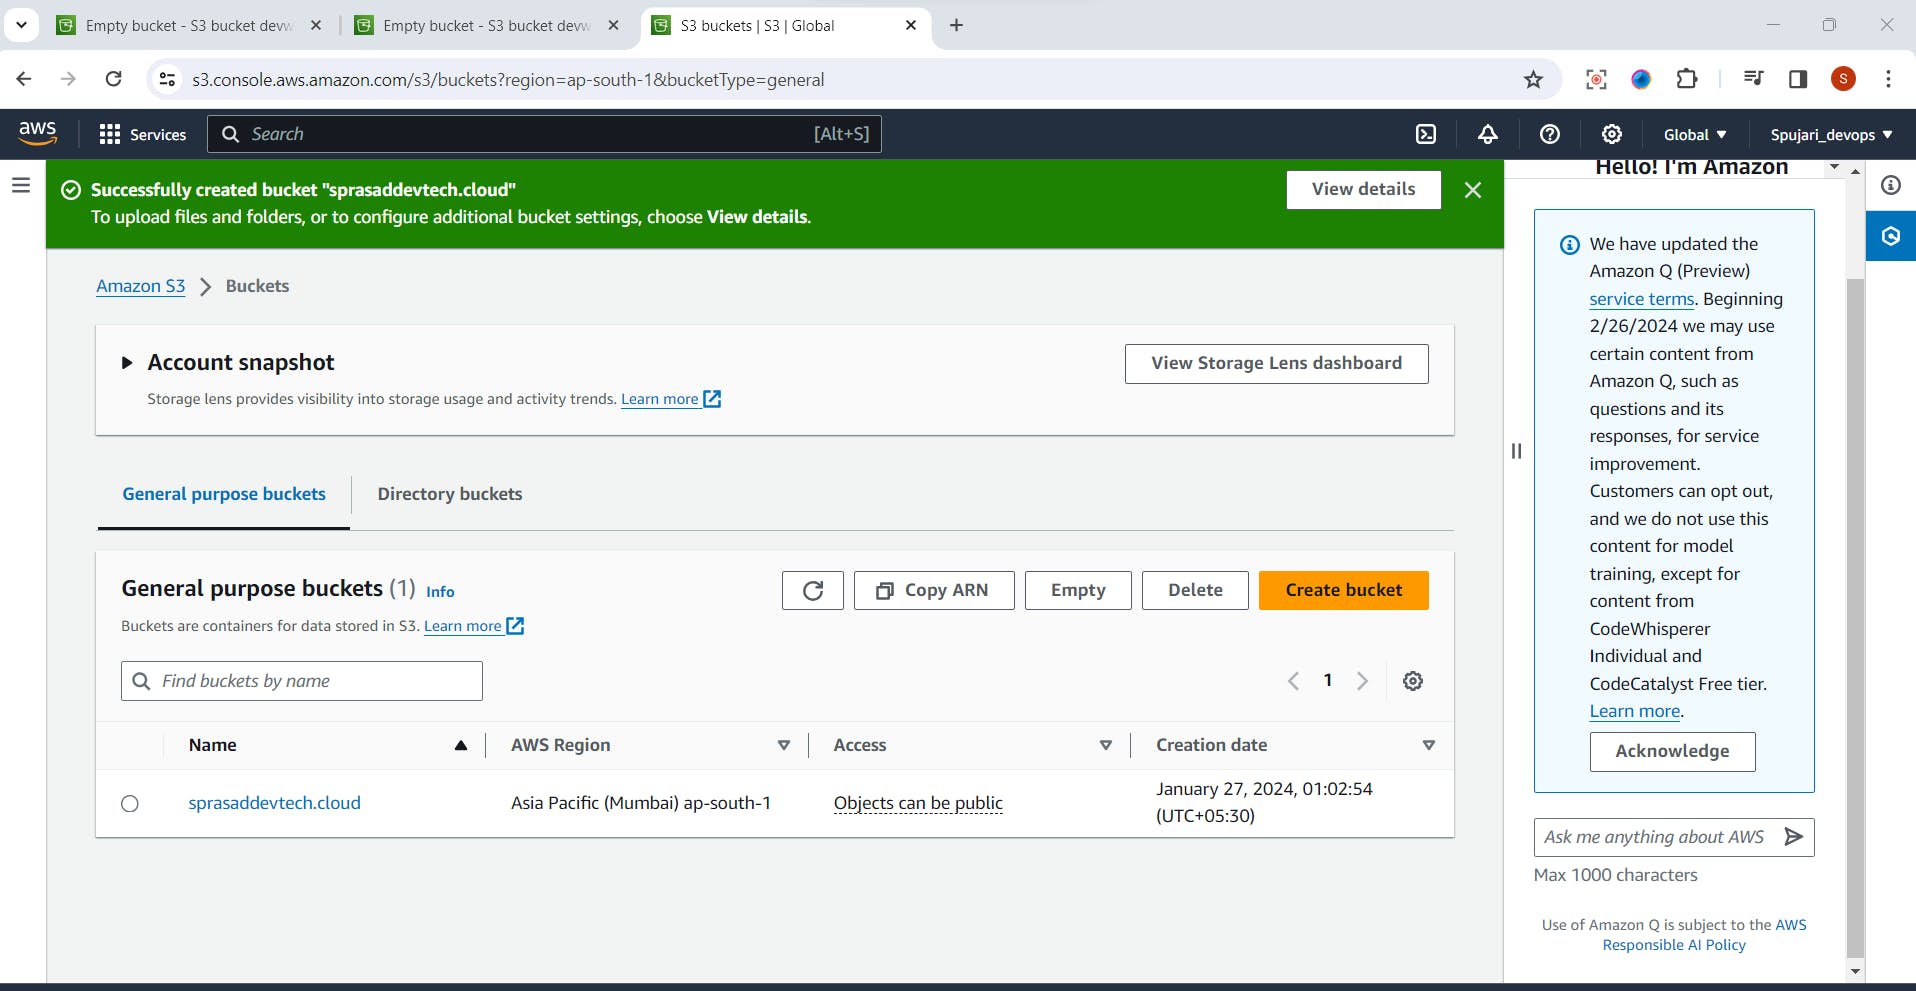
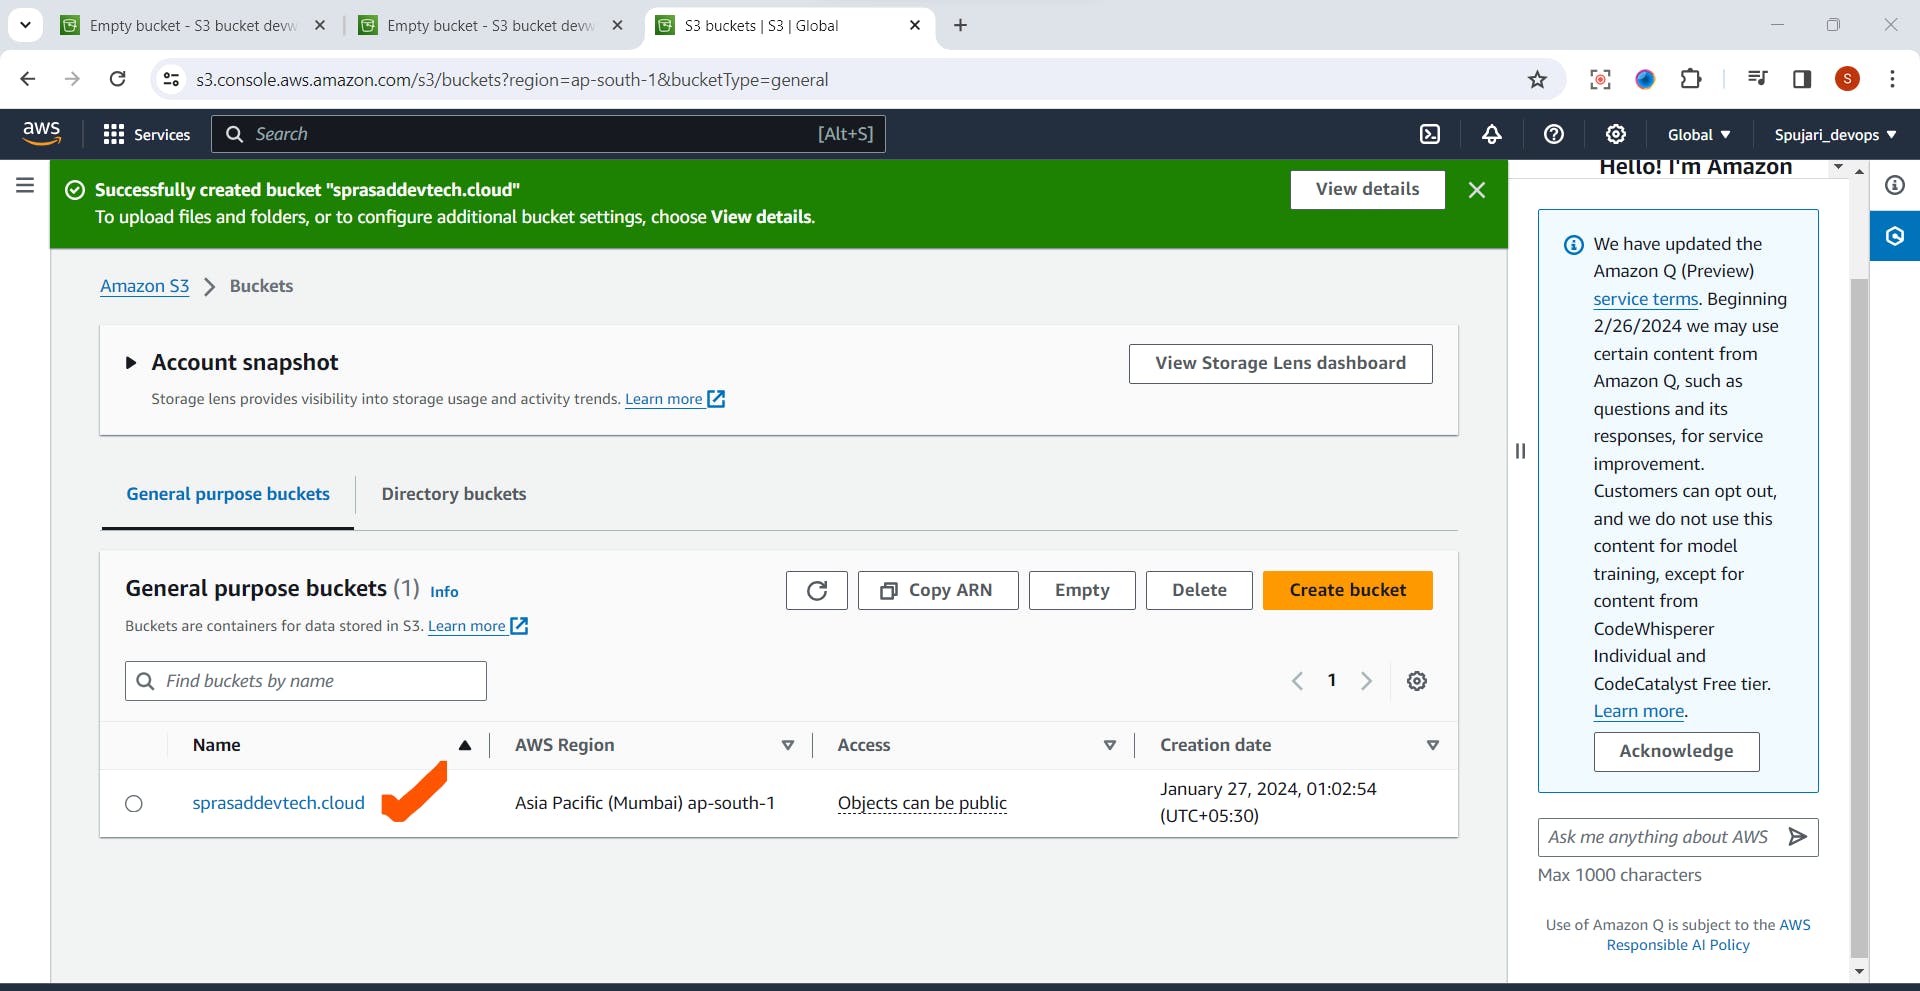
Click on Create bucket
Bucket is created successfully
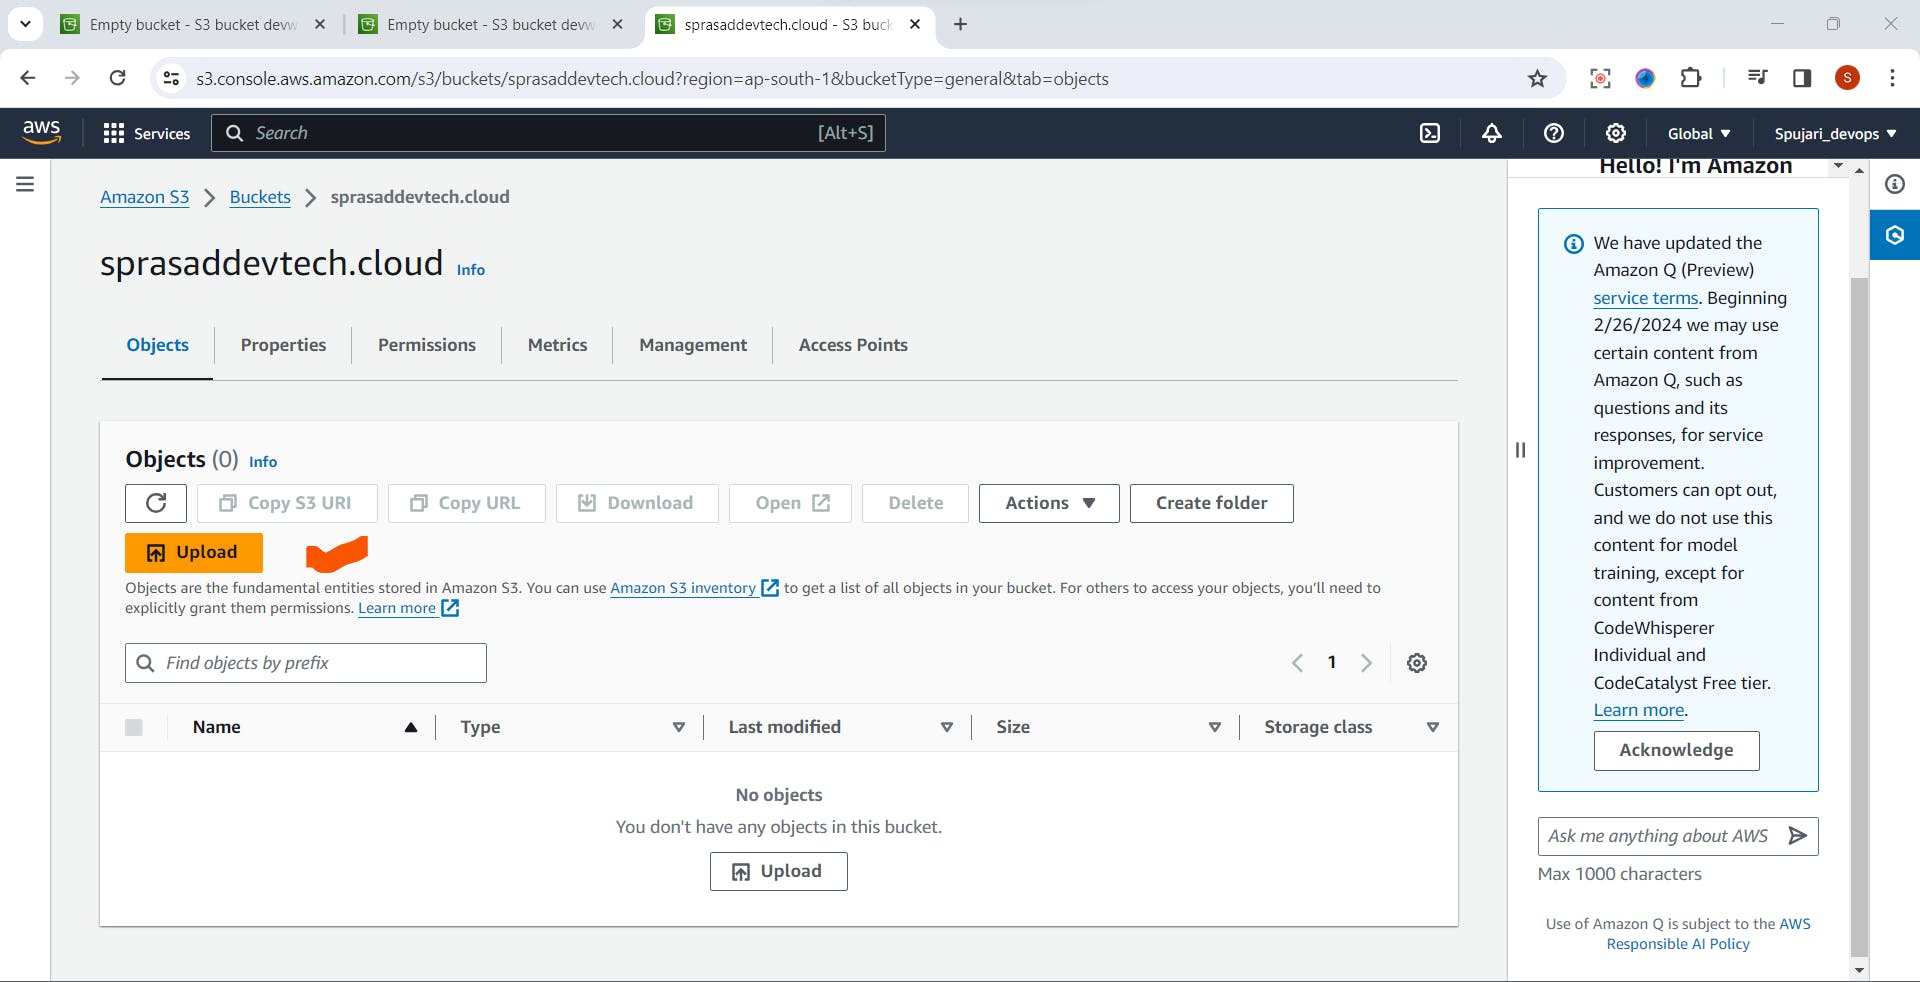
Step 4: Upload Files to the S3 Bucket
Click on newly created bucket
Click on the "Upload" button.
Click on the Add files or folders from your local machine.
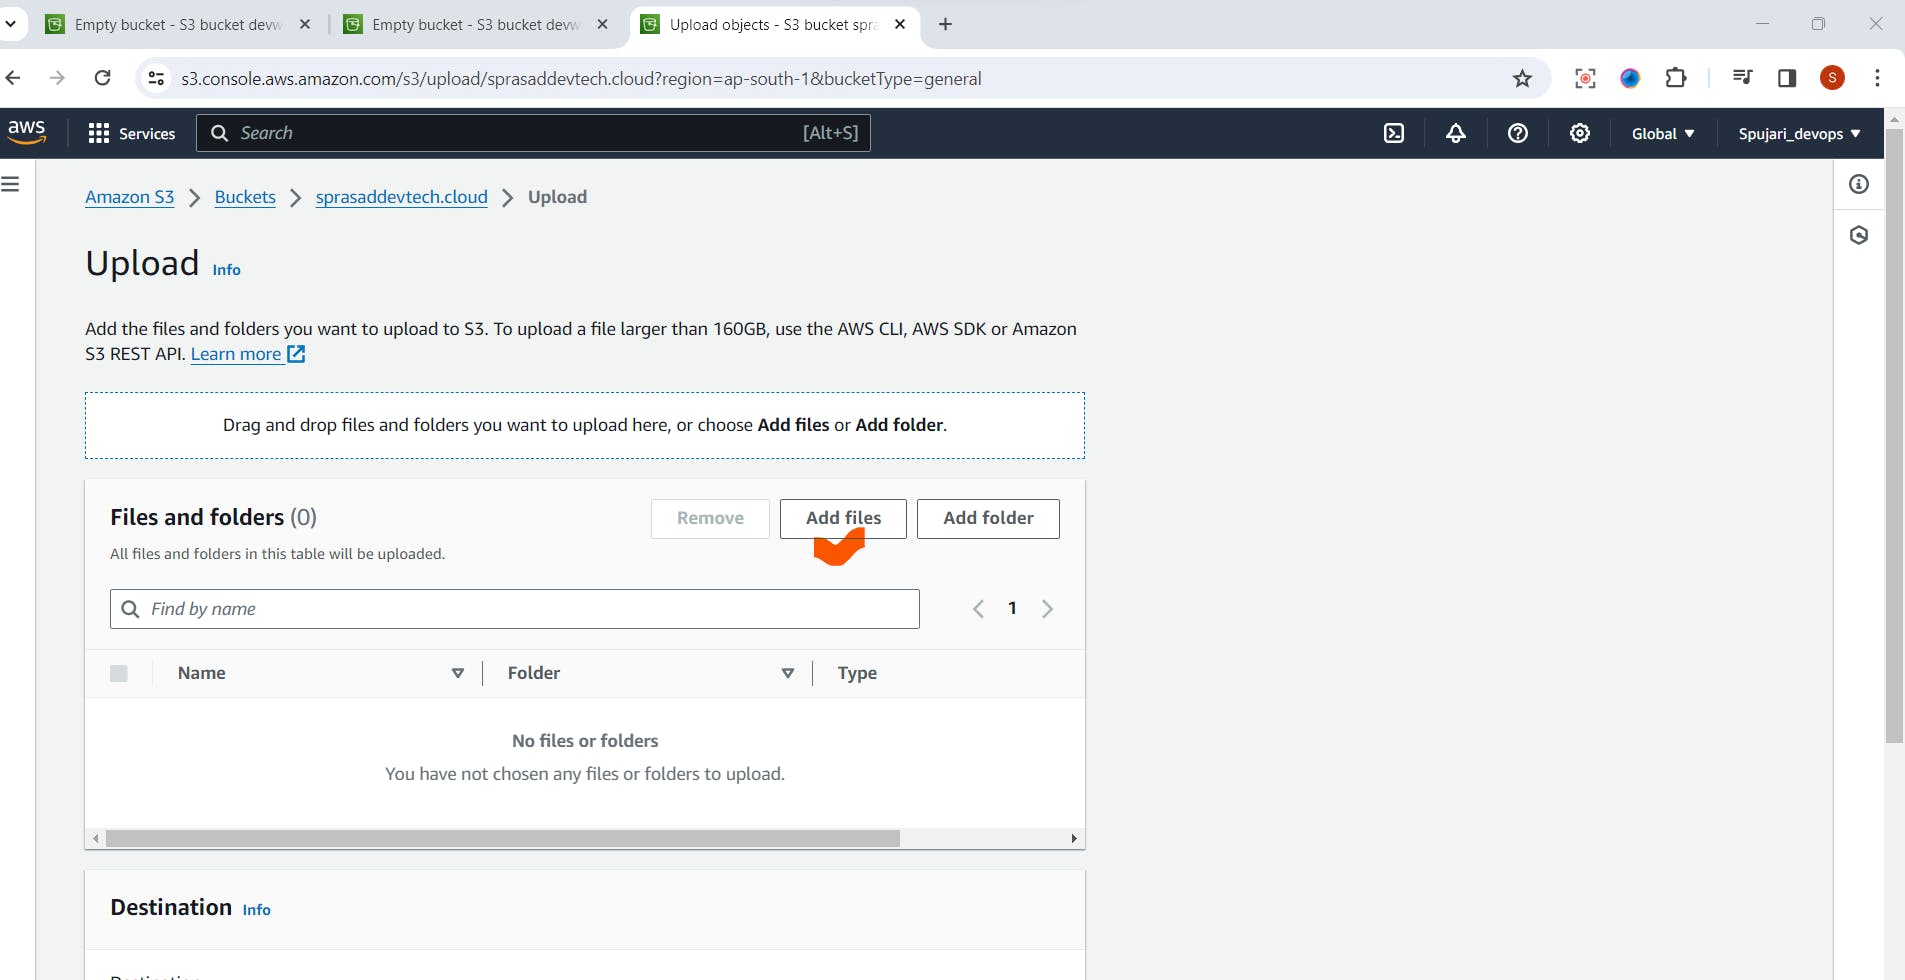
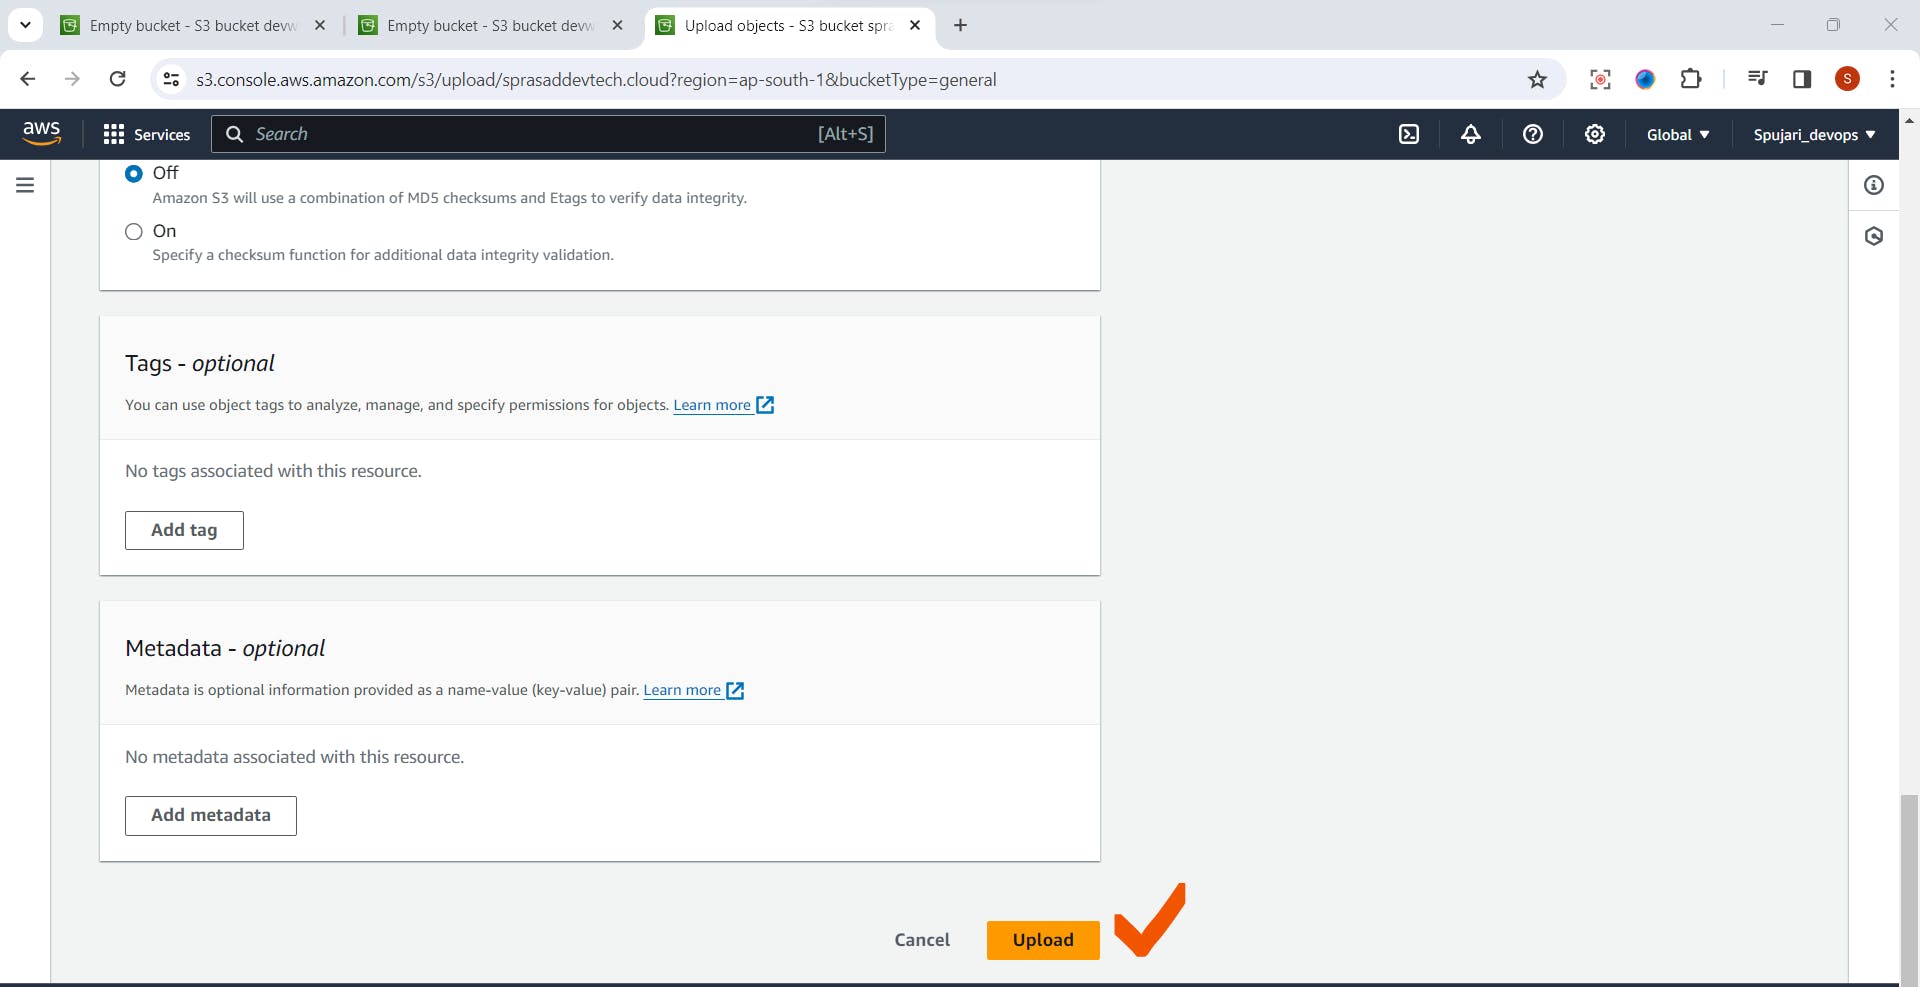
Configure settings like permissions and storage class if needed.
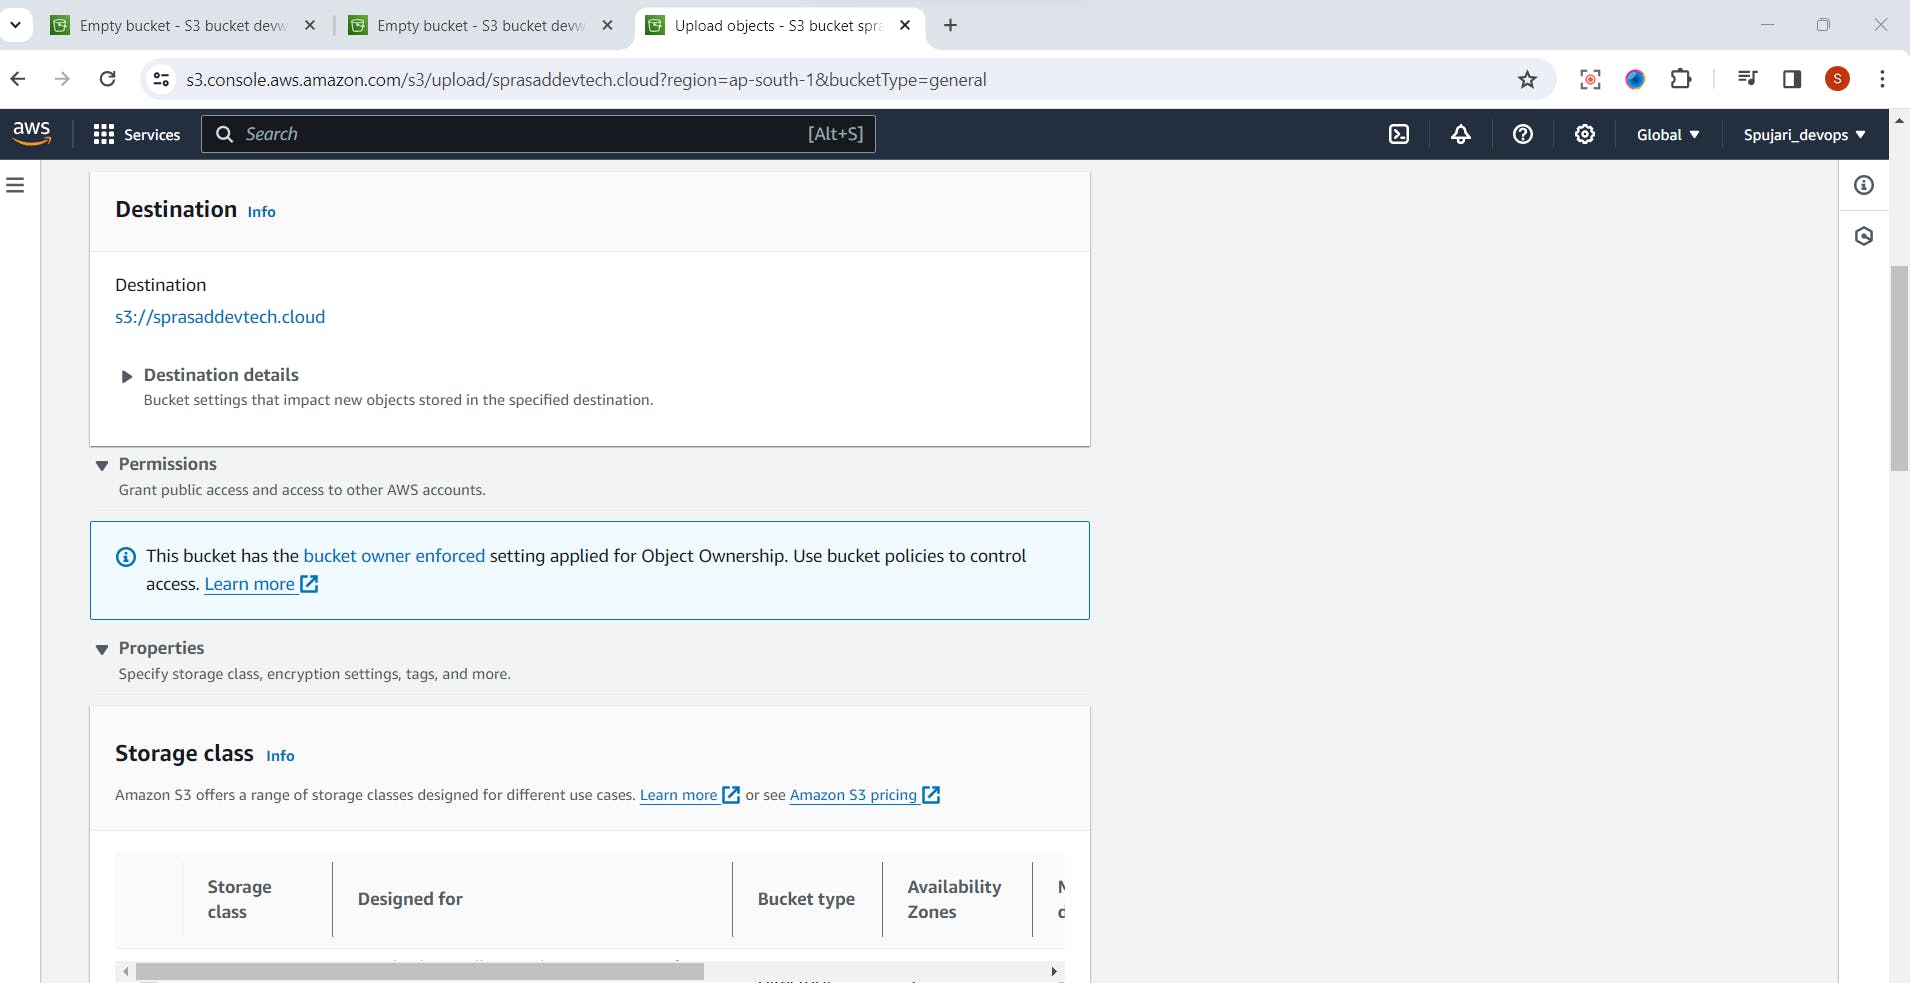
Rest of the option set as Default -No need to change anything.
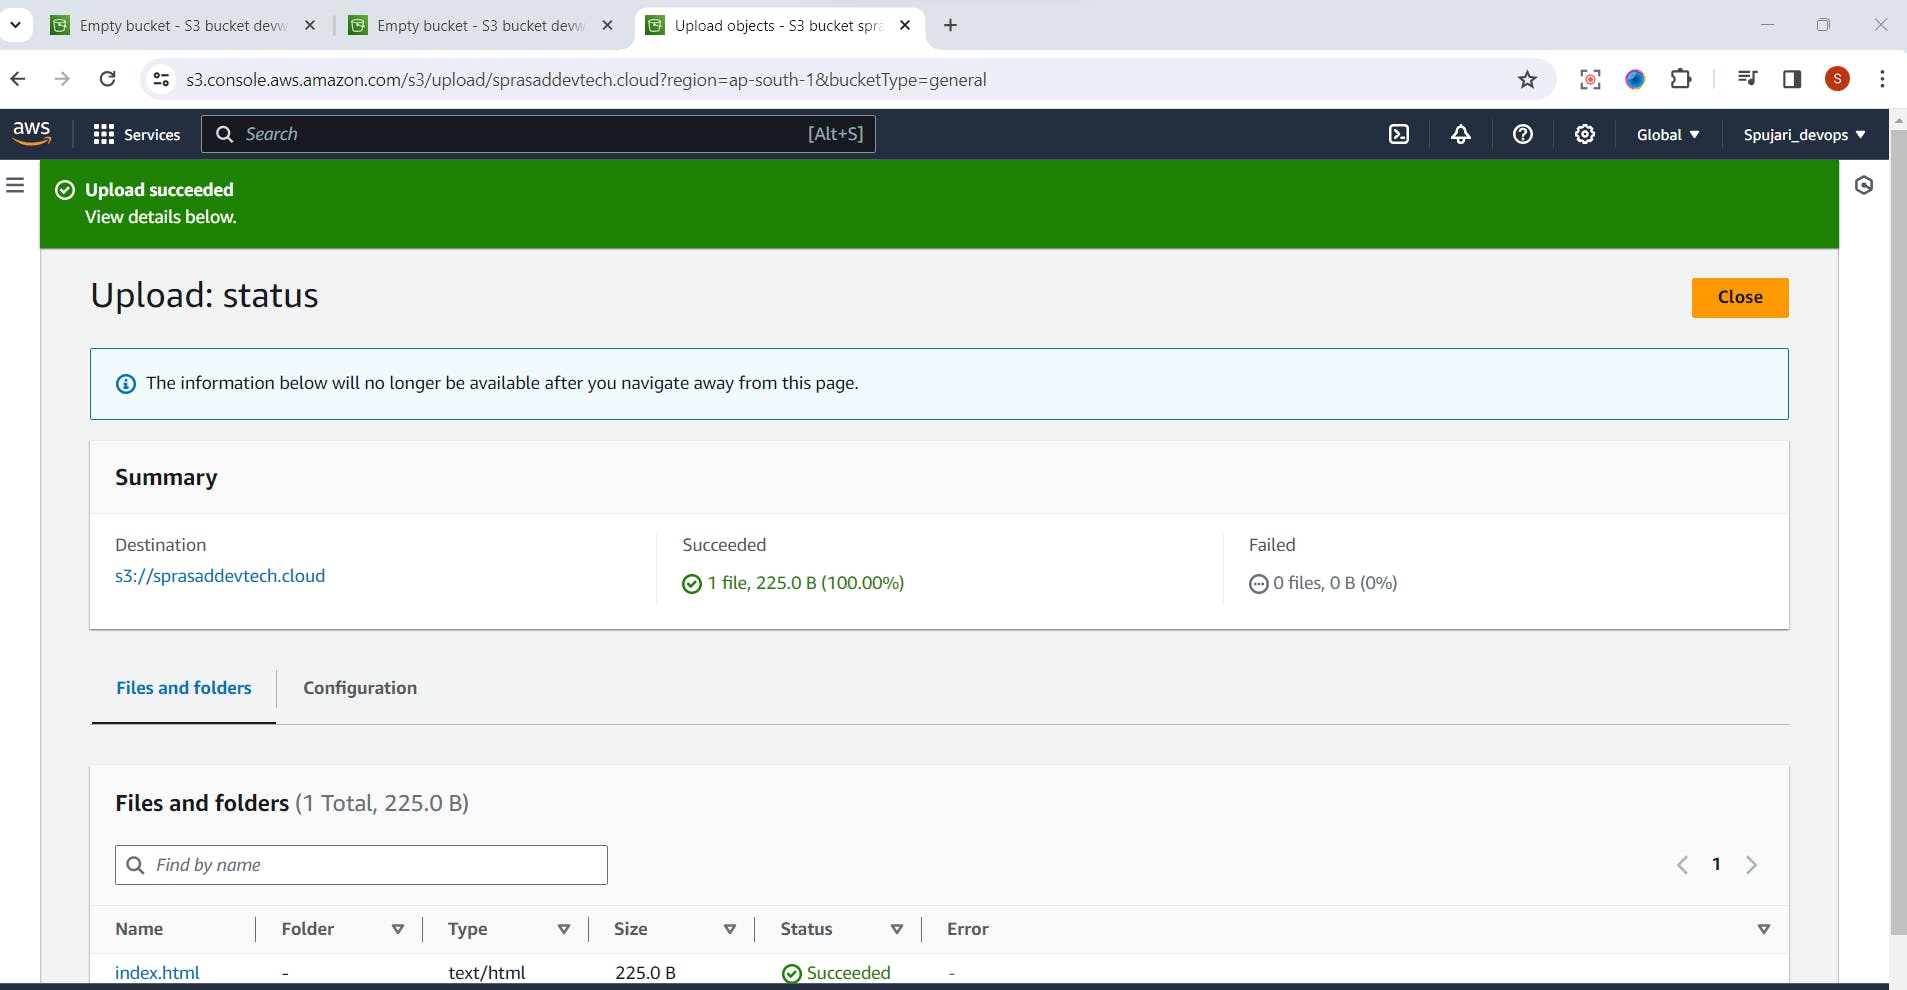
Click on "Upload" to upload your files.
File uploaded successfully
Step 5: Set Permissions (Optional)
Click the "Permissions" tab.- I have already off this option during creation process
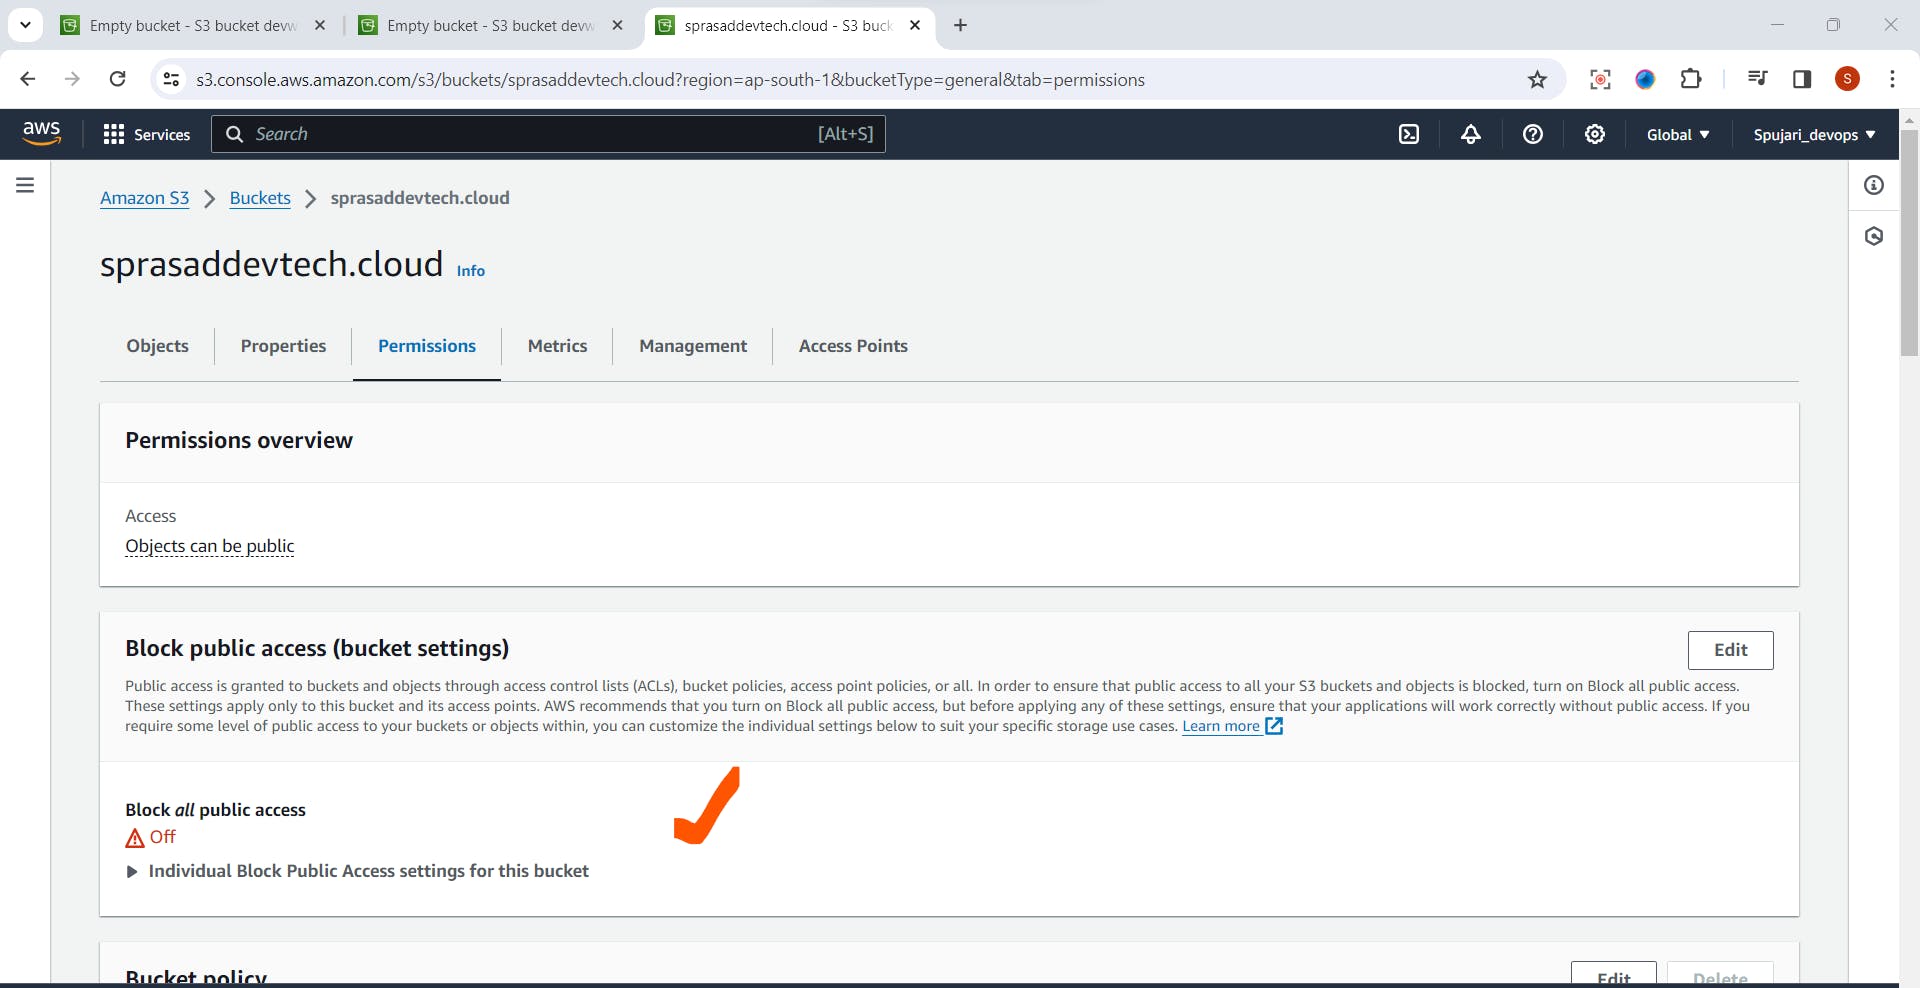
Adjust permissions by adding or modifying Access Control Lists (ACLs) or bucket policies.

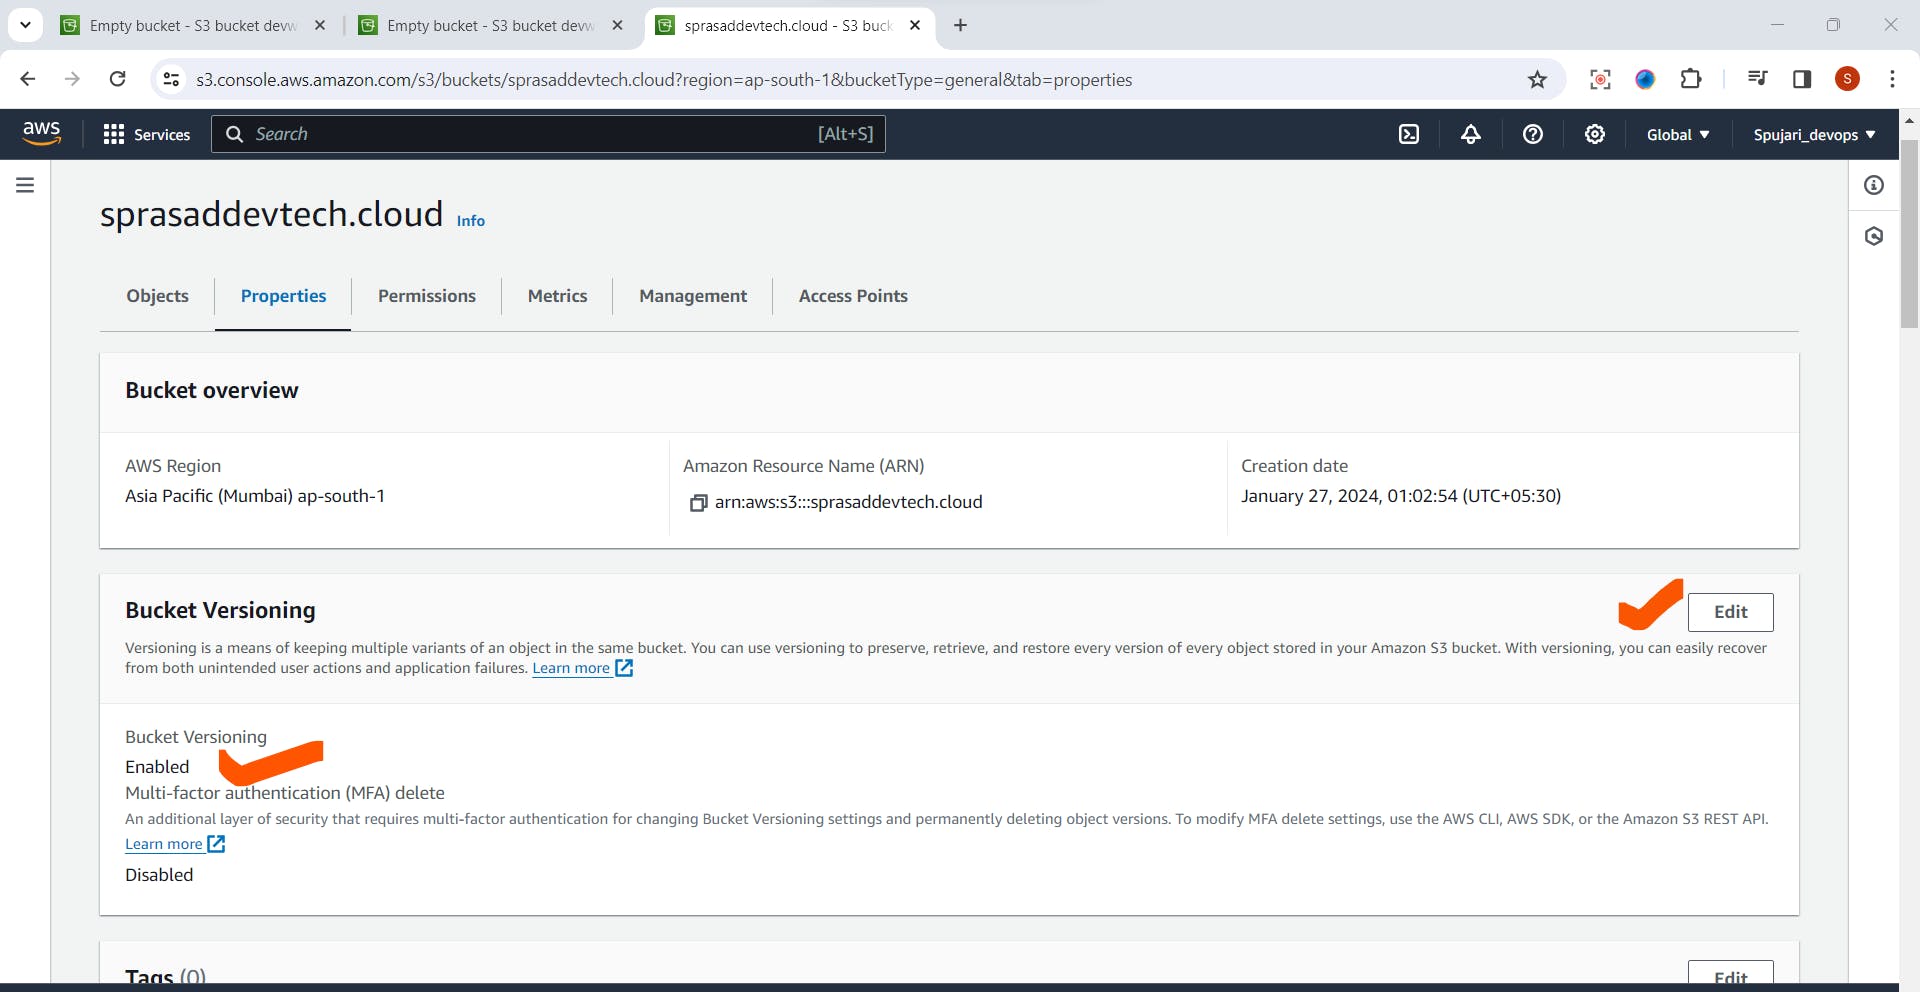
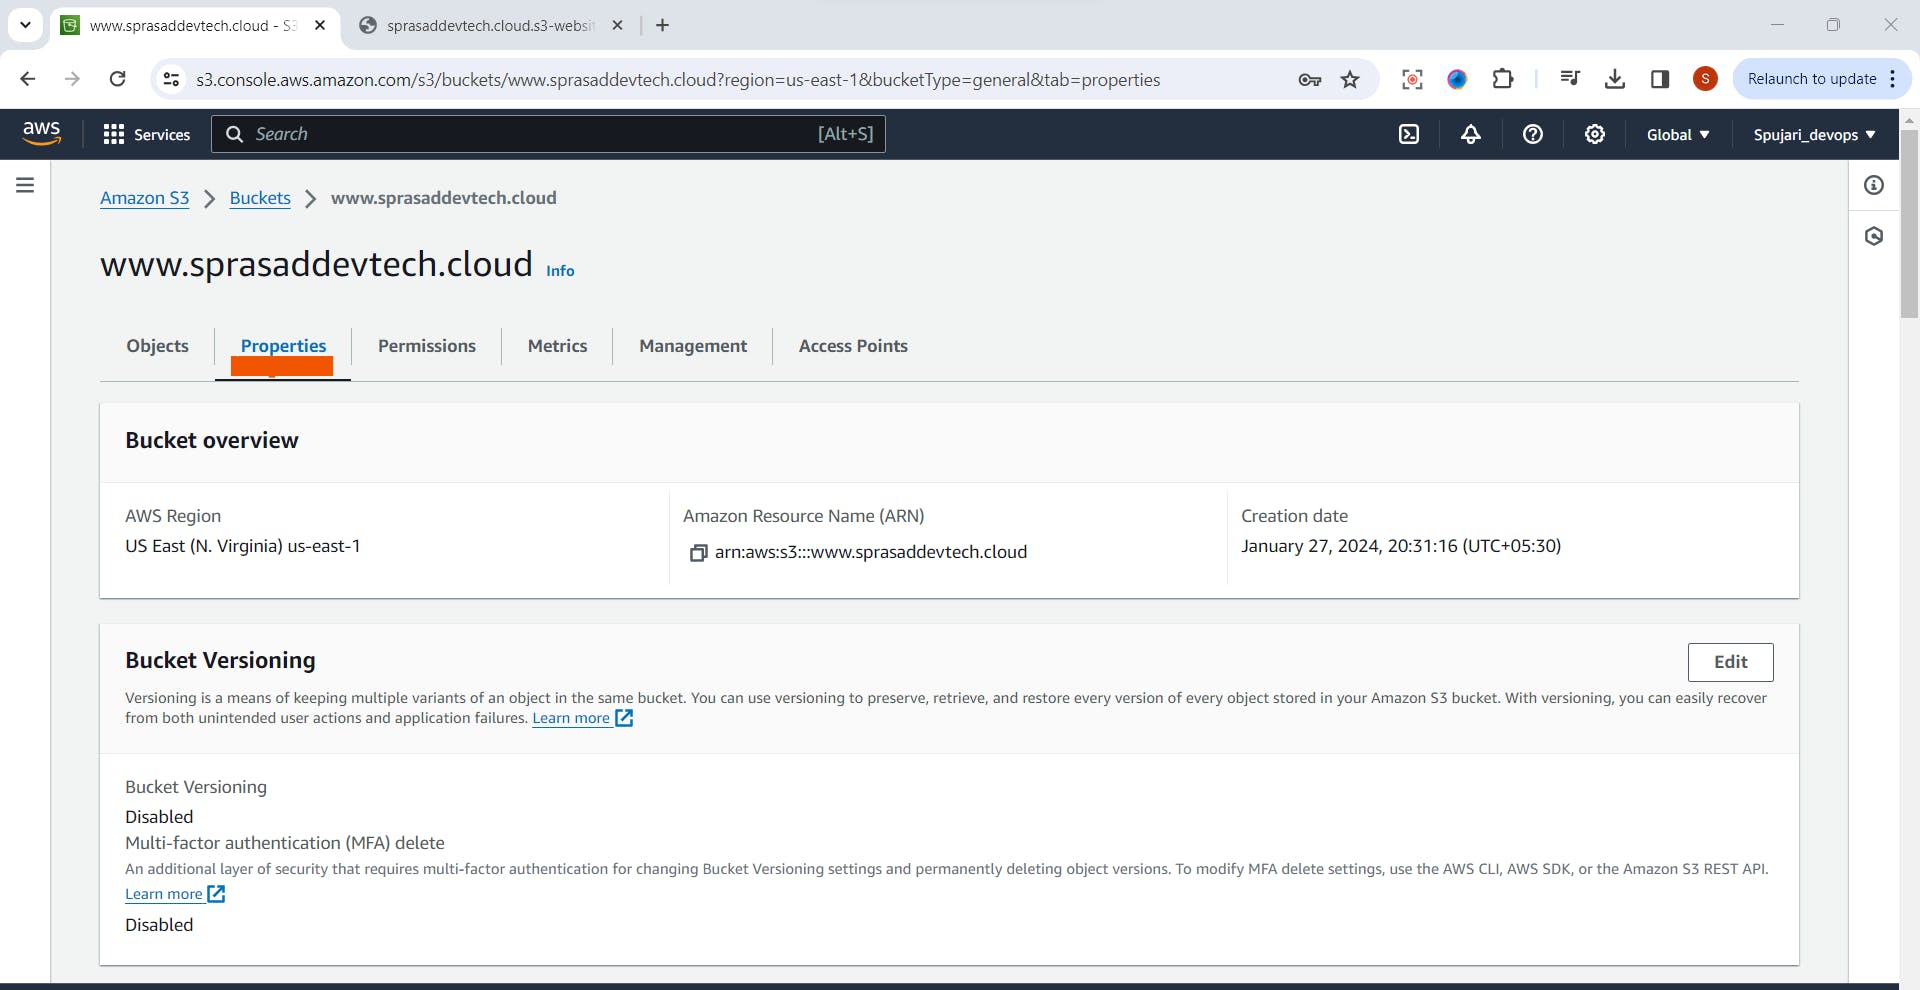
Step 6: Properties ->Enable Versioning (Optional)
In the bucket properties, navigate to the "Versioning" tab.
Turn on versioning to keep multiple versions of an object.
This helps in tracking changes and recovering from accidental deletions.
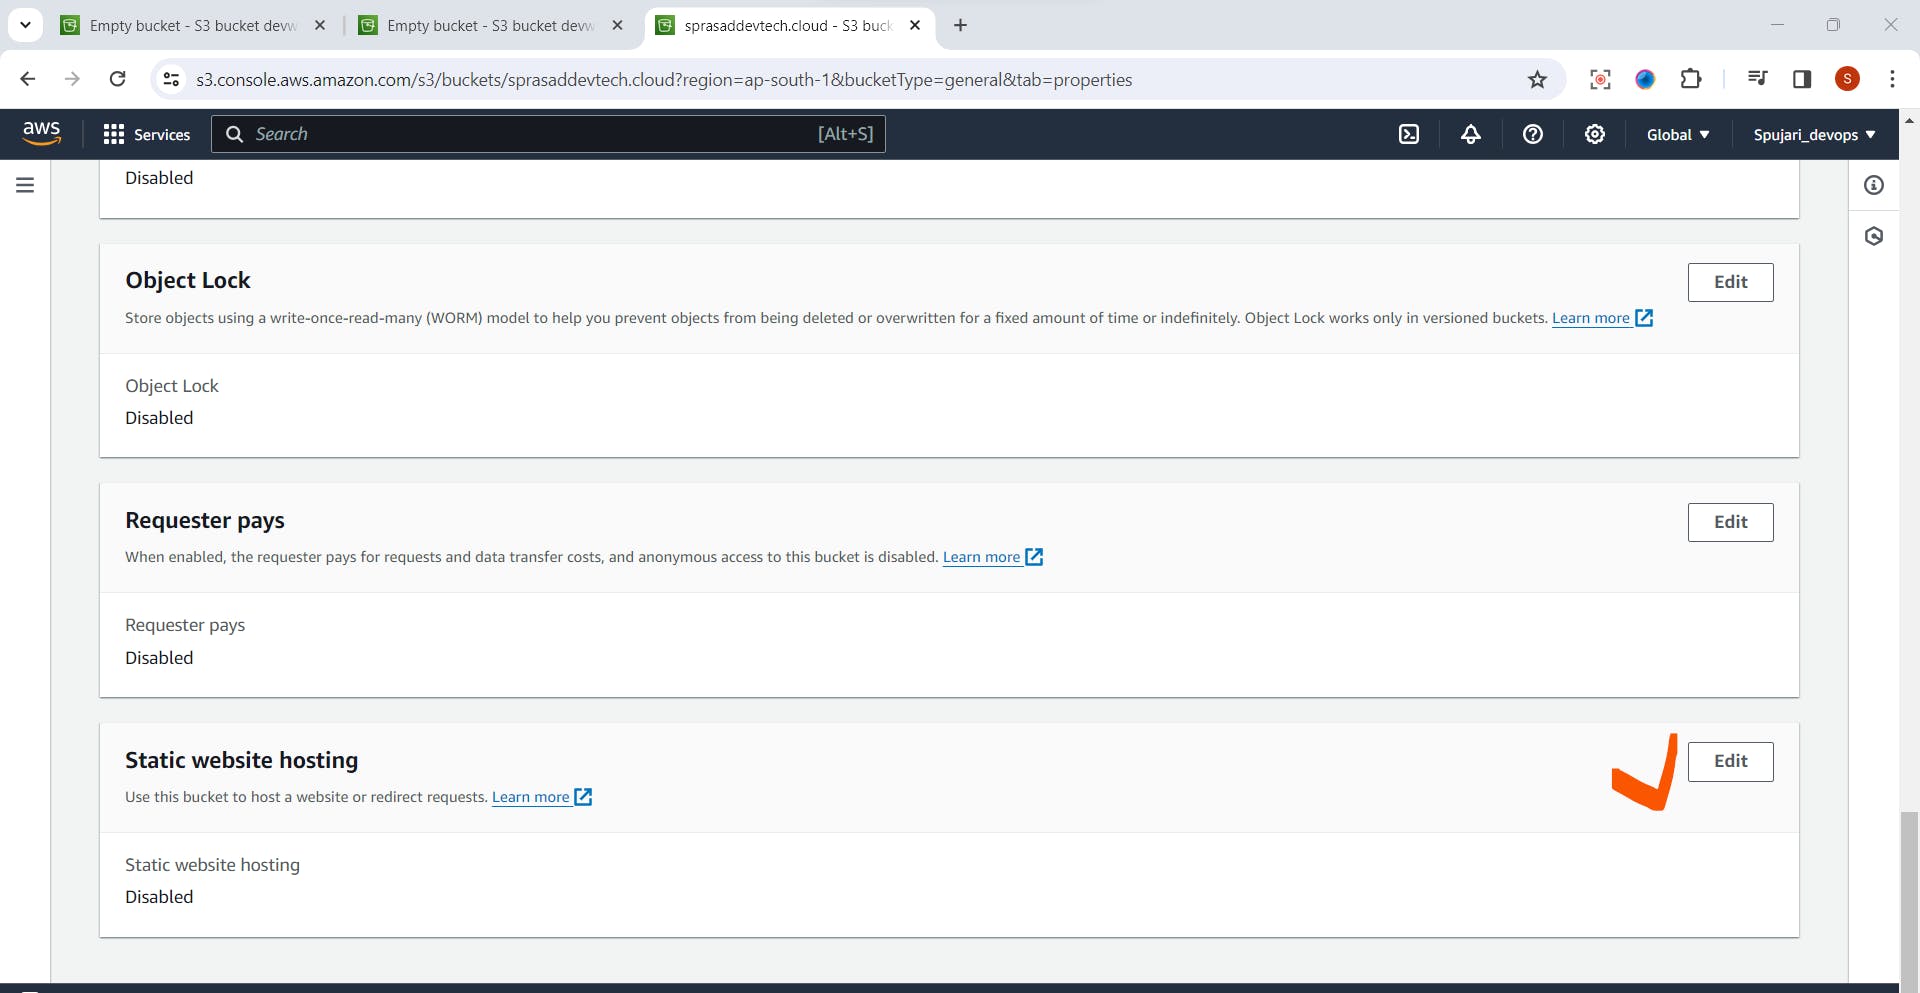
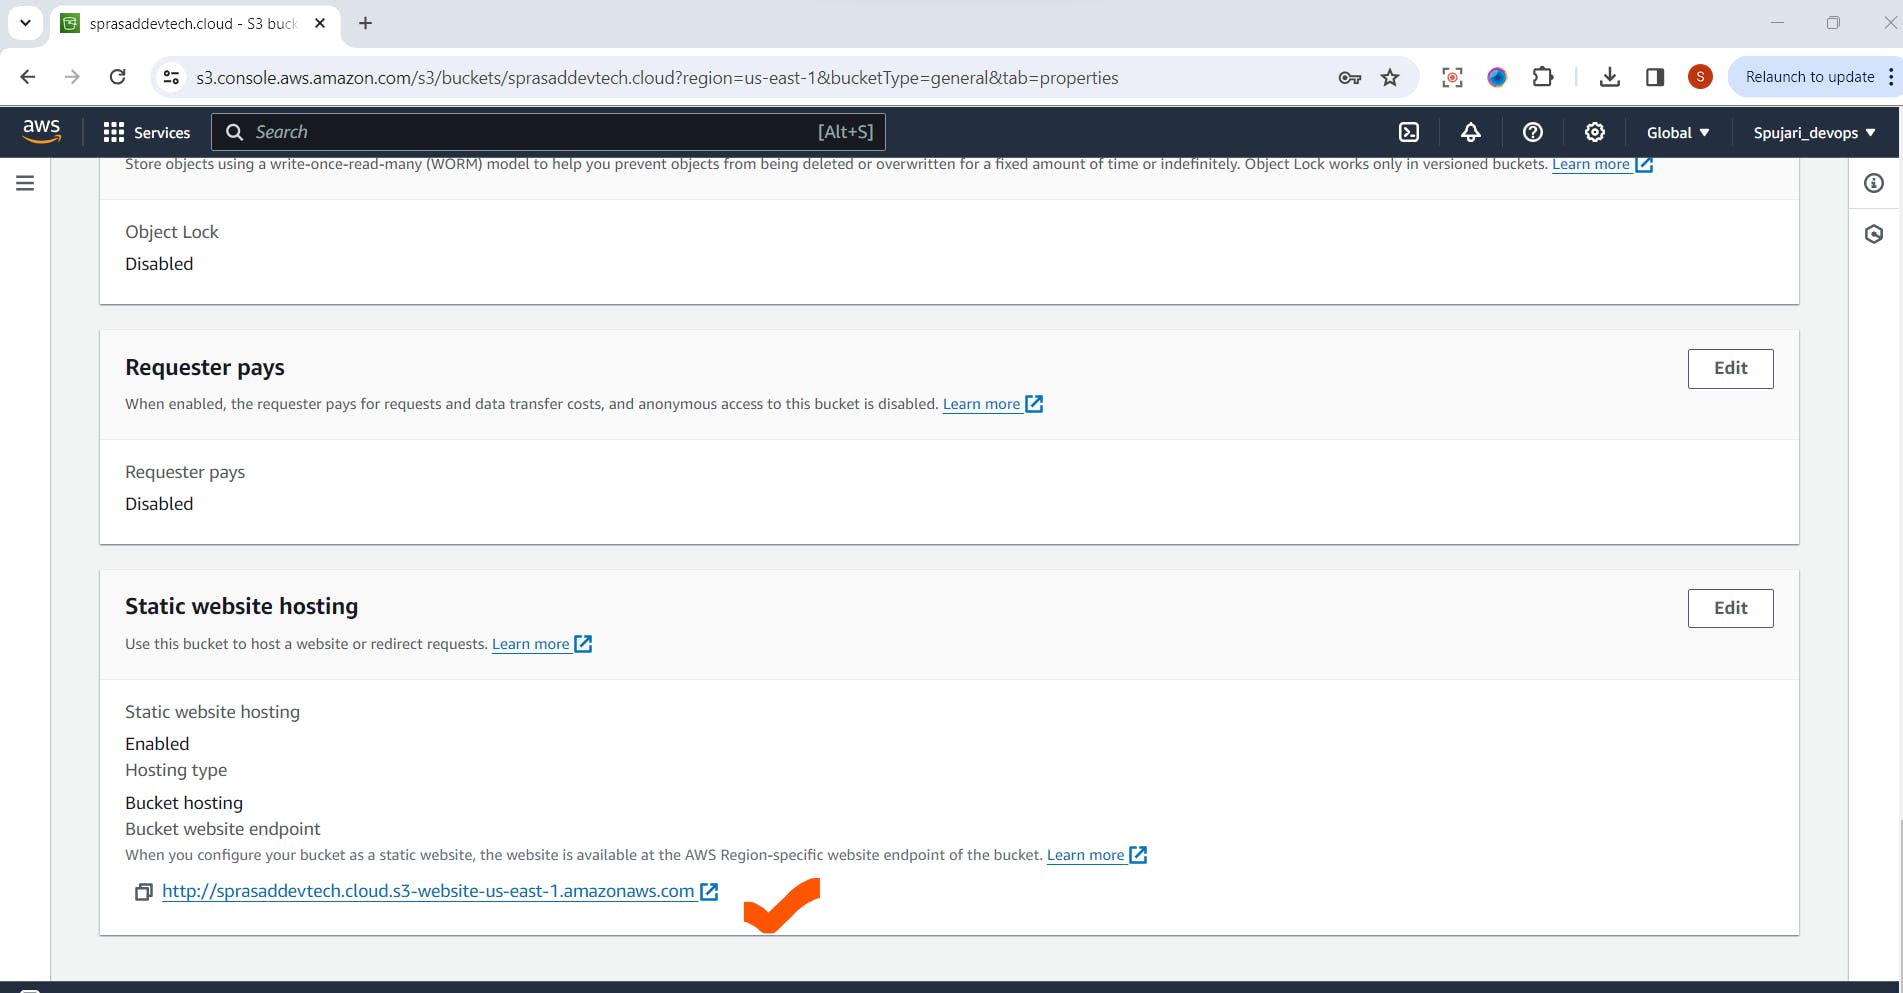
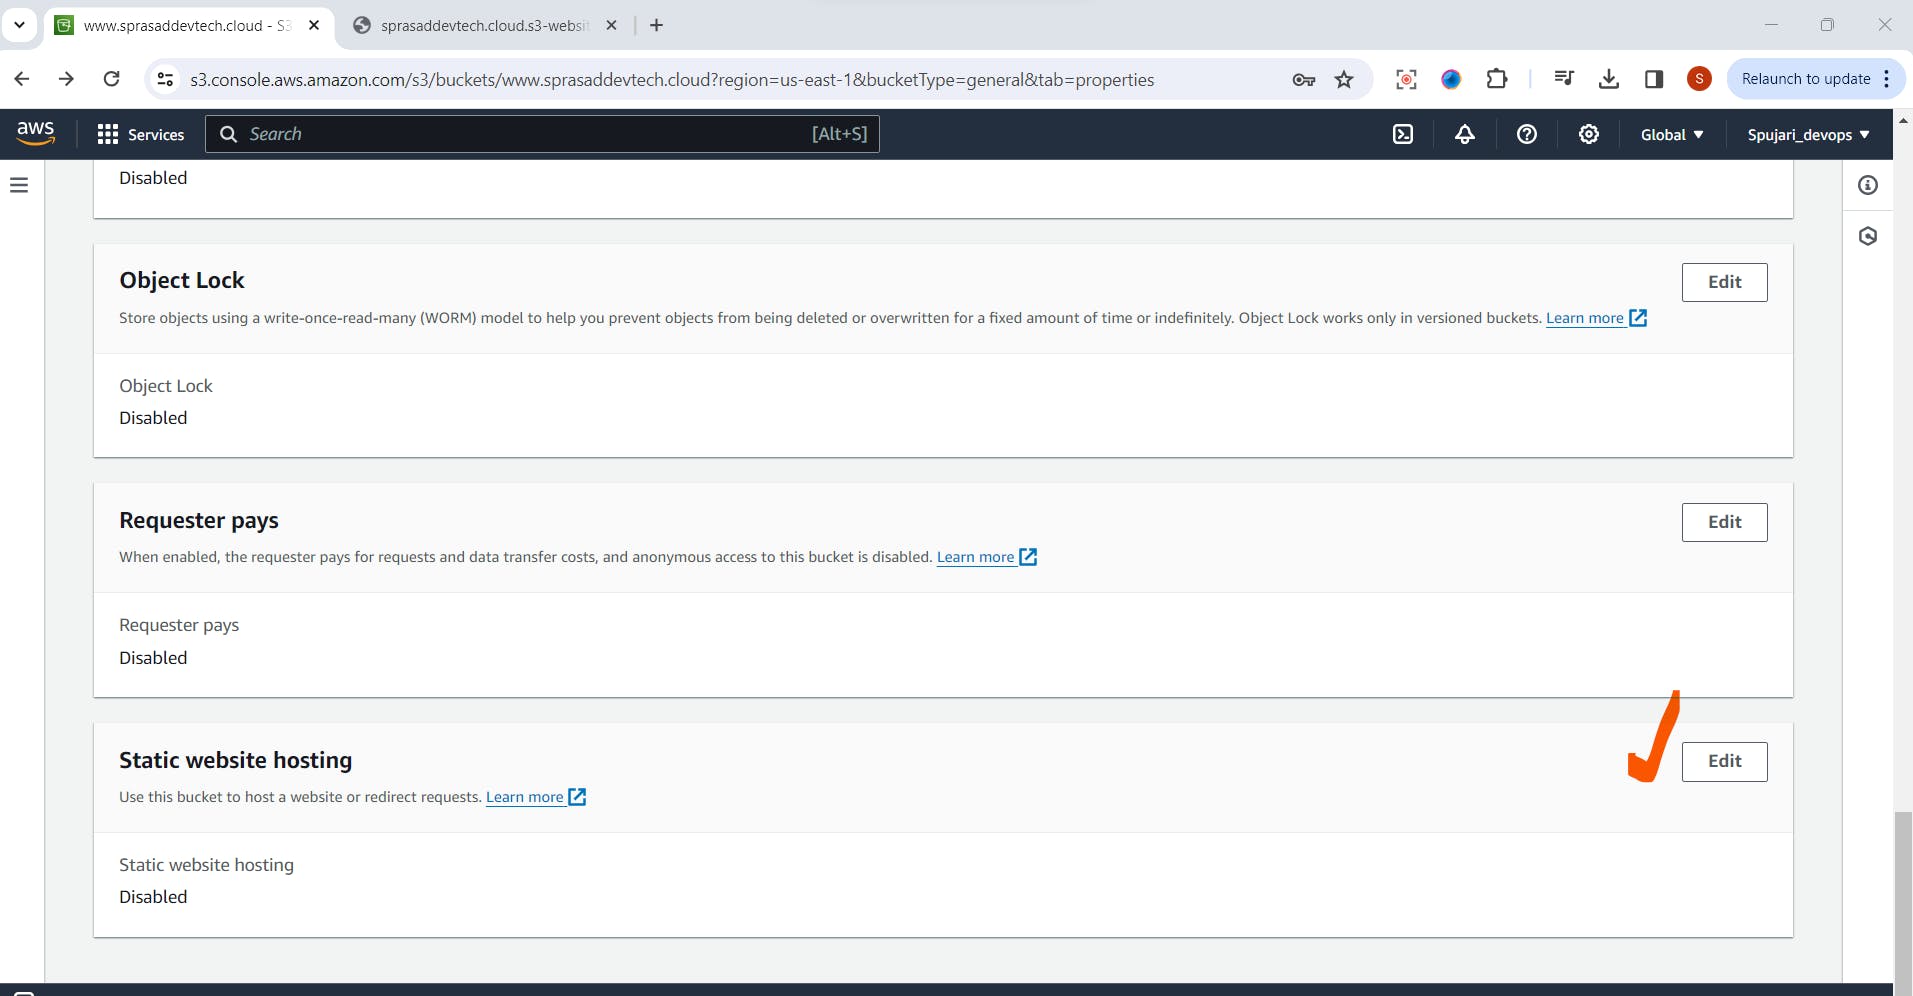
Step 7: Properties ->Configure Static Website Hosting (Optional)
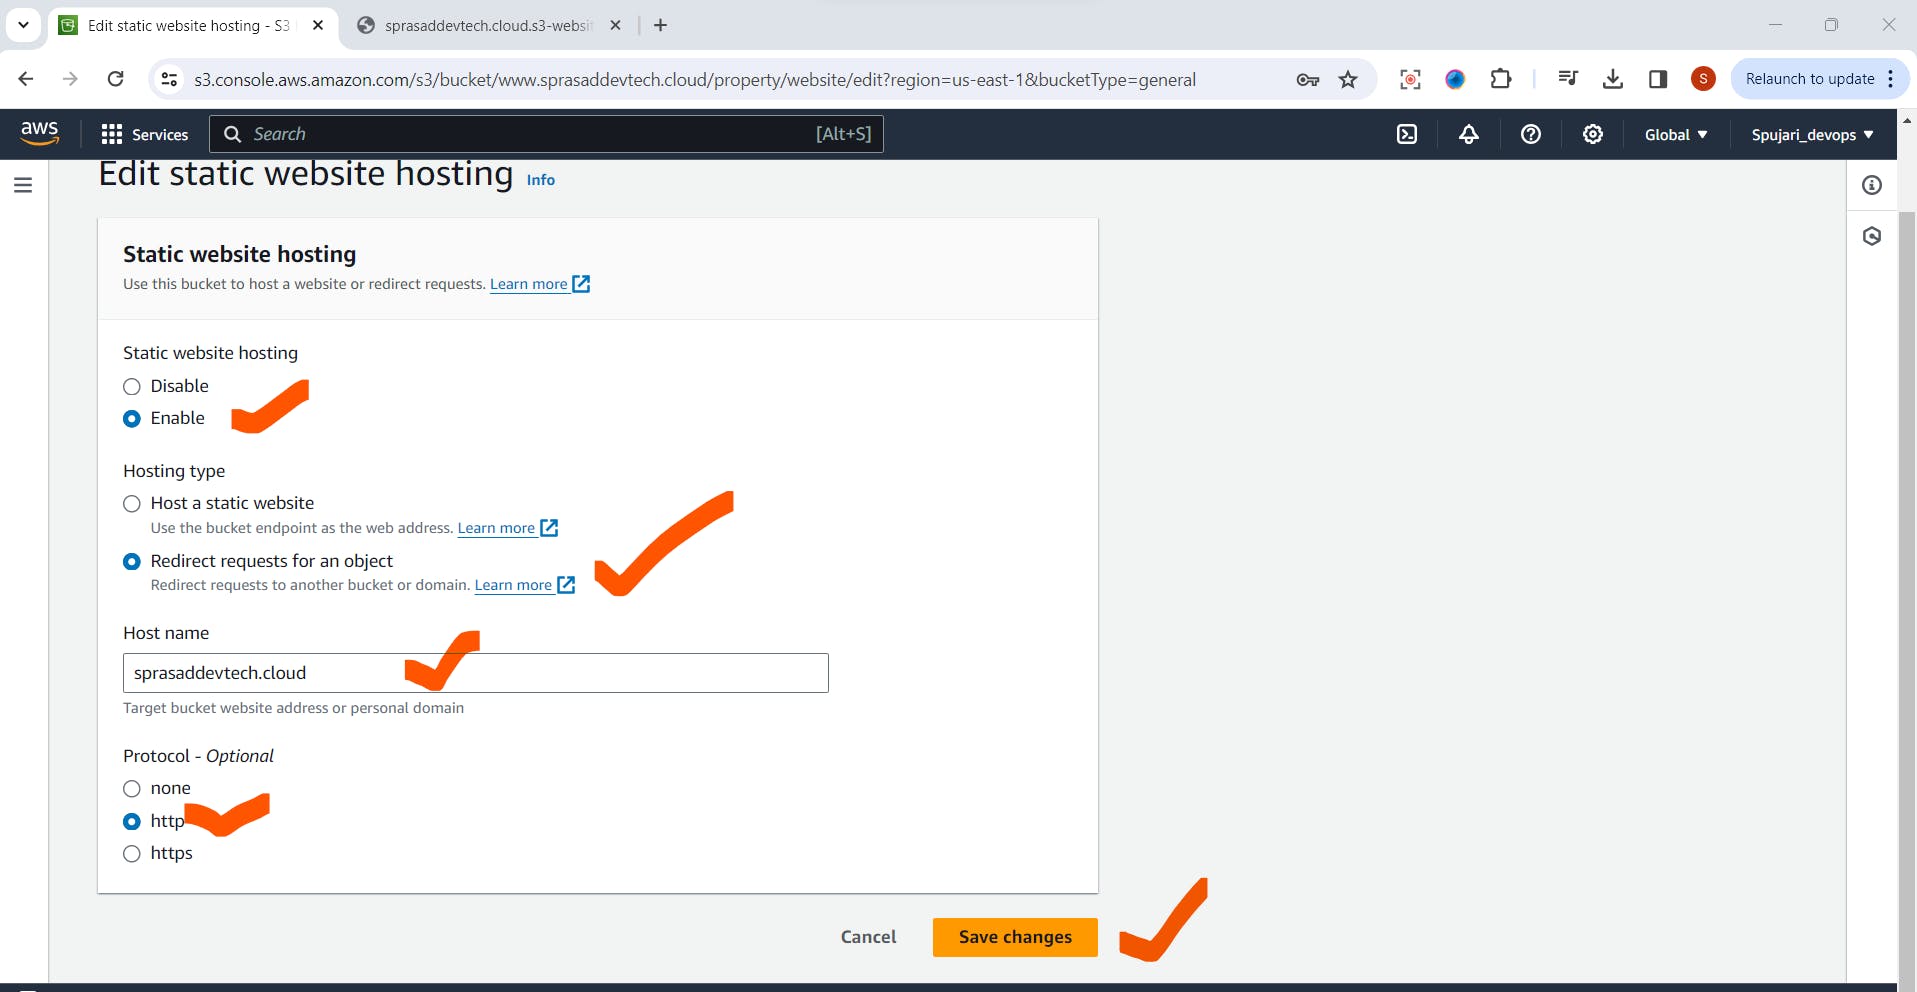
In the bucket properties, scroll down and navigate to the "Static website hosting" tab.
Enable static website hosting by providing index and error documents.
This is useful for hosting a simple static website directly from your S3 bucket.
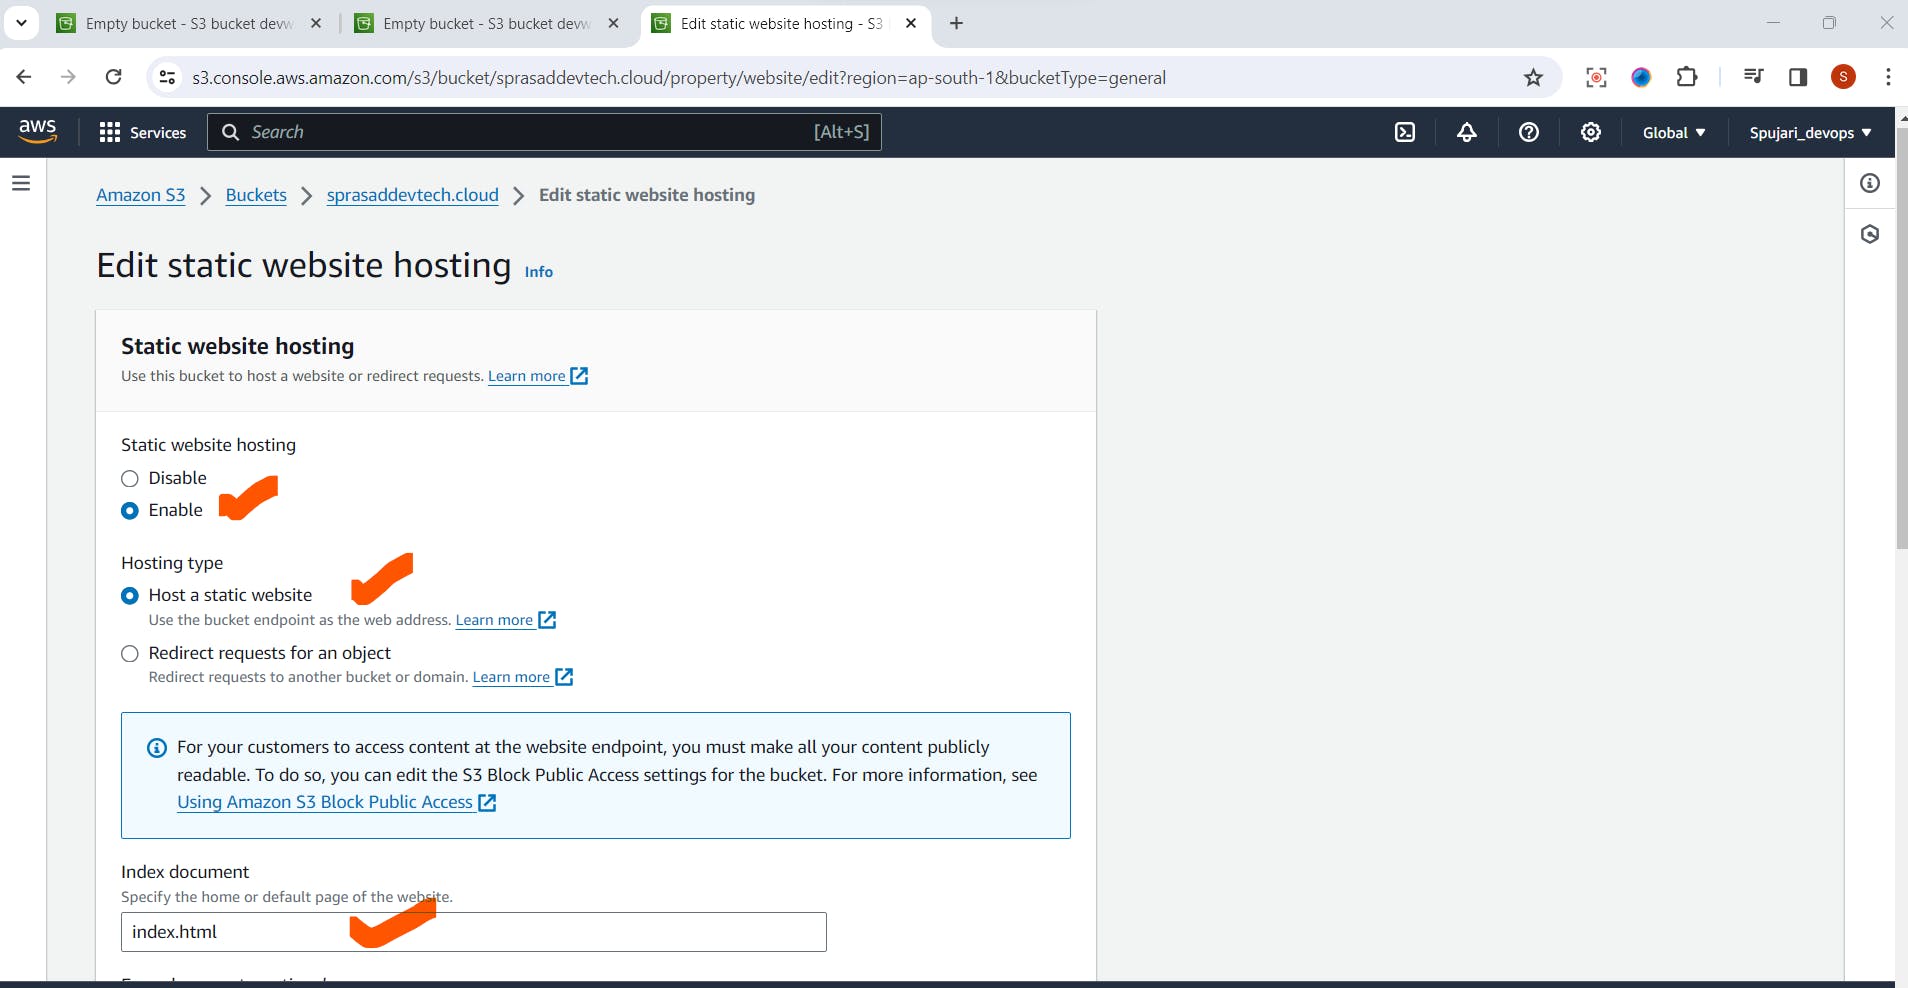
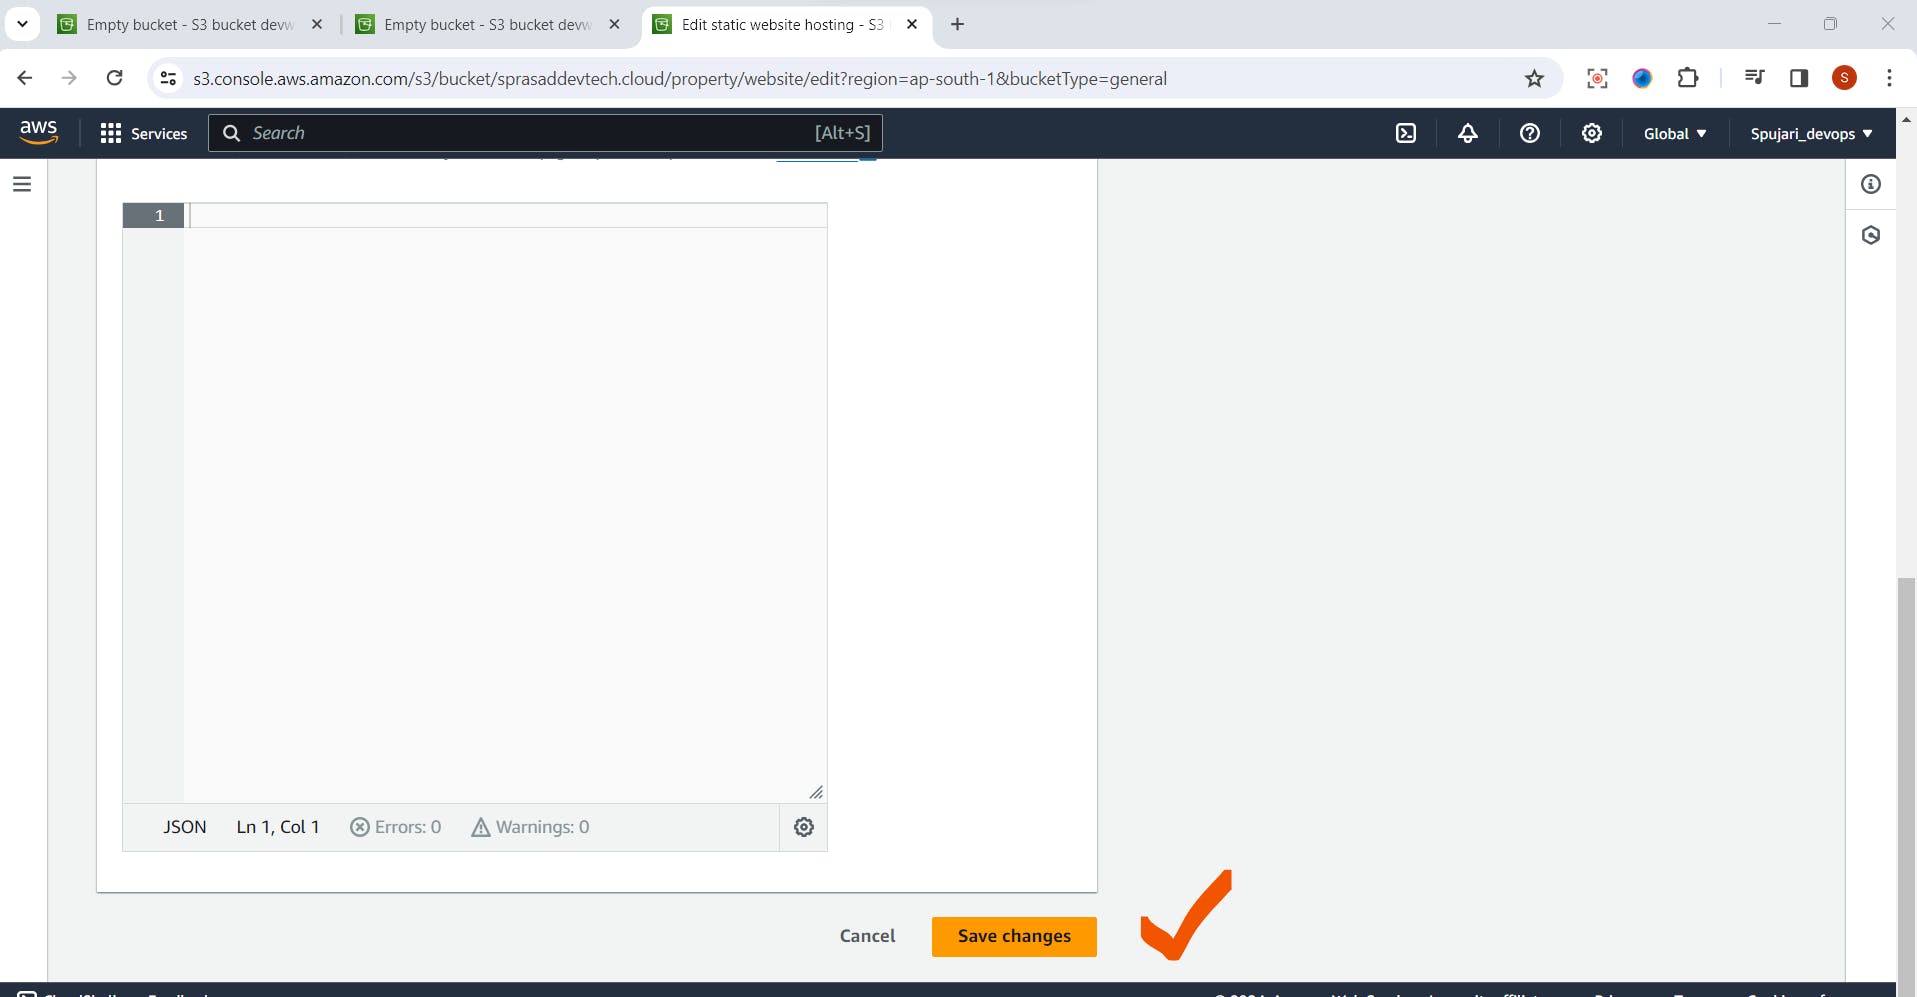
- Click on Save changes
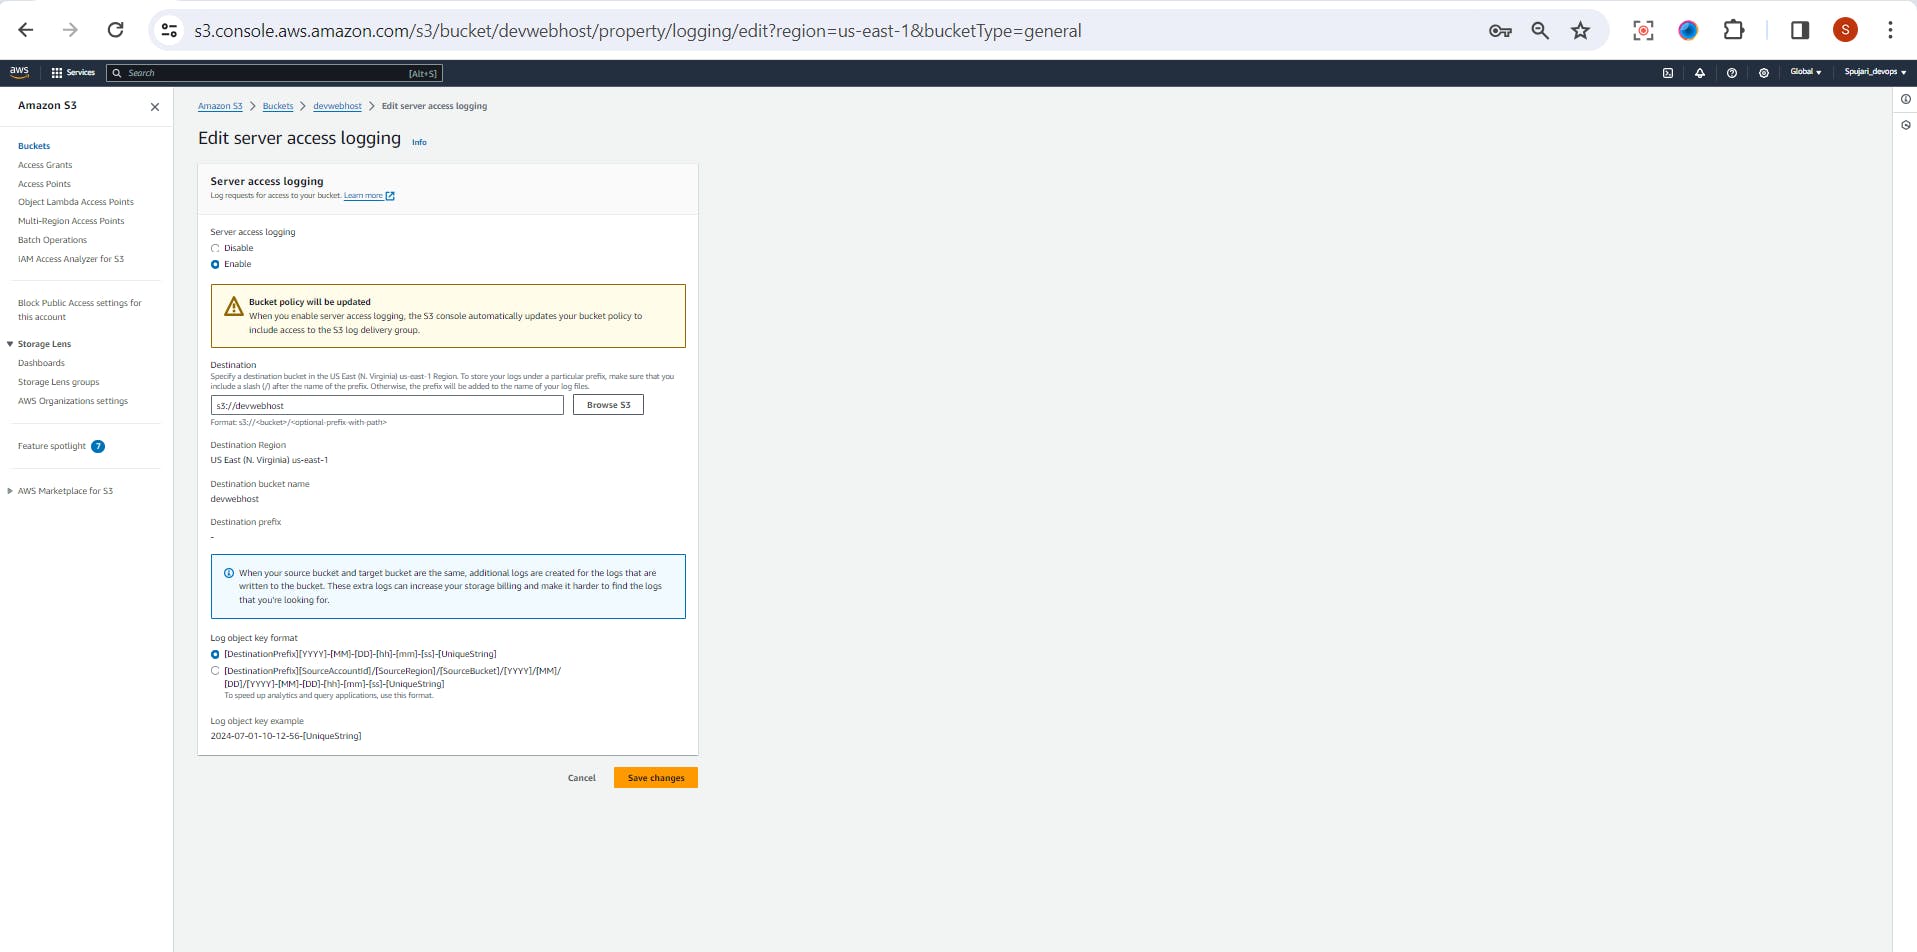
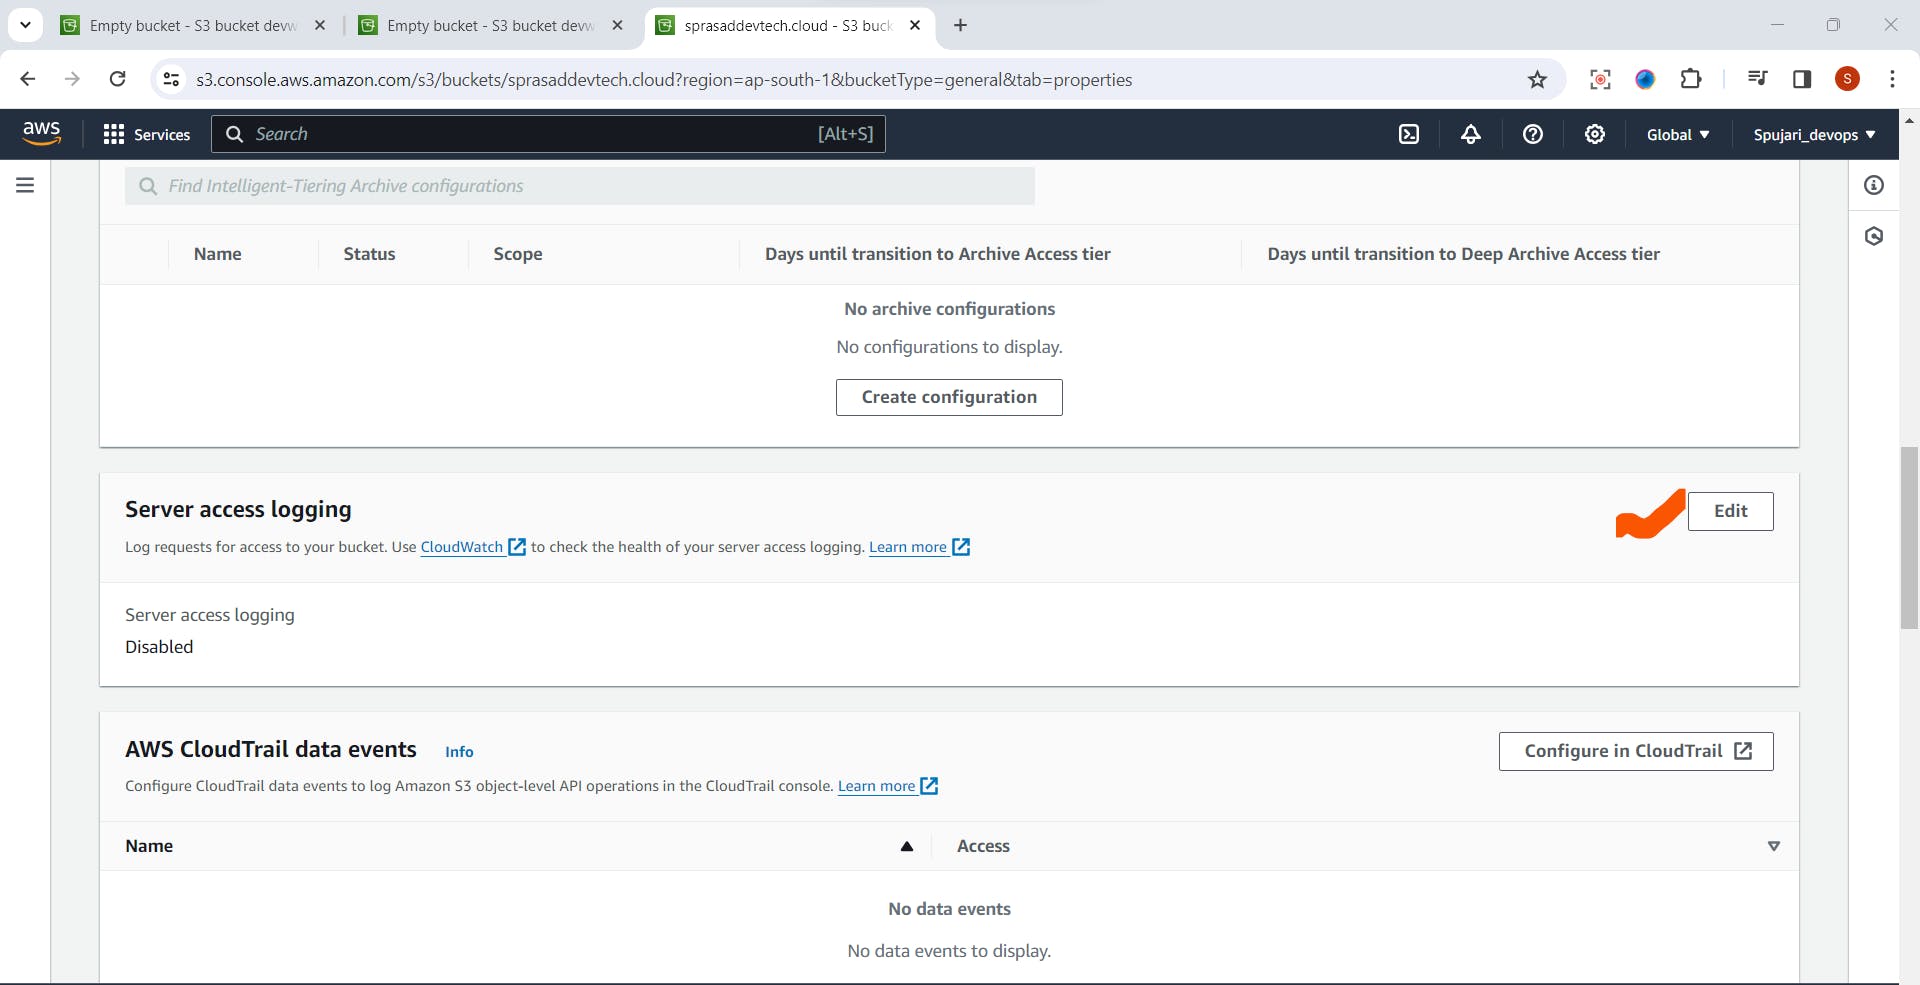
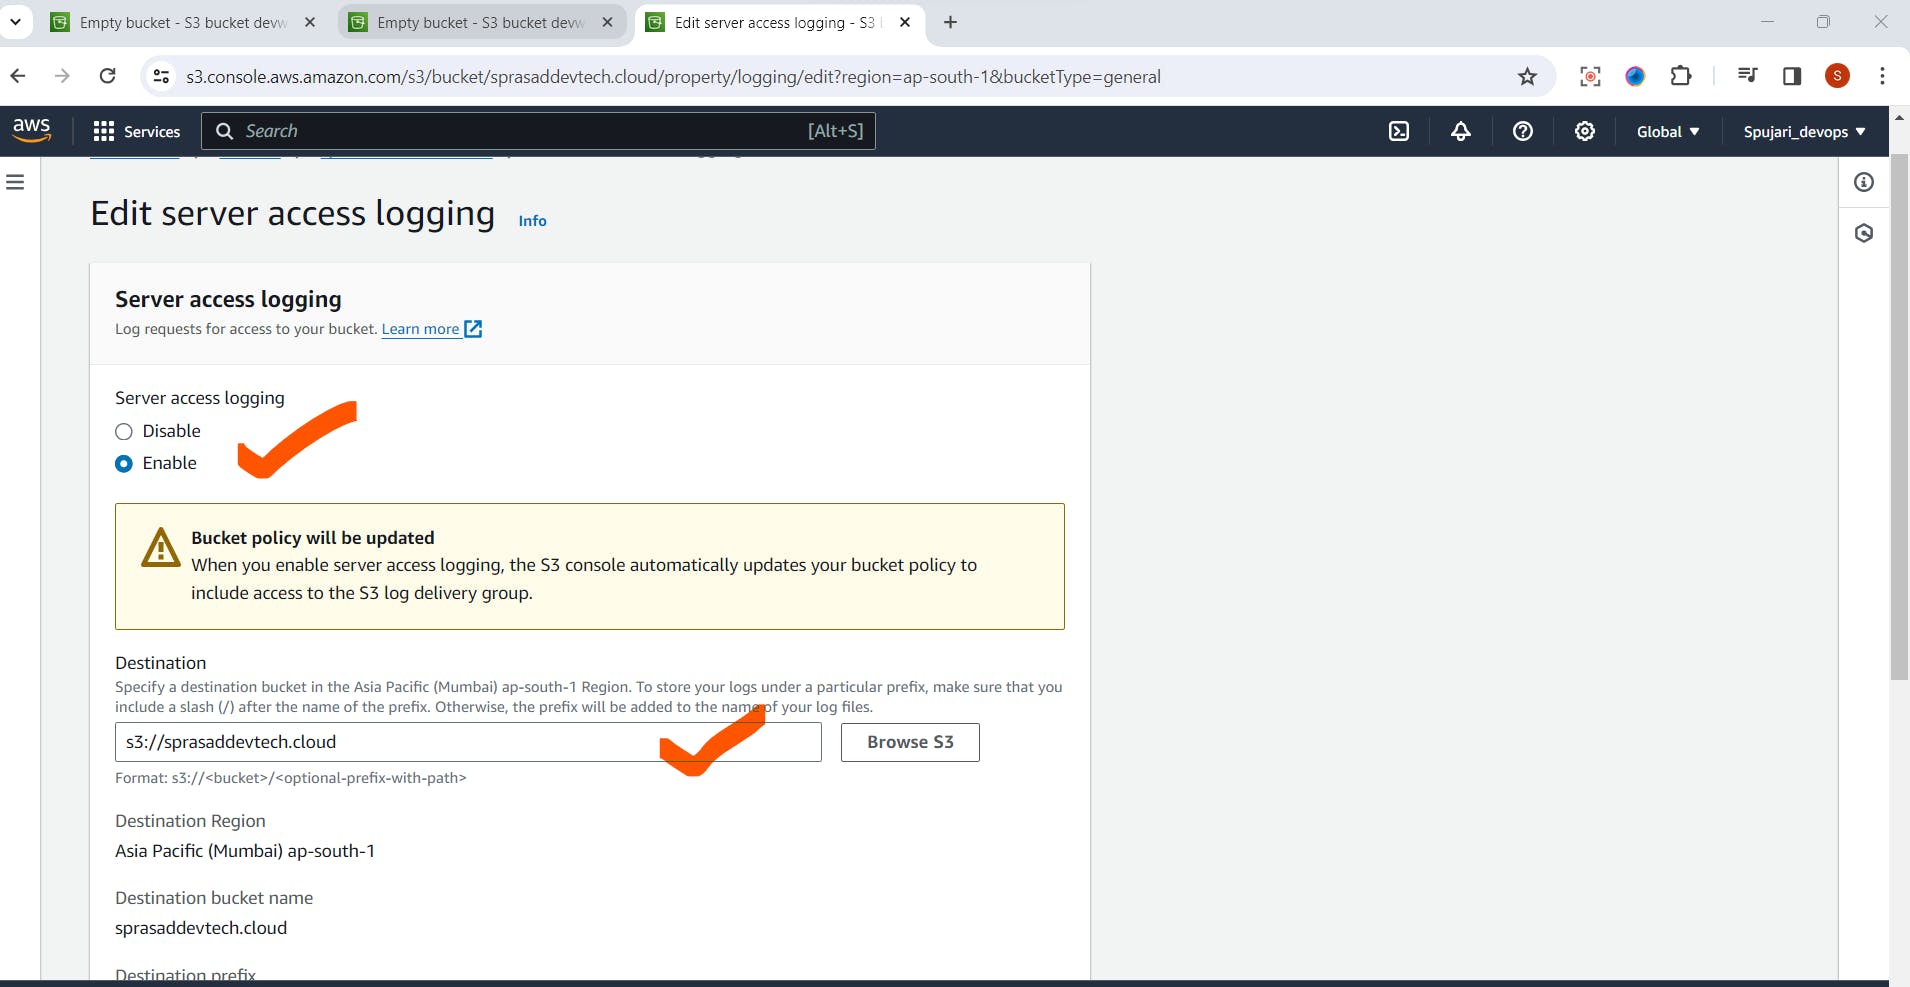
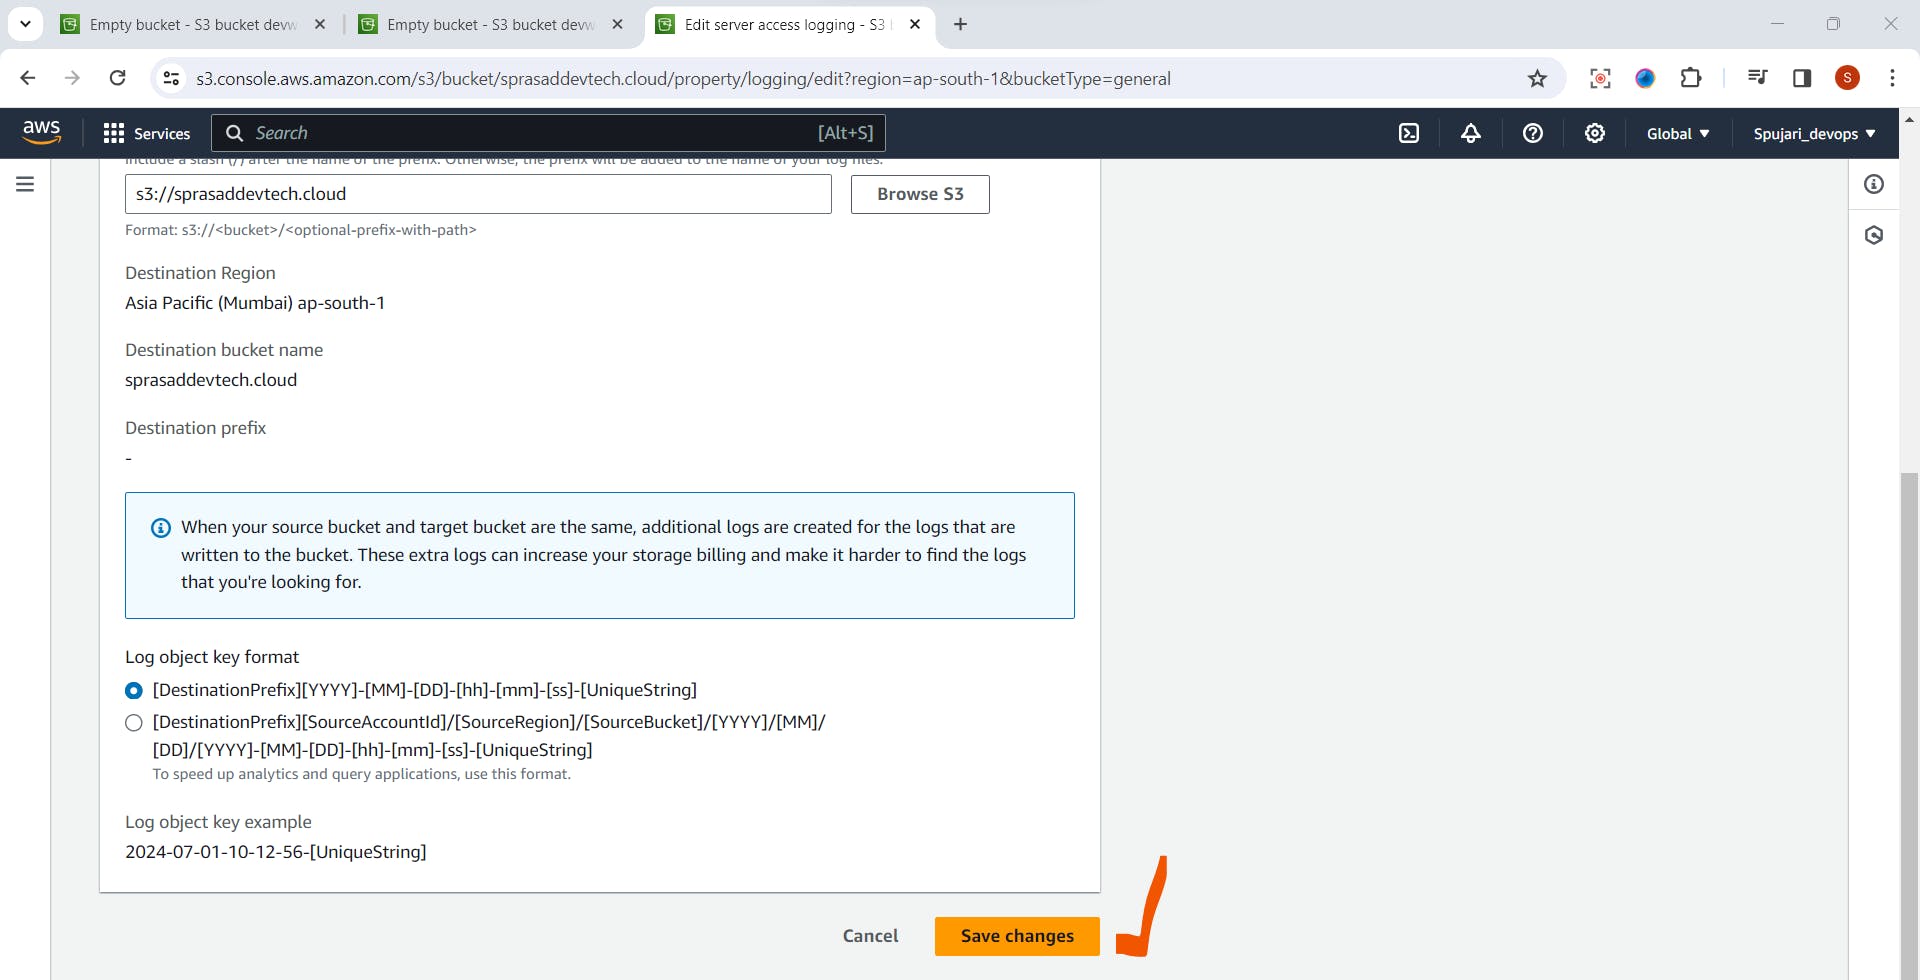
Step 8: Enable Logging (Optional)
In the bucket properties, navigate to the "Server access logging" tab.
Enable logging and specify the target bucket to store access logs.
This helps in monitoring and analyzing access to your S3 bucket.
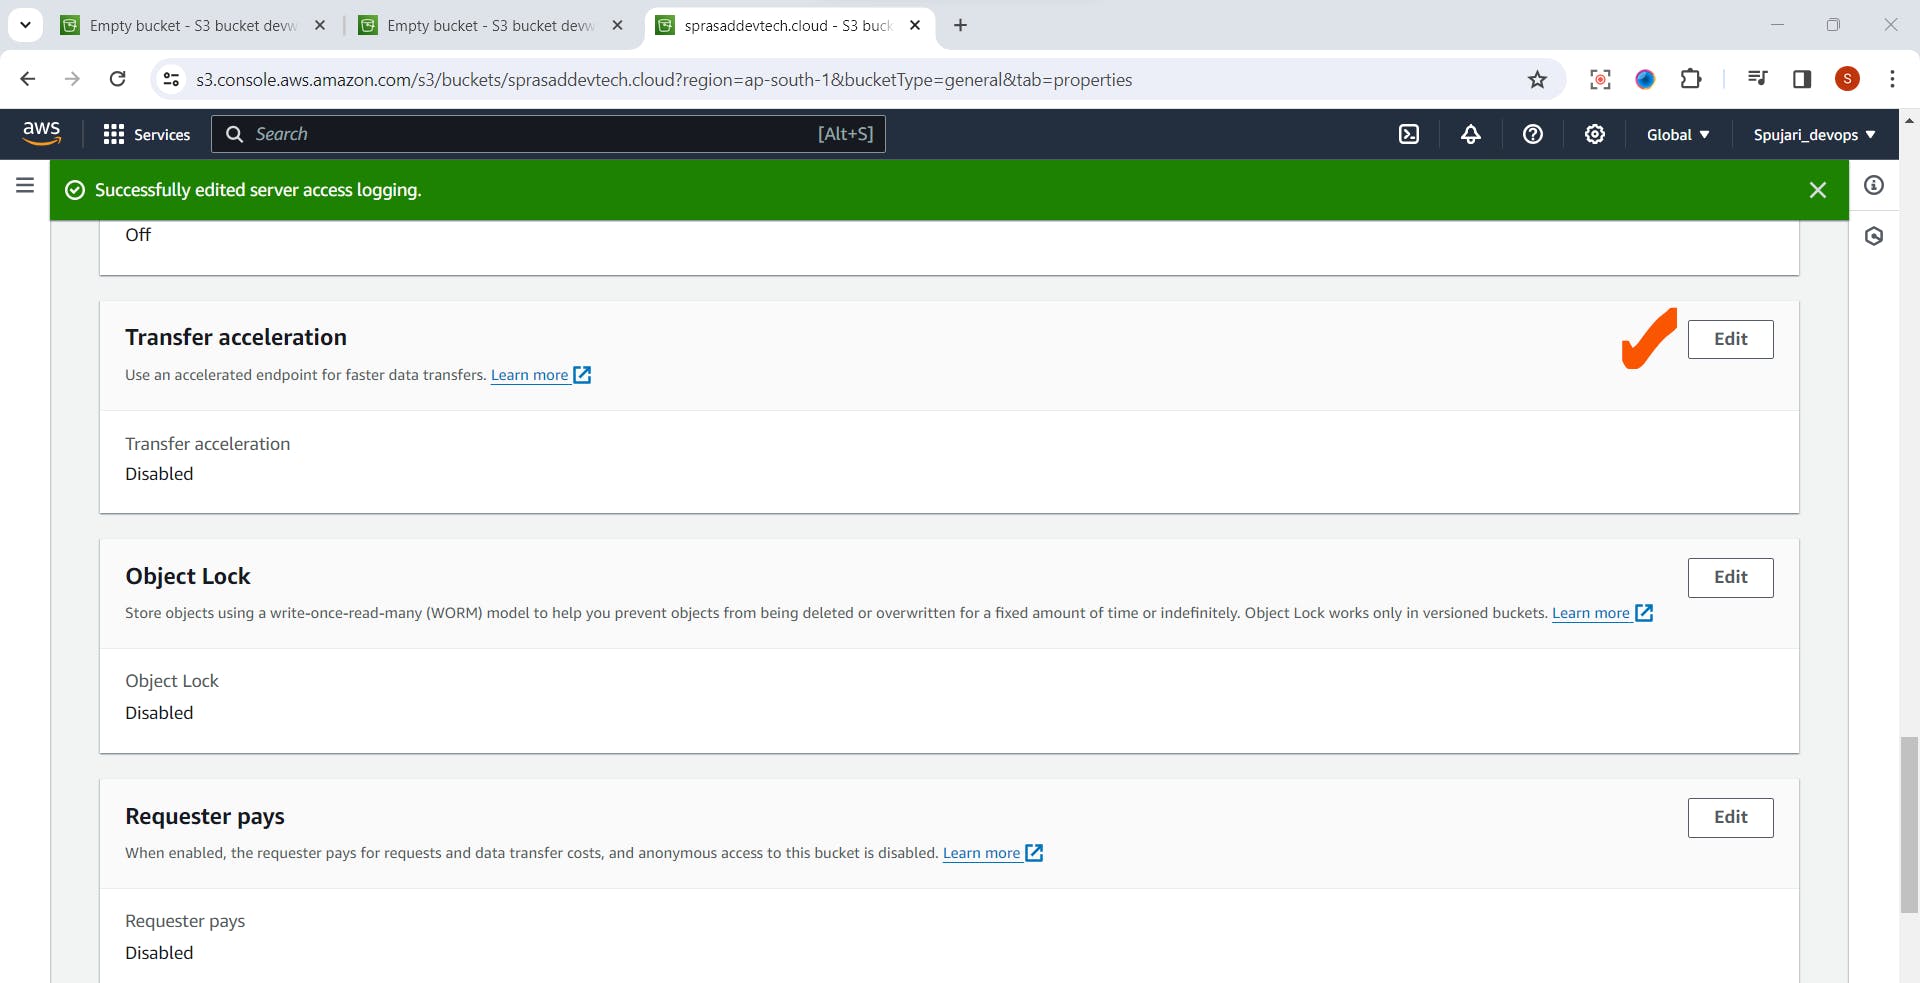
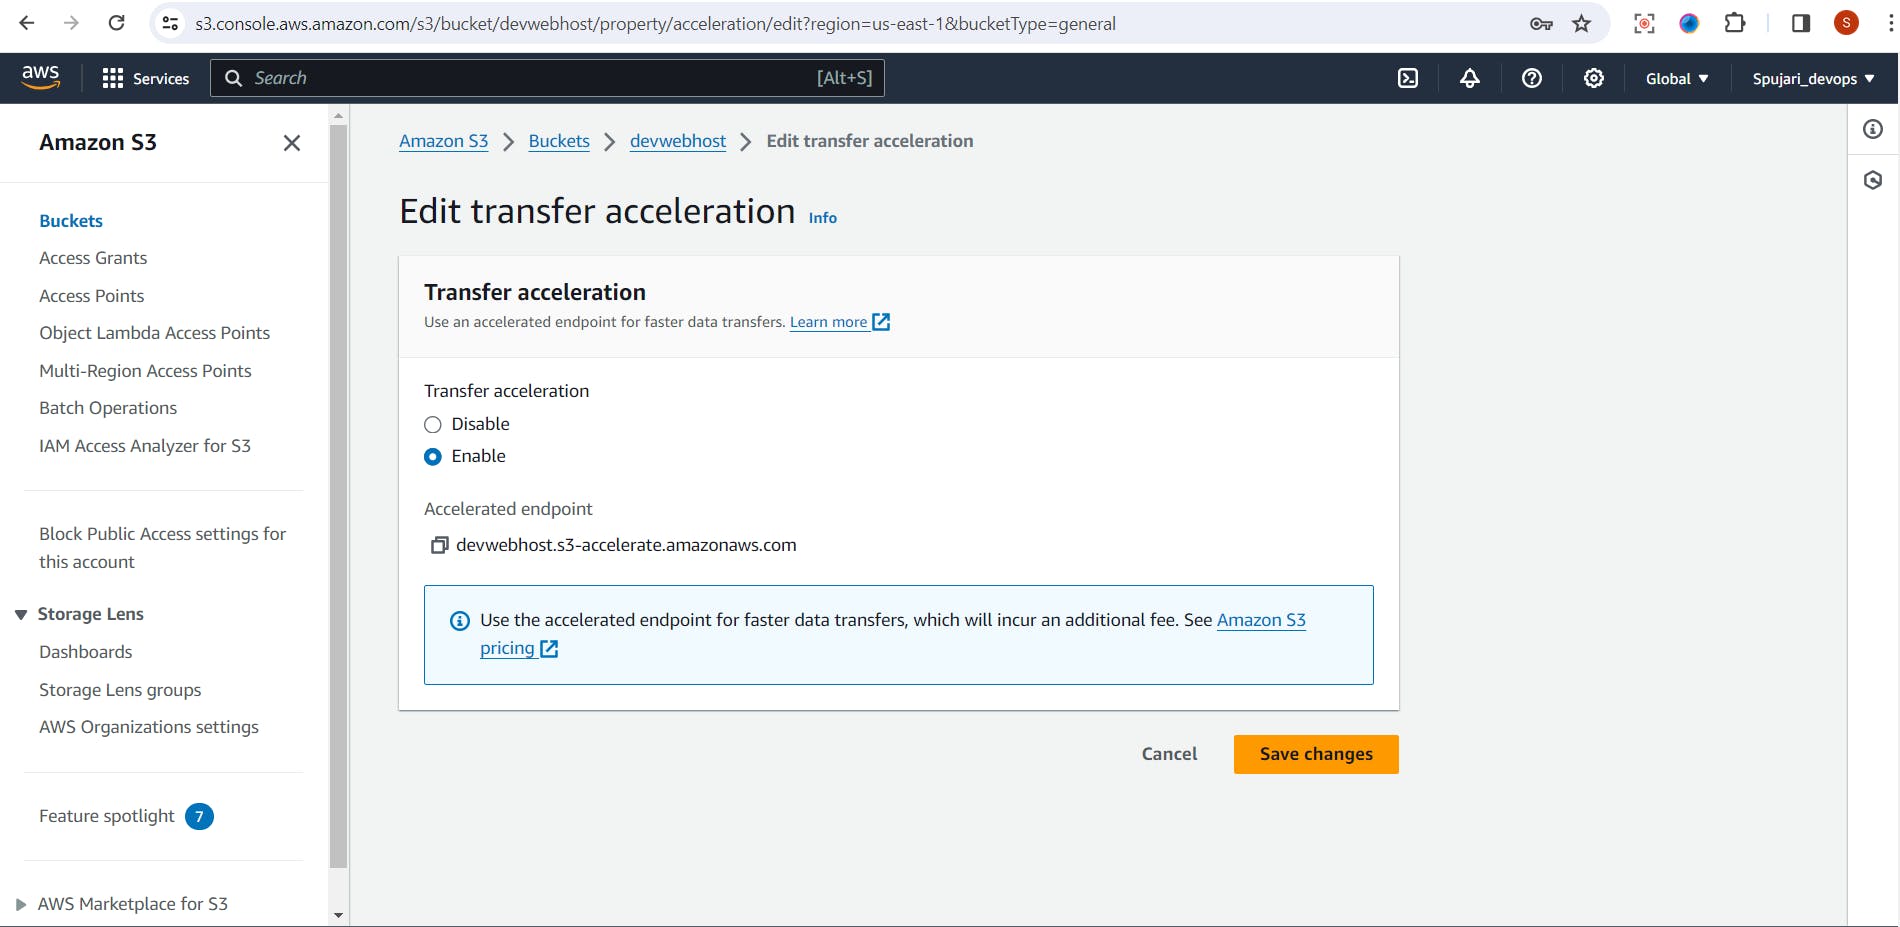
Step 9: Set Up Transfer Acceleration (Optional)
In the bucket properties, navigate to the "Transfer acceleration" tab.
Enable transfer acceleration to accelerate uploading and downloading of objects using the CloudFront global network.

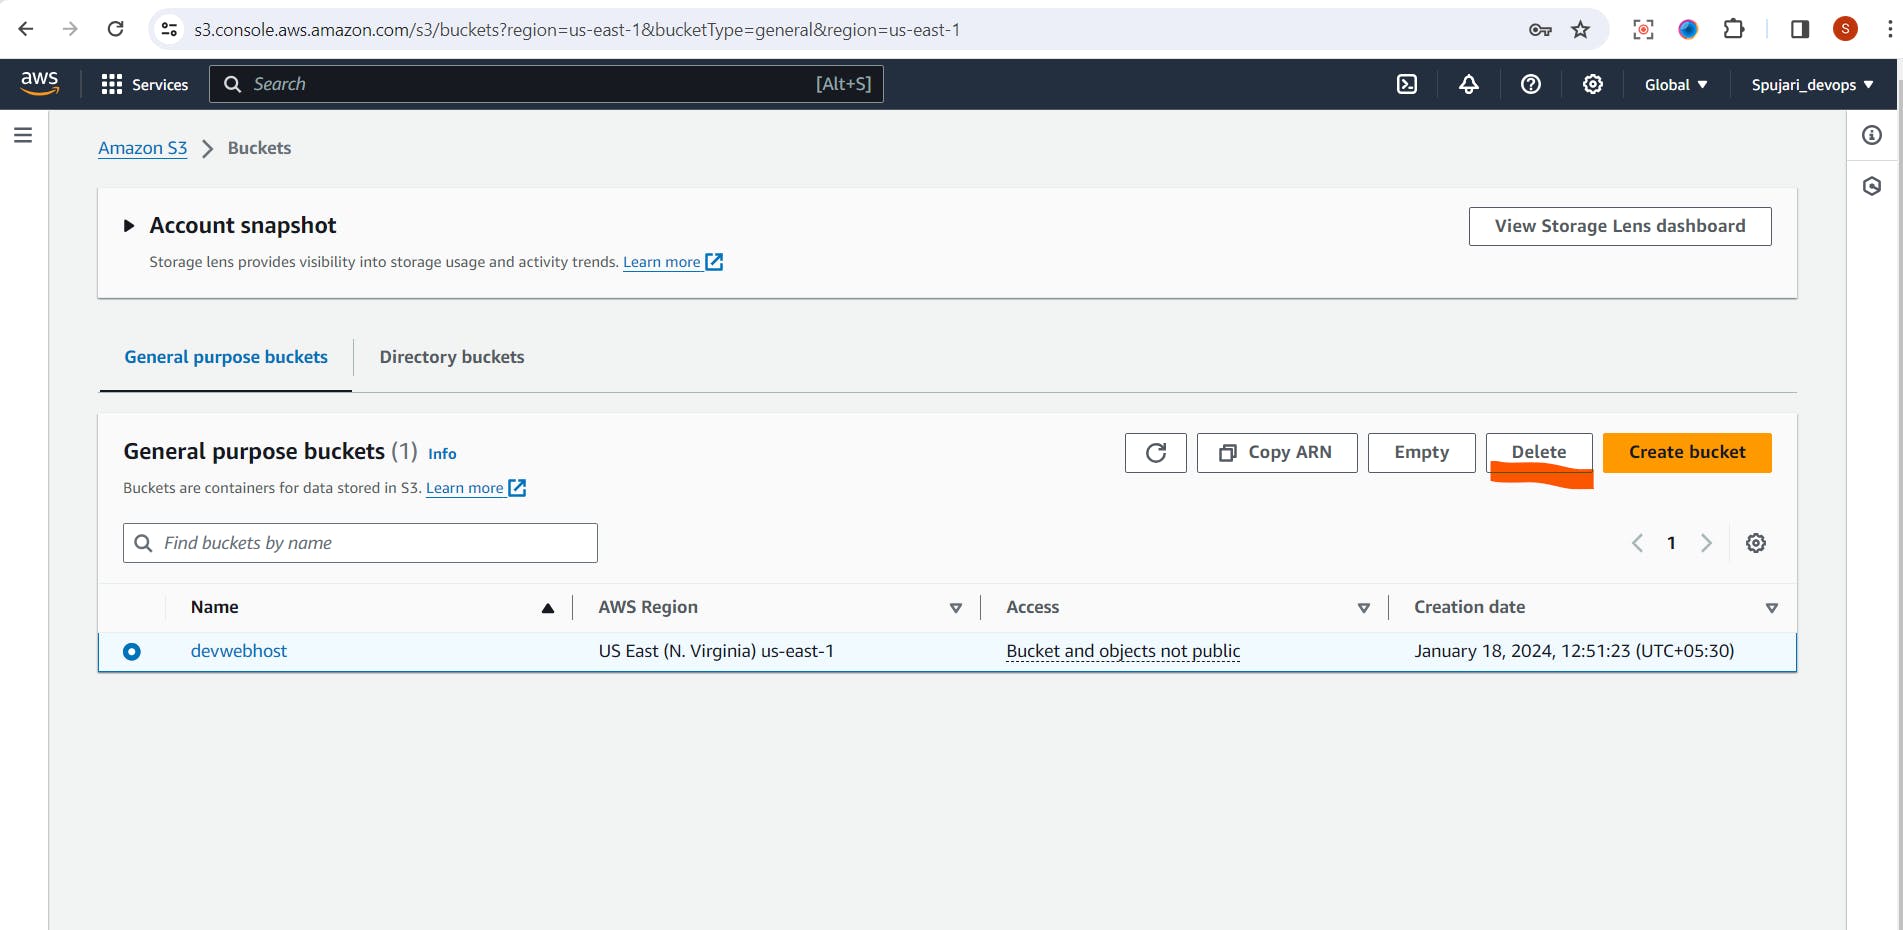
Step 10: Clean Up (When Necessary)
If you no longer need a bucket, select the bucket and click "Delete."
Be cautious, as this action is irreversible and deletes all objects in the bucket.
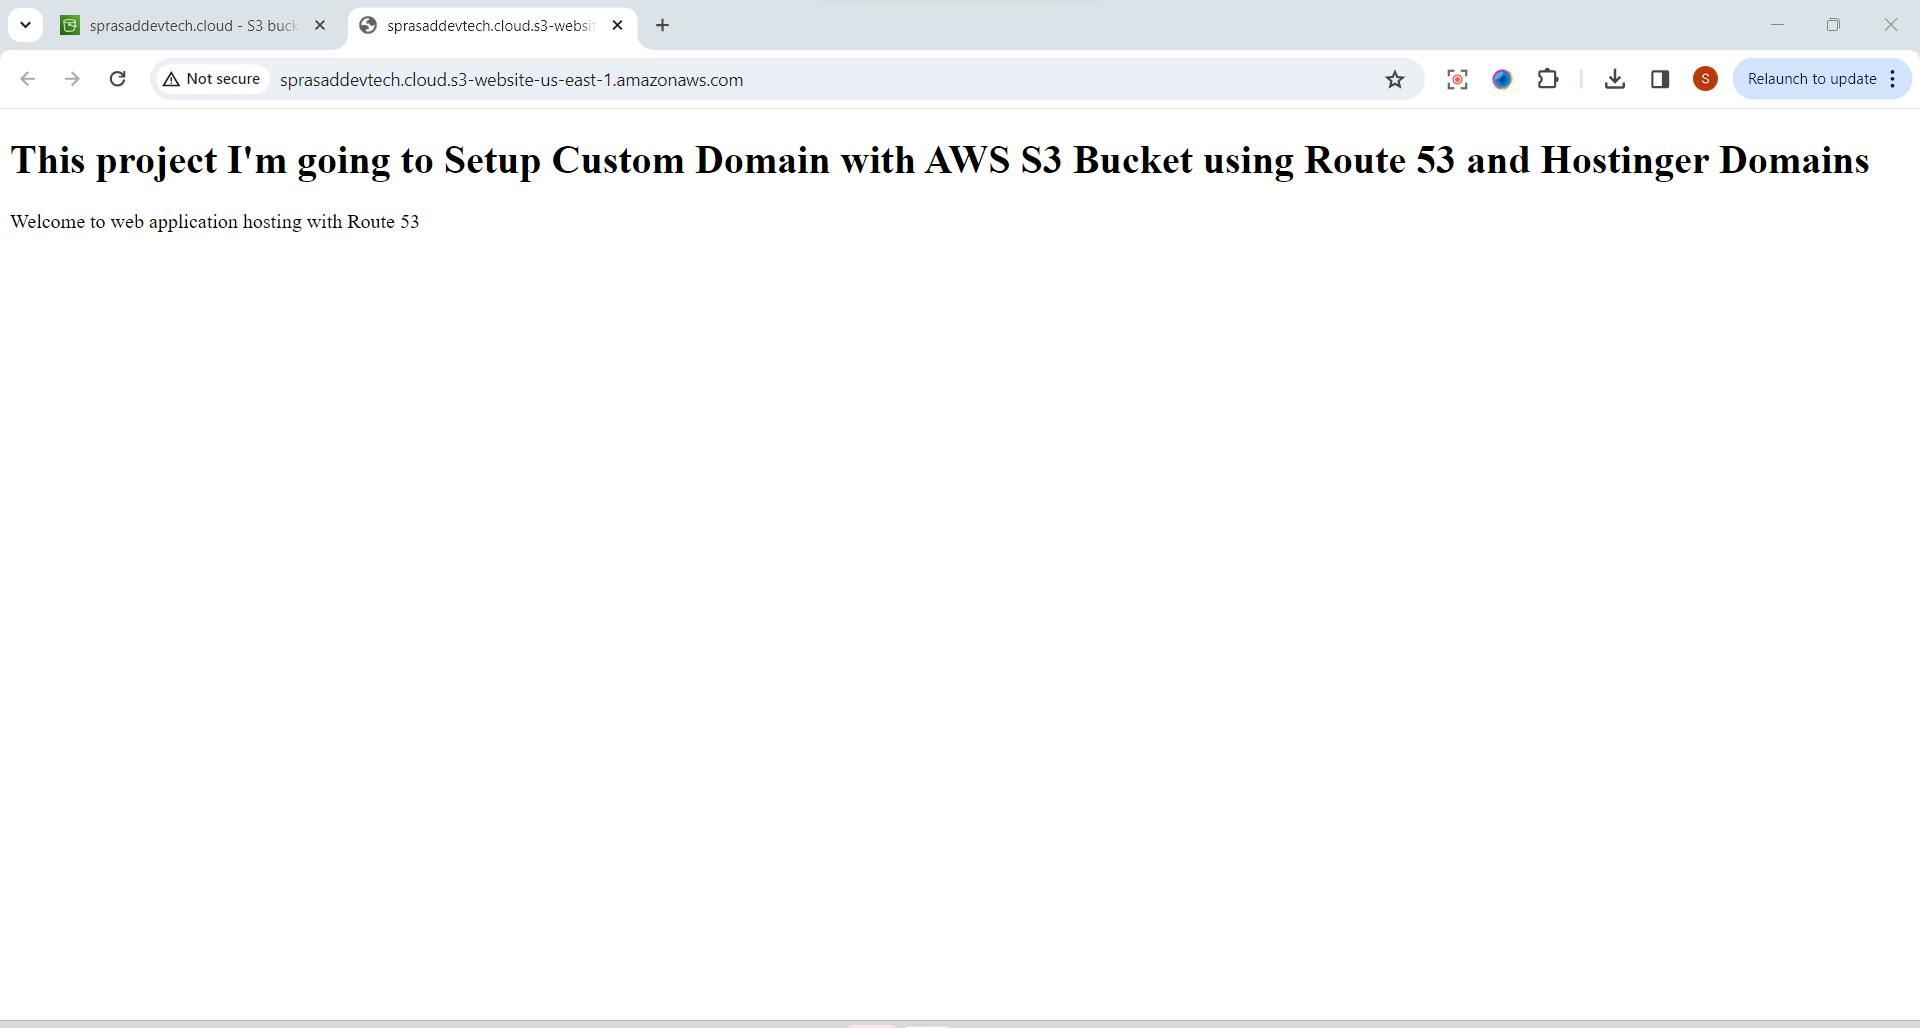
Step 11: Test HTML Page Hosted on AWS S3
This is a simple HTML page hosted on AWS S3 for testing purposes.
Go to Static website hosting -> Copy the URL
Paste it on new browser
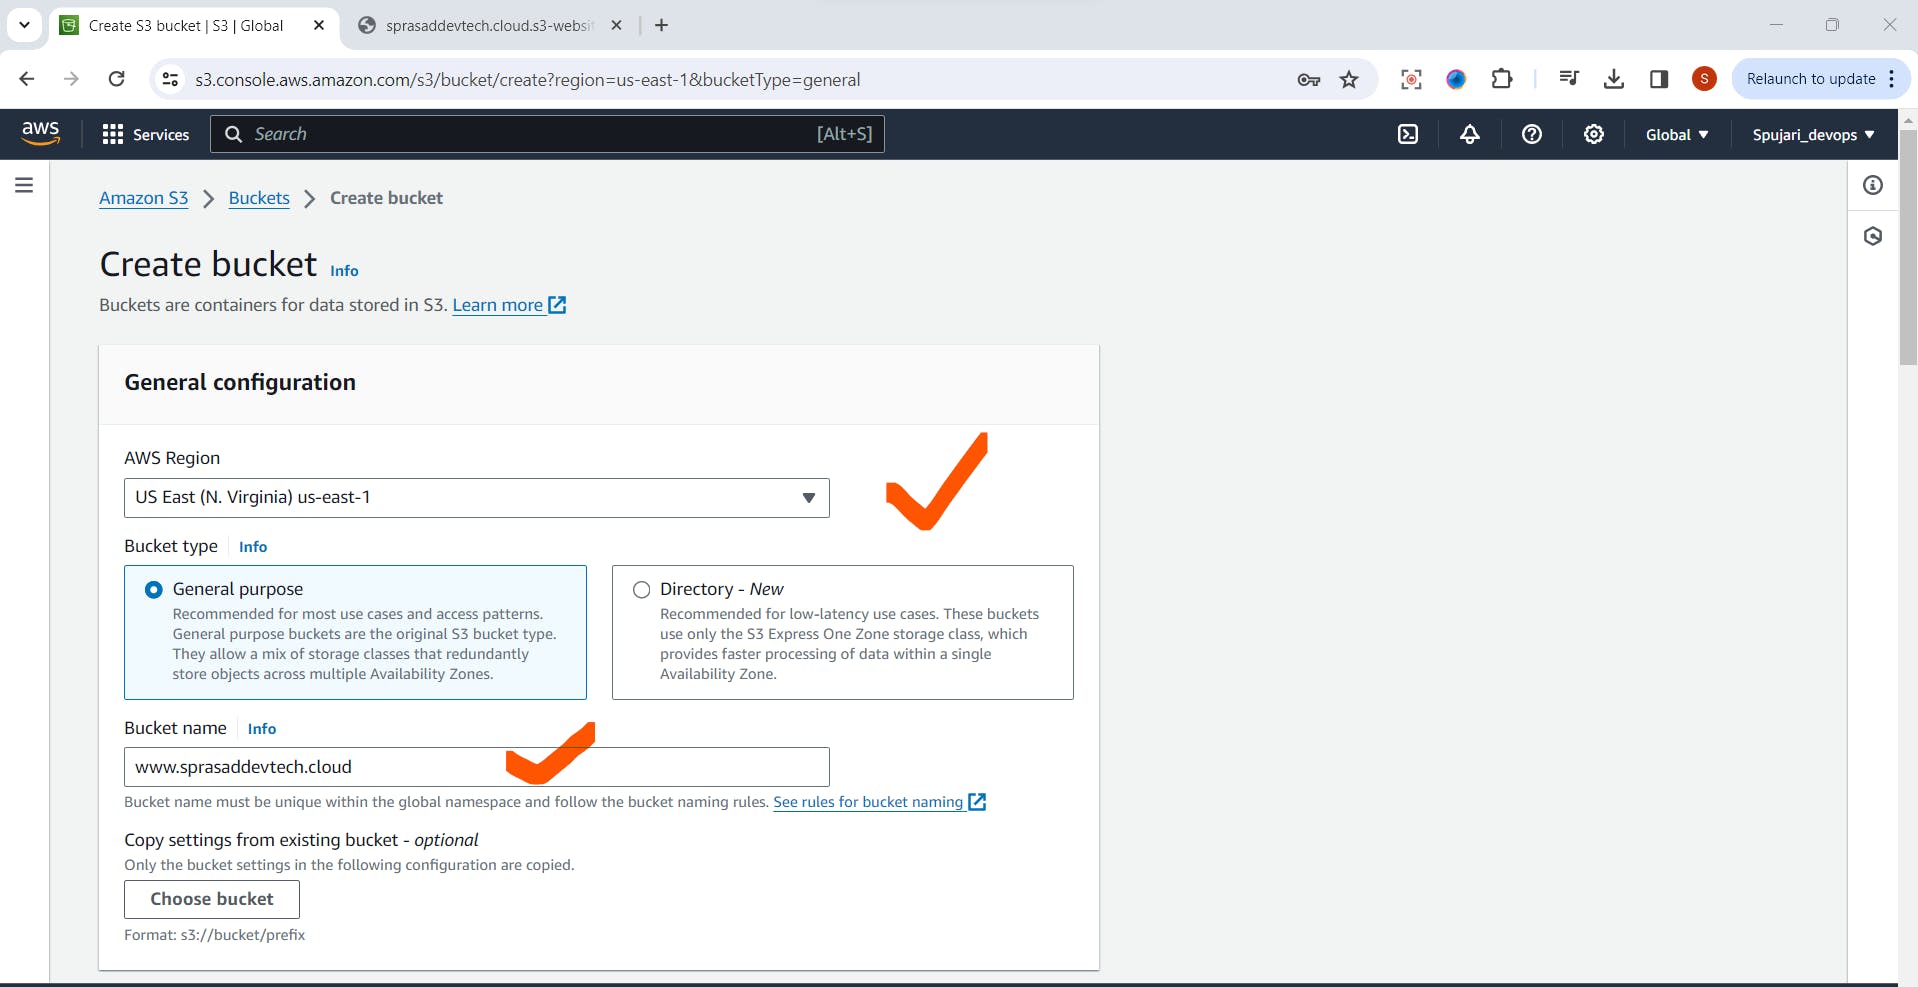
Now Lets Create One more S3 bucket with Redirect Hosting with an Object
- Go S3 Bucket ->Click on Create bucket
Enter Bucket Name -its your domain name with add www
Region -Select as default
Block Public Access Settings
Block all public access
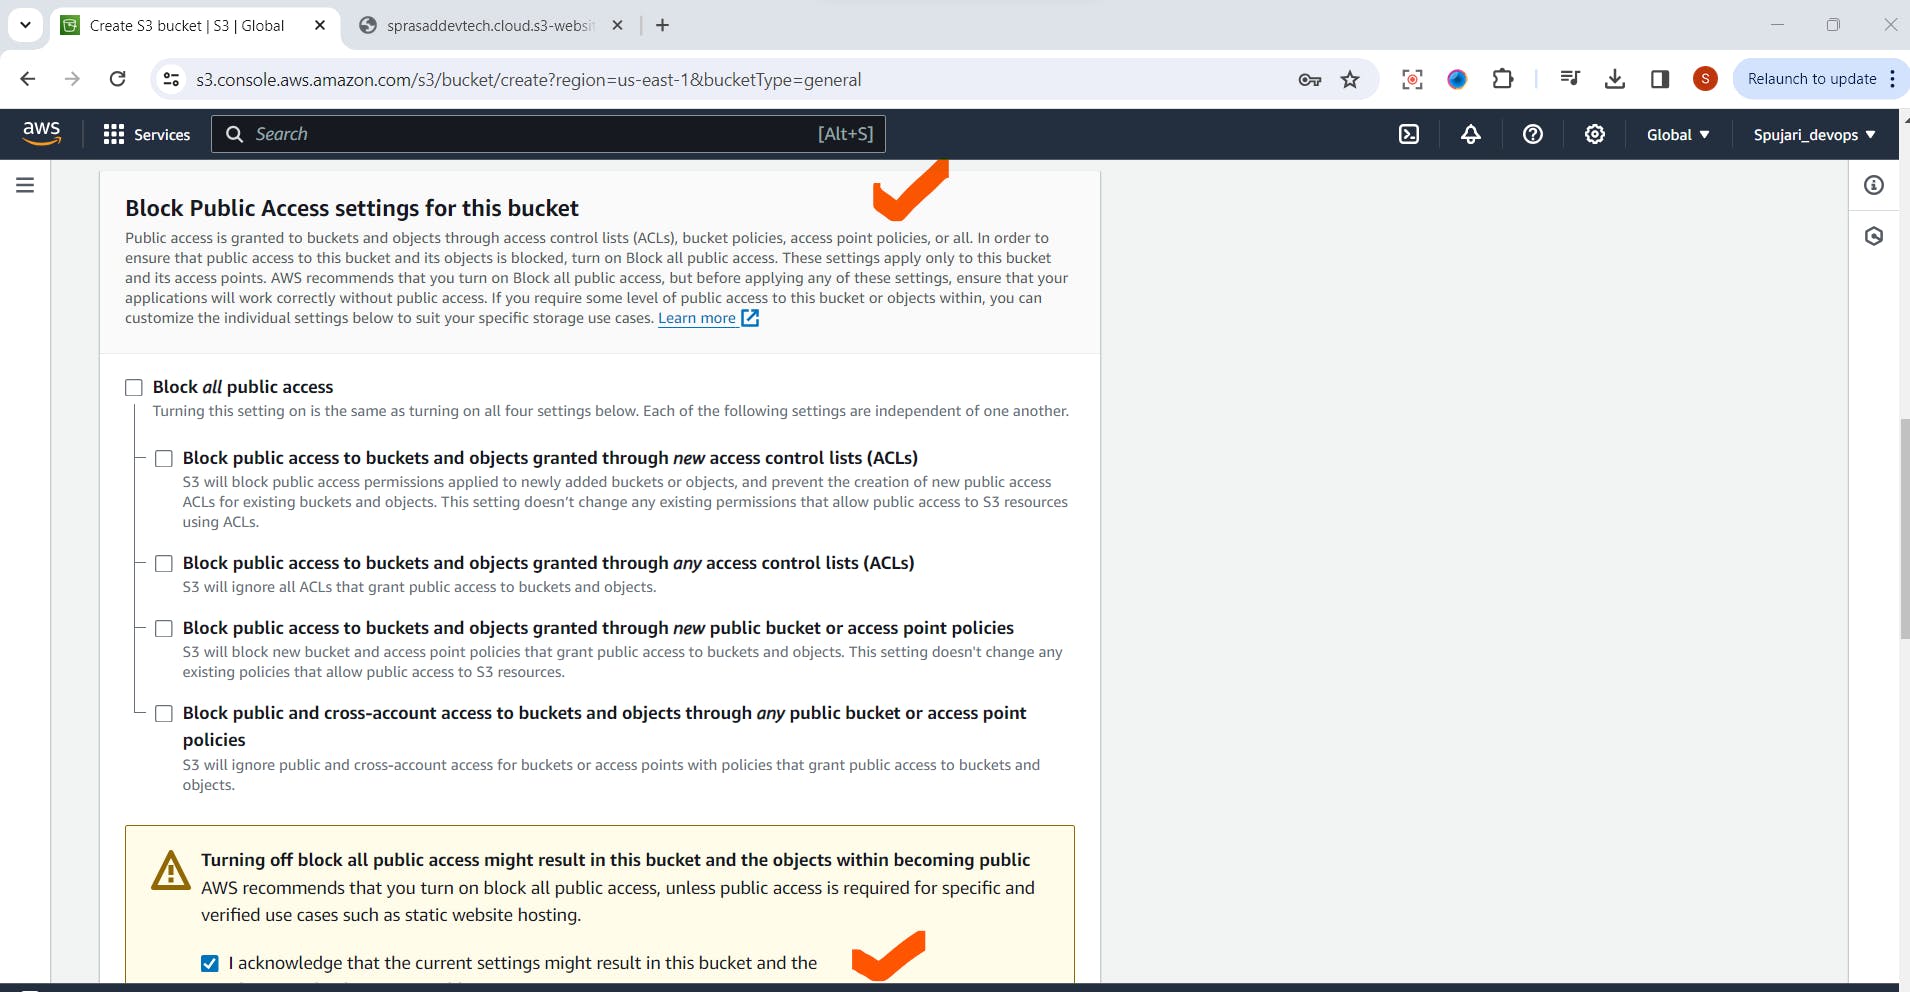
Rest of the option set as Default
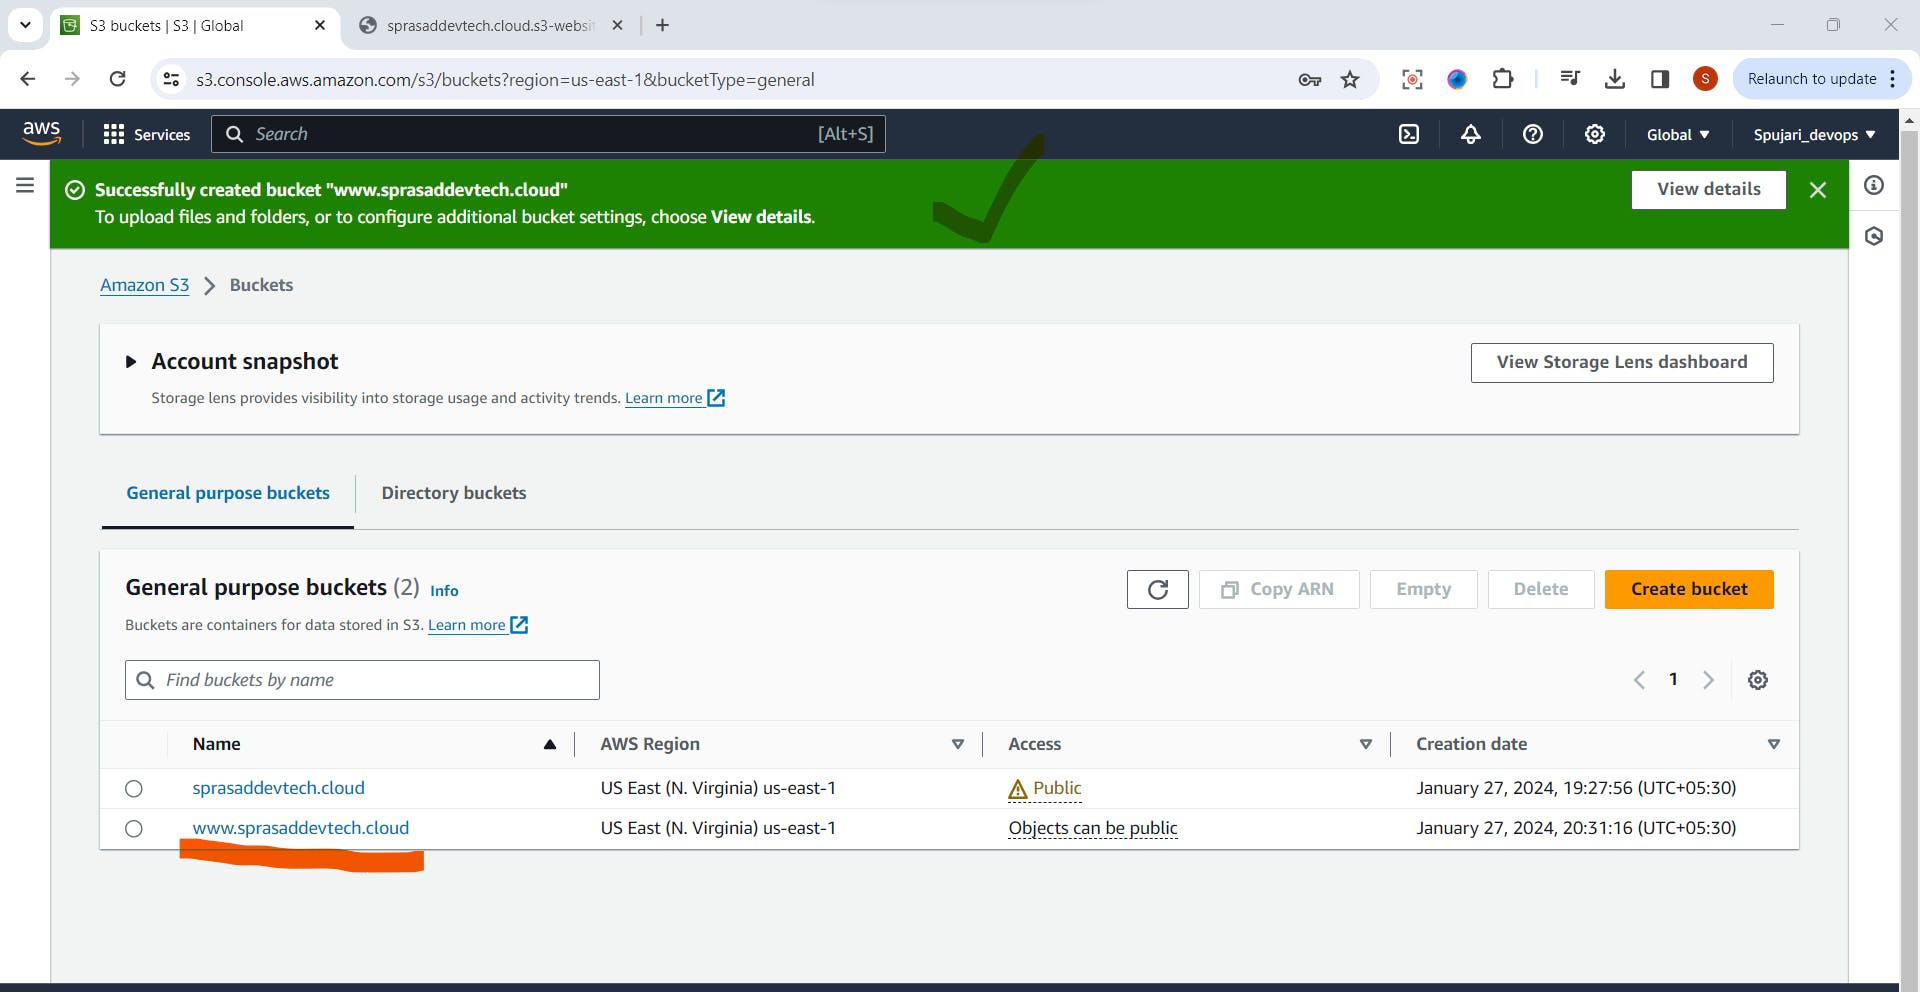
Click on Create bucket

Bucket is created successfully -Now go to recently created bucket
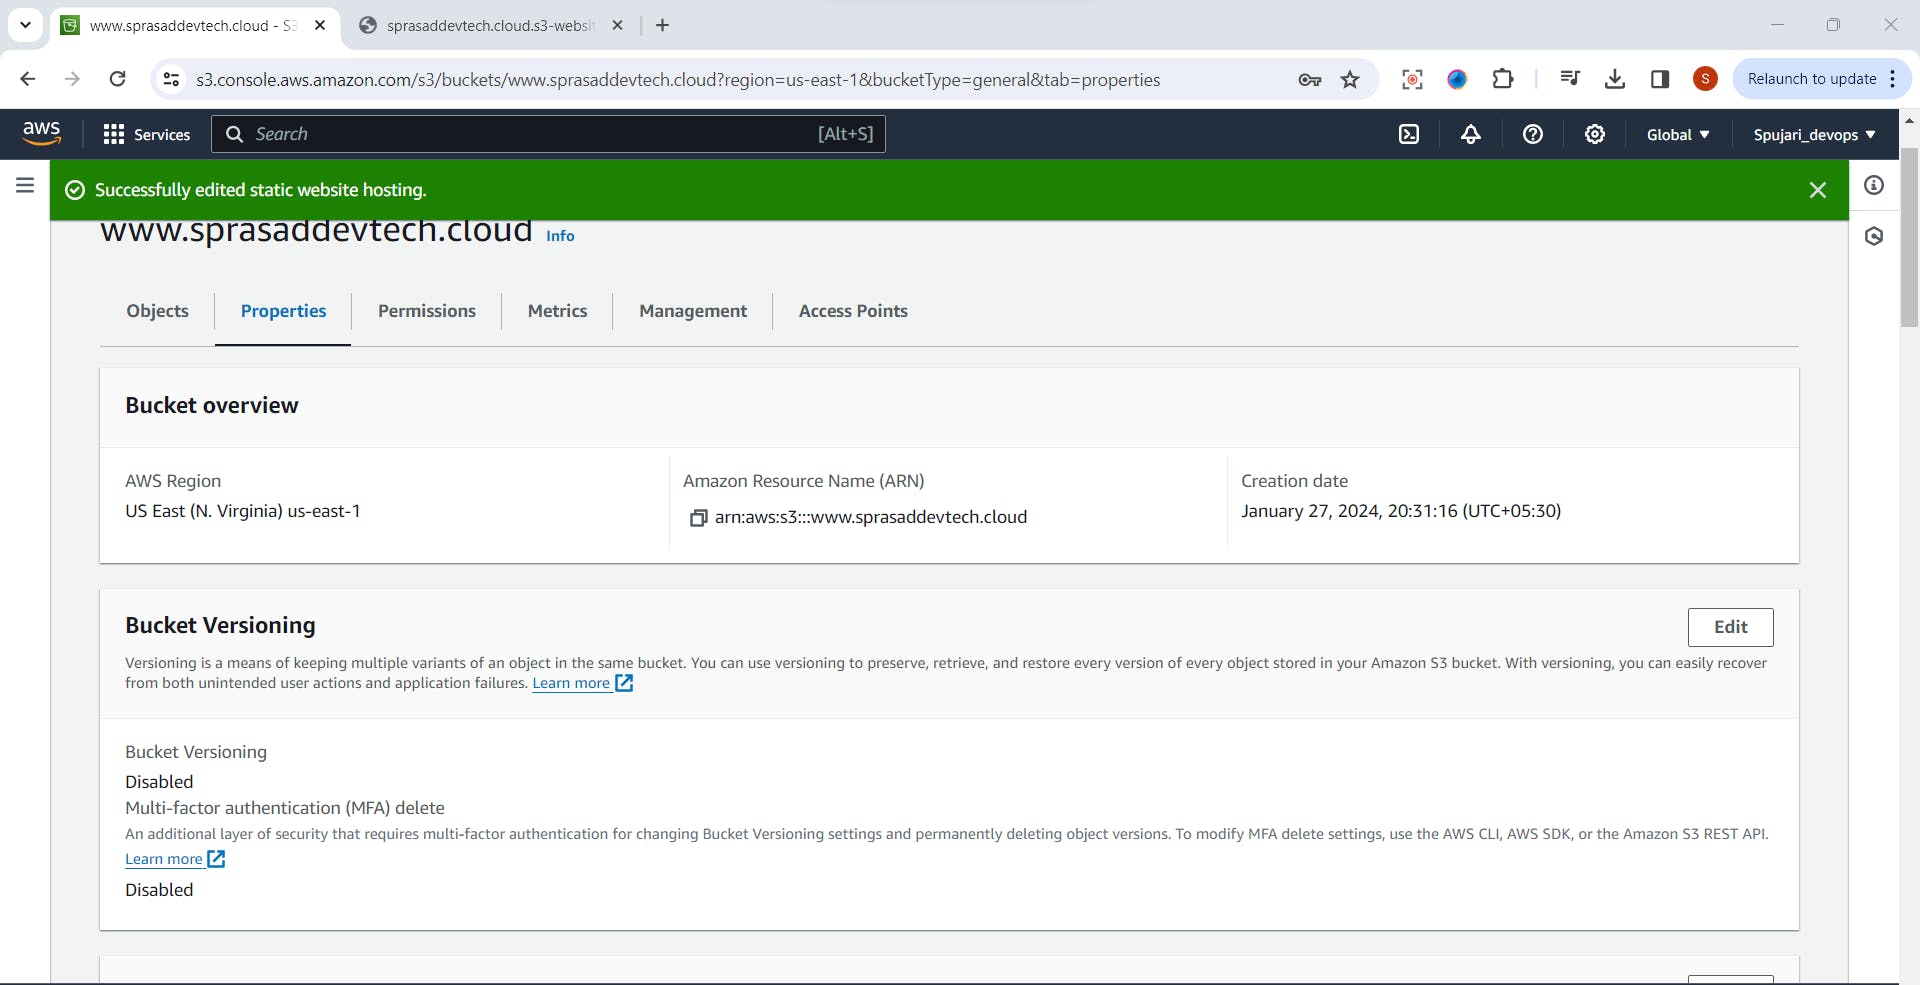
Now go to properties tab-Static Website Hosting
Click on Edit ->Fill below details-Click on save changes
Changes are saved successfully
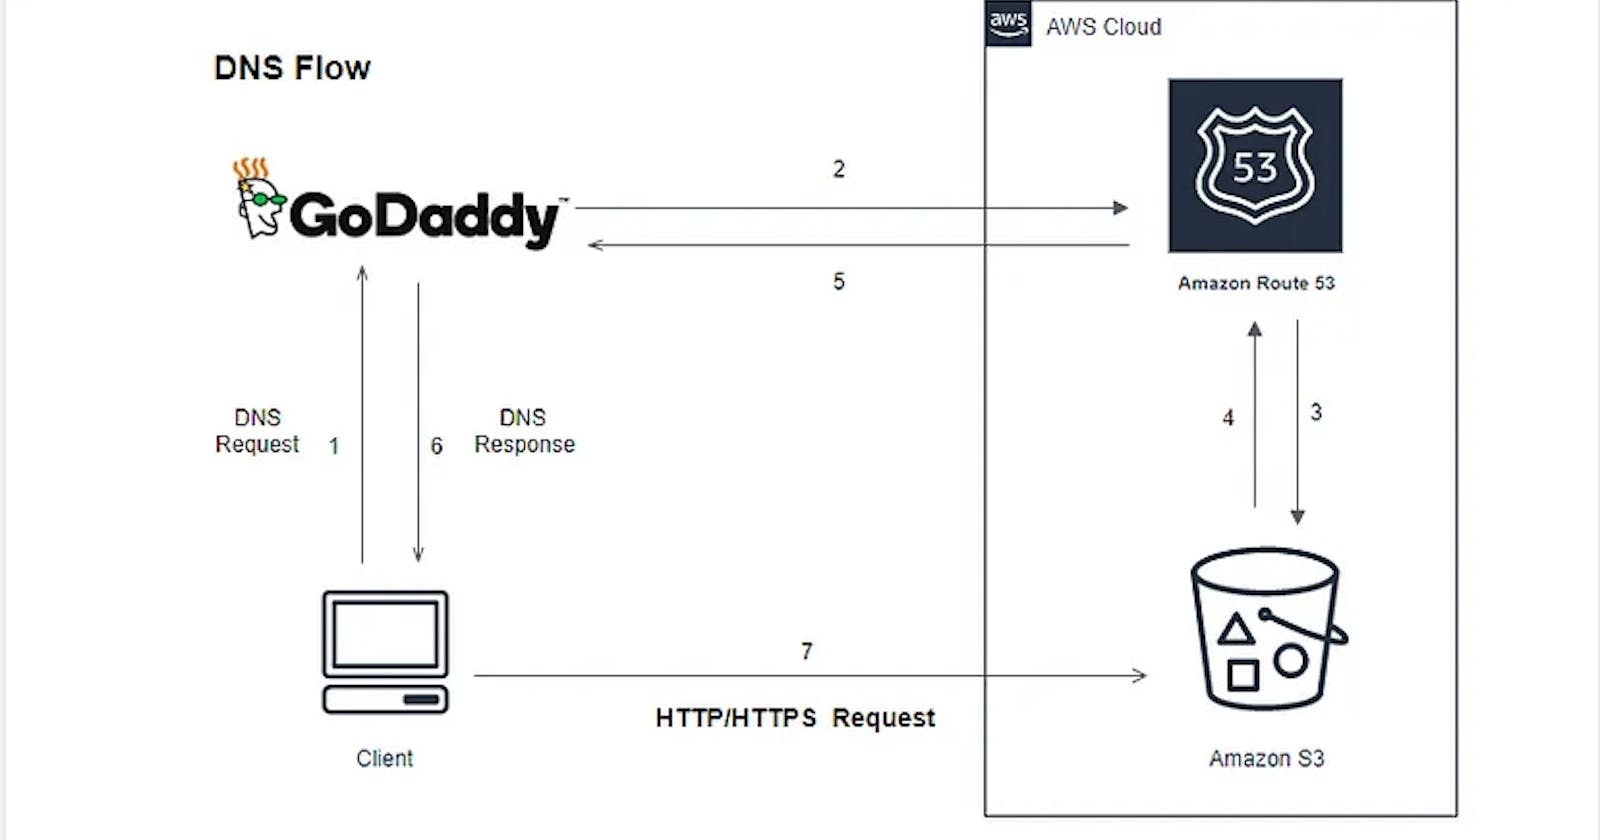
Step 3: Now Configuring AWS Route 53
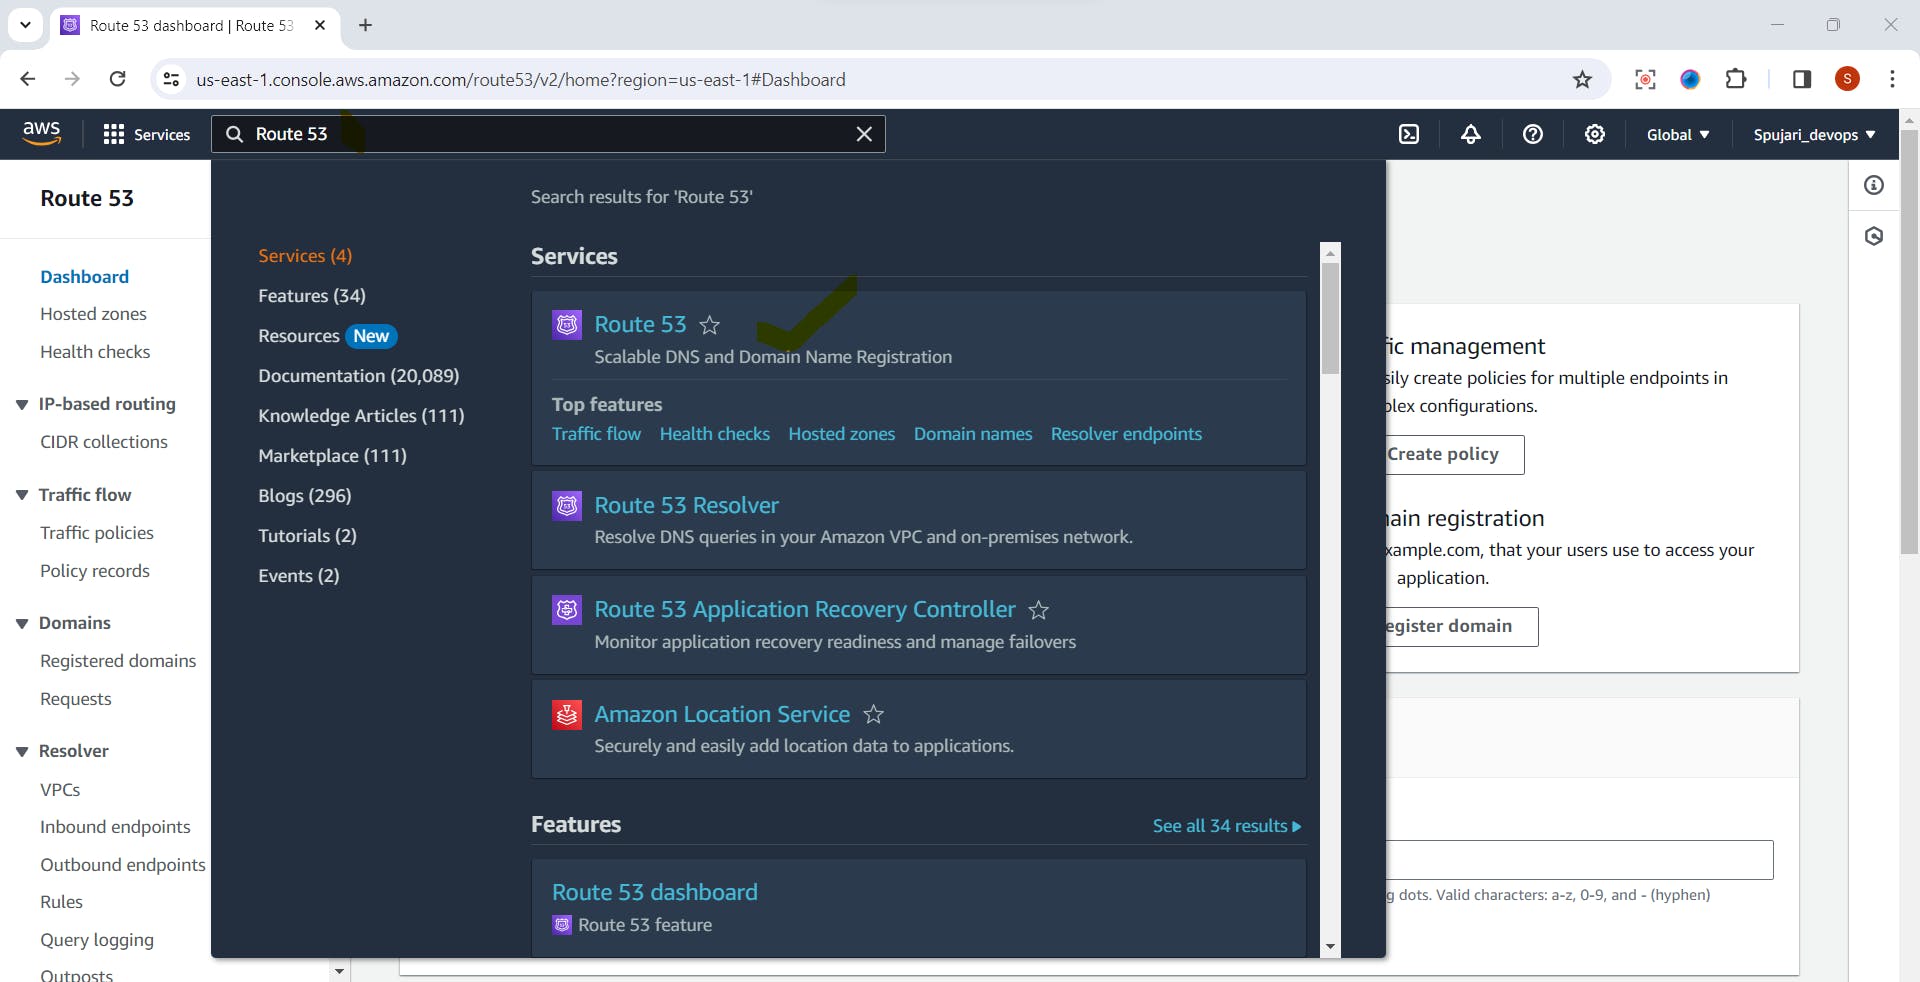
Access Route 53 Console: Search Route 53 in Search bar ,click on Route 53
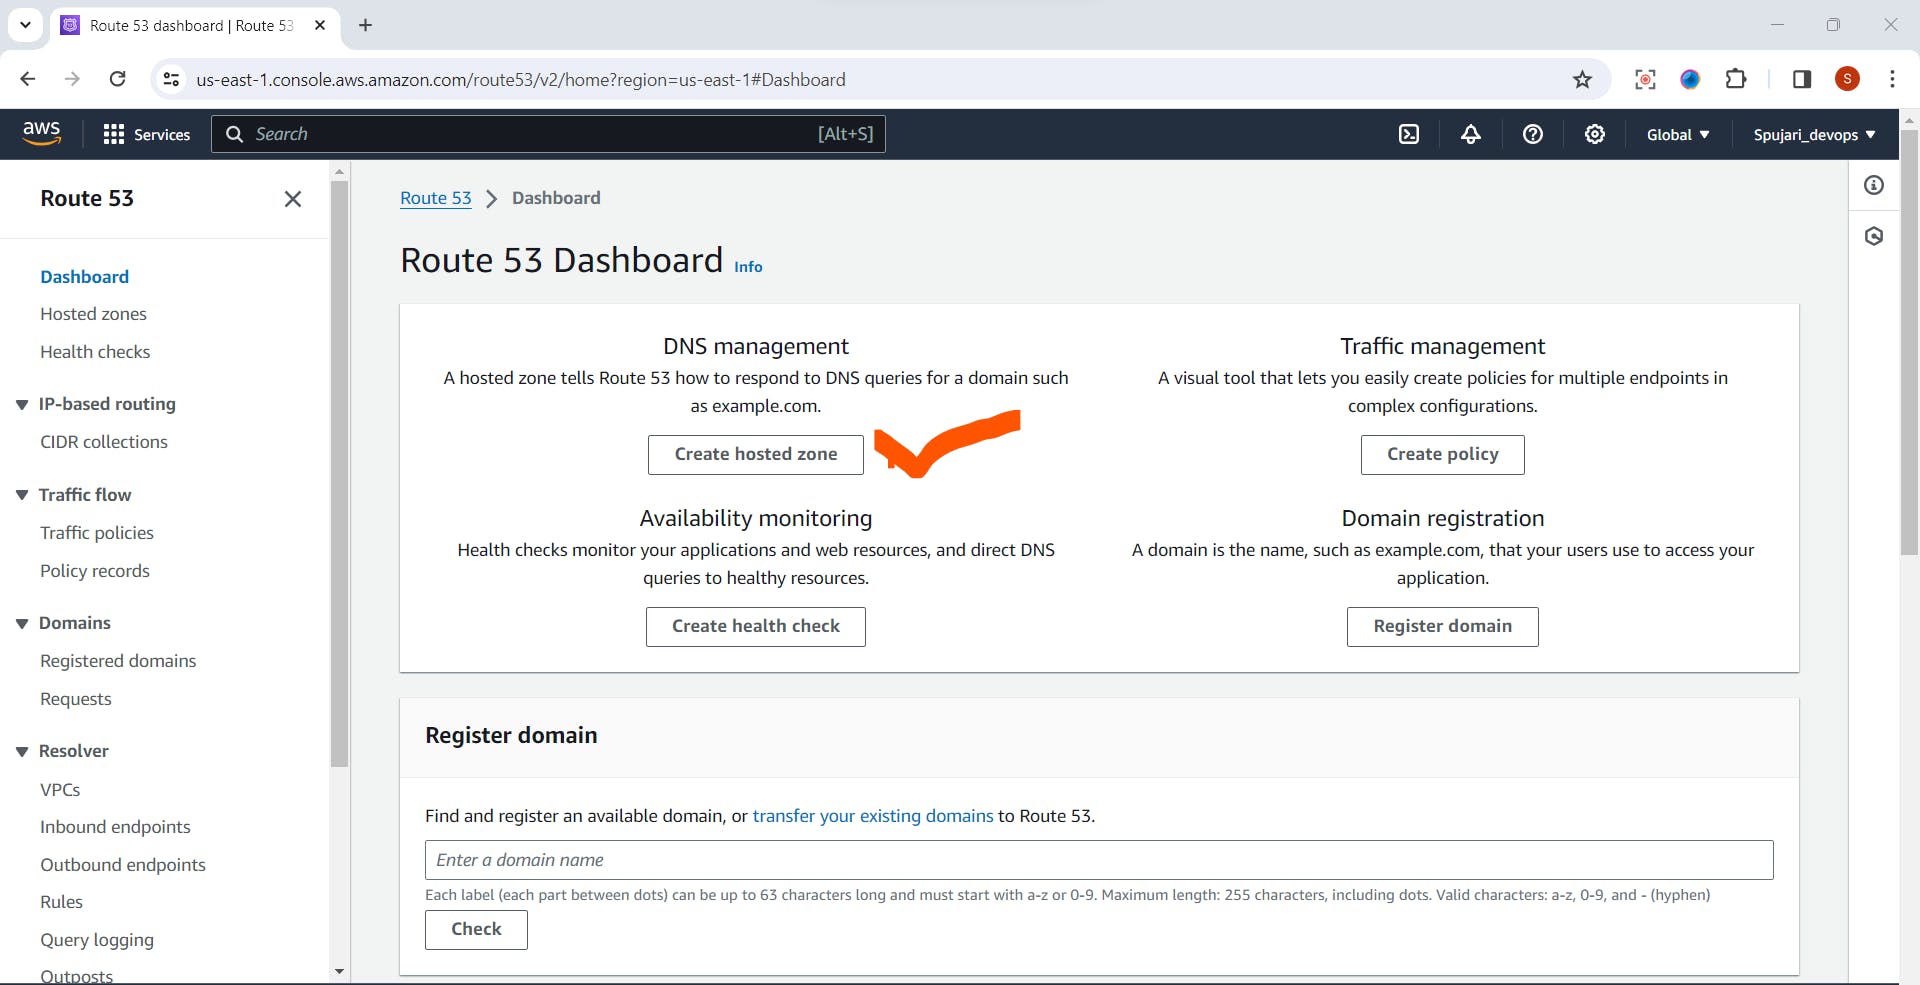
Go to the AWS Route 53 console.
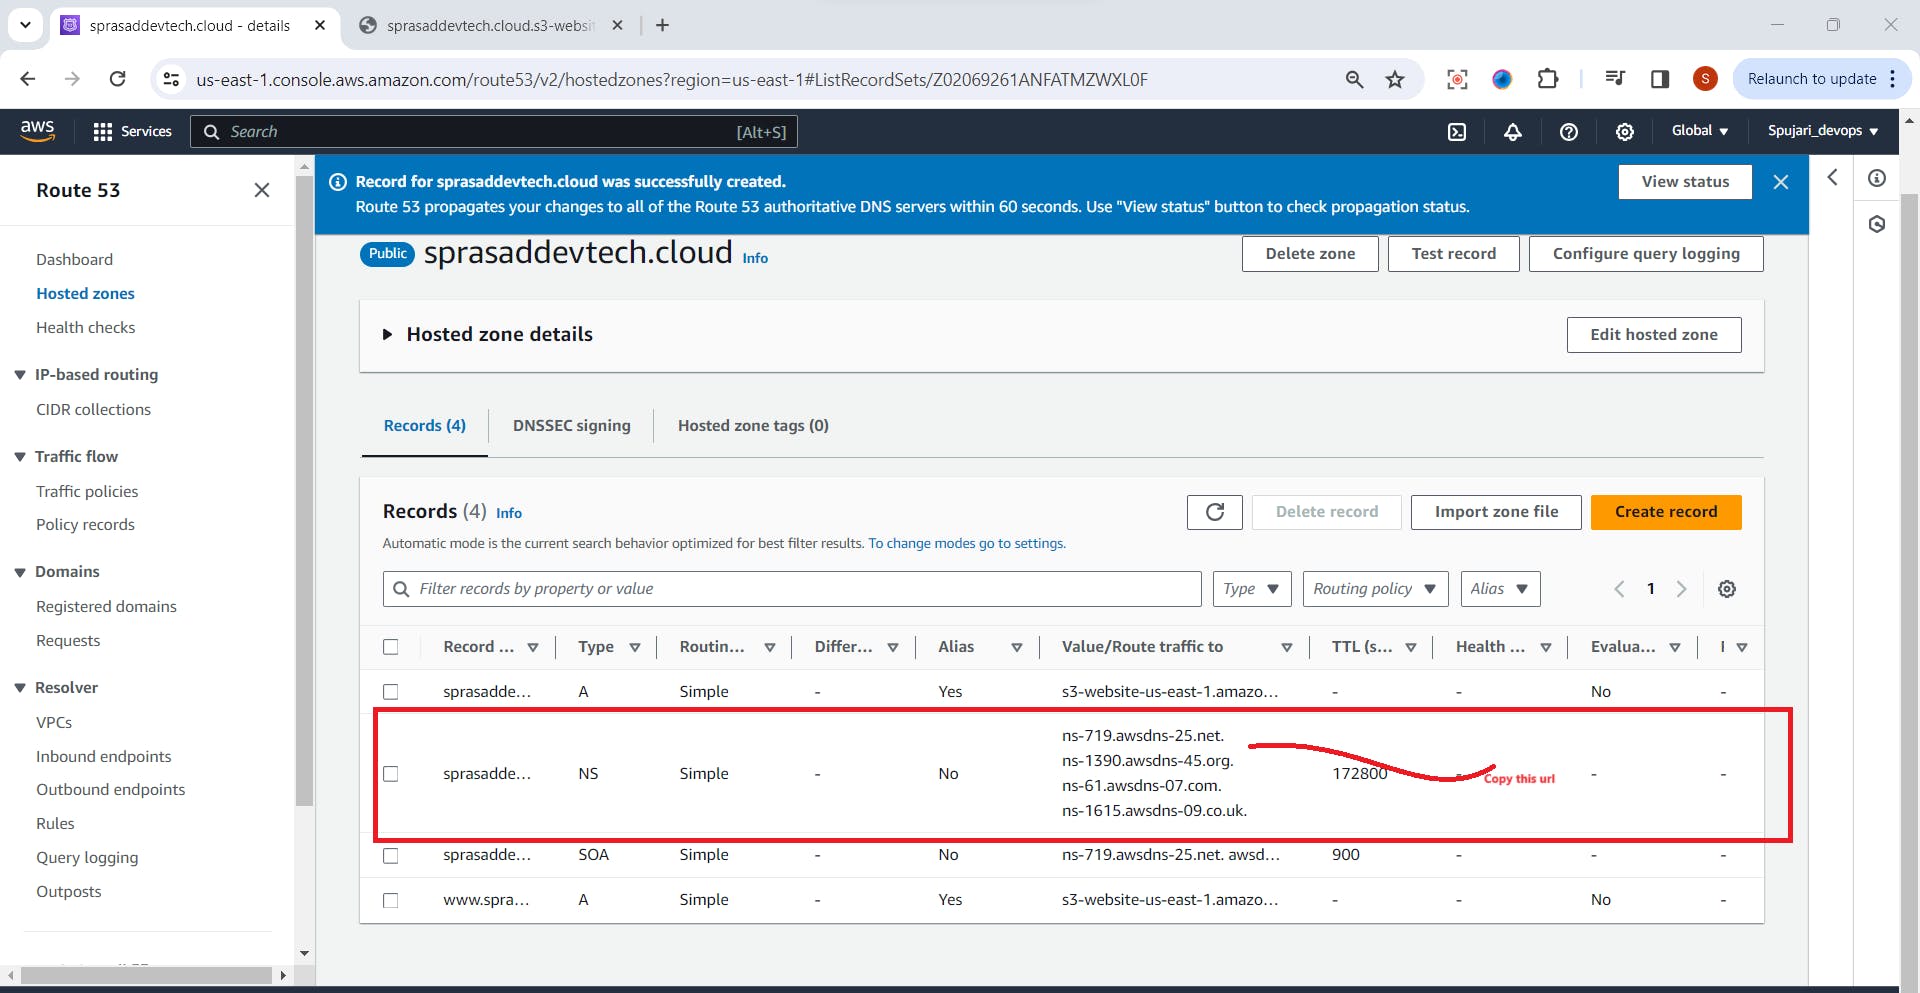
Create a Hosted Zone: Click on "Create Hosted Zone," enter your domain name, and note down the assigned name servers.
Update Domain's Name Servers: Go back to your domain registrar's website and update the name servers with the ones provided by Route 53.
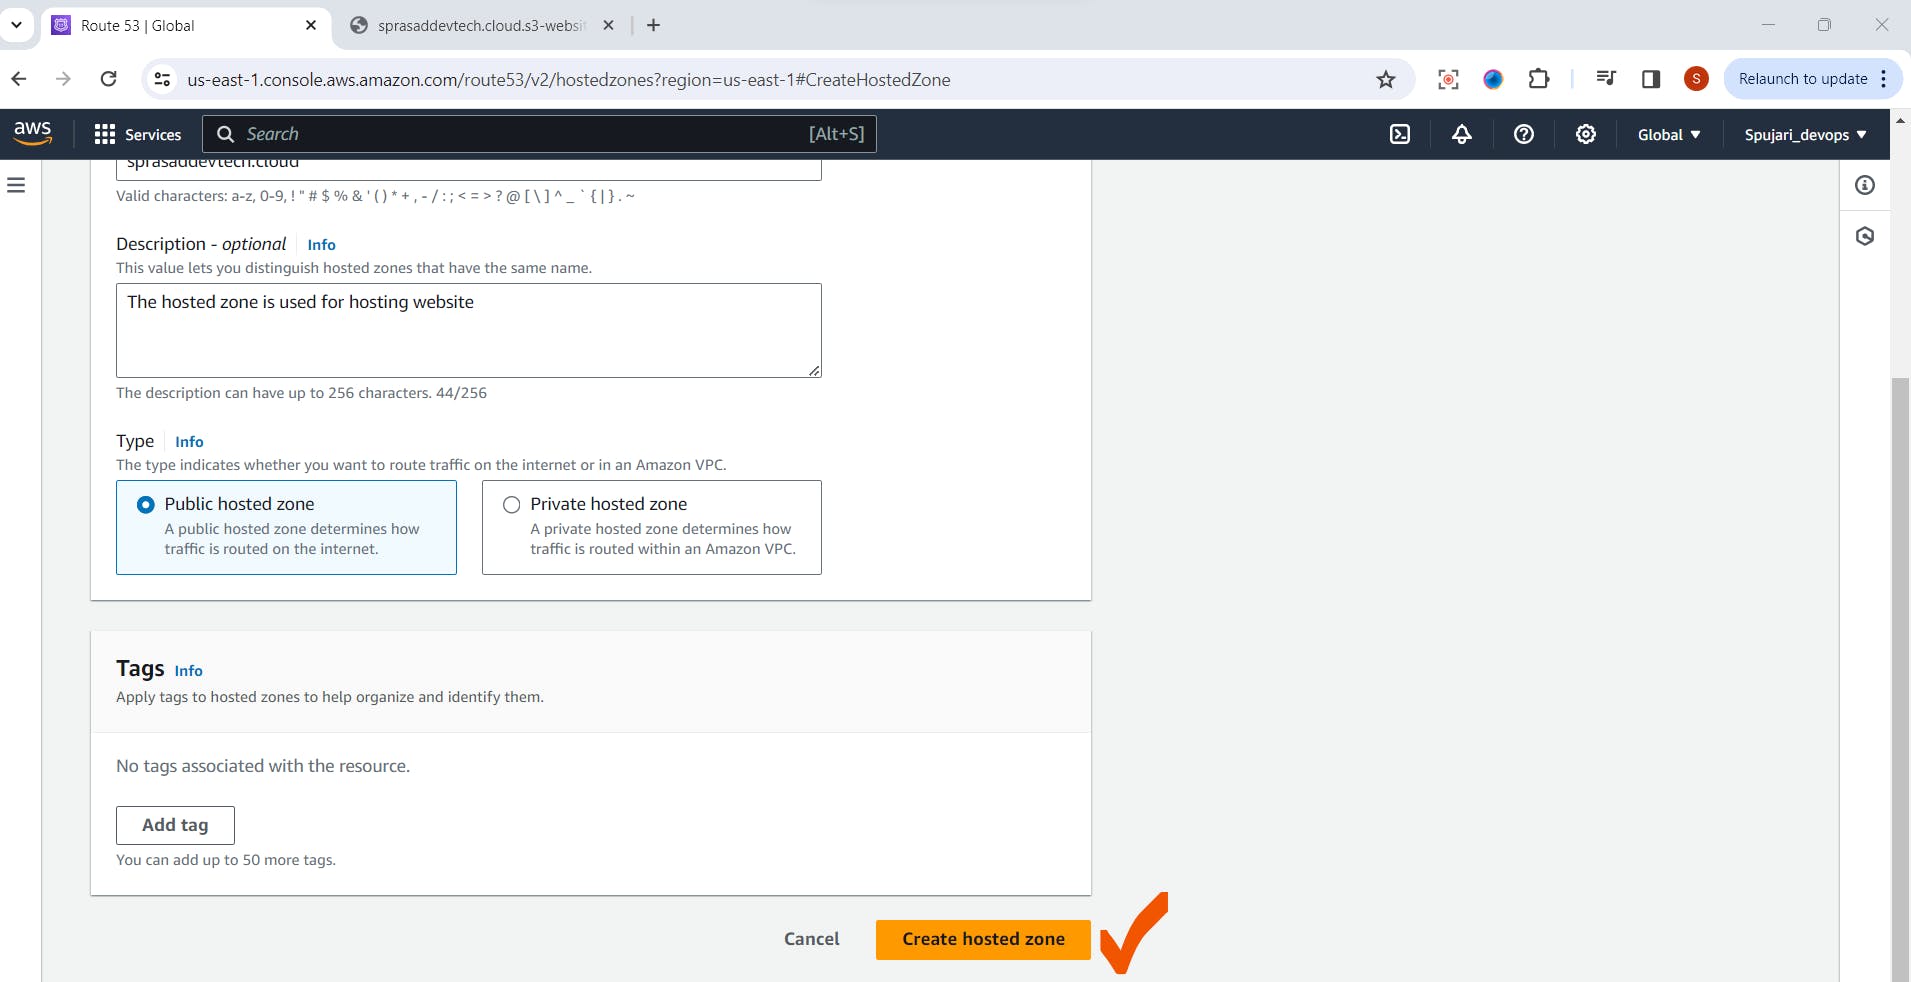
1.Enter your Free Domain Name
2.Type -Select Public
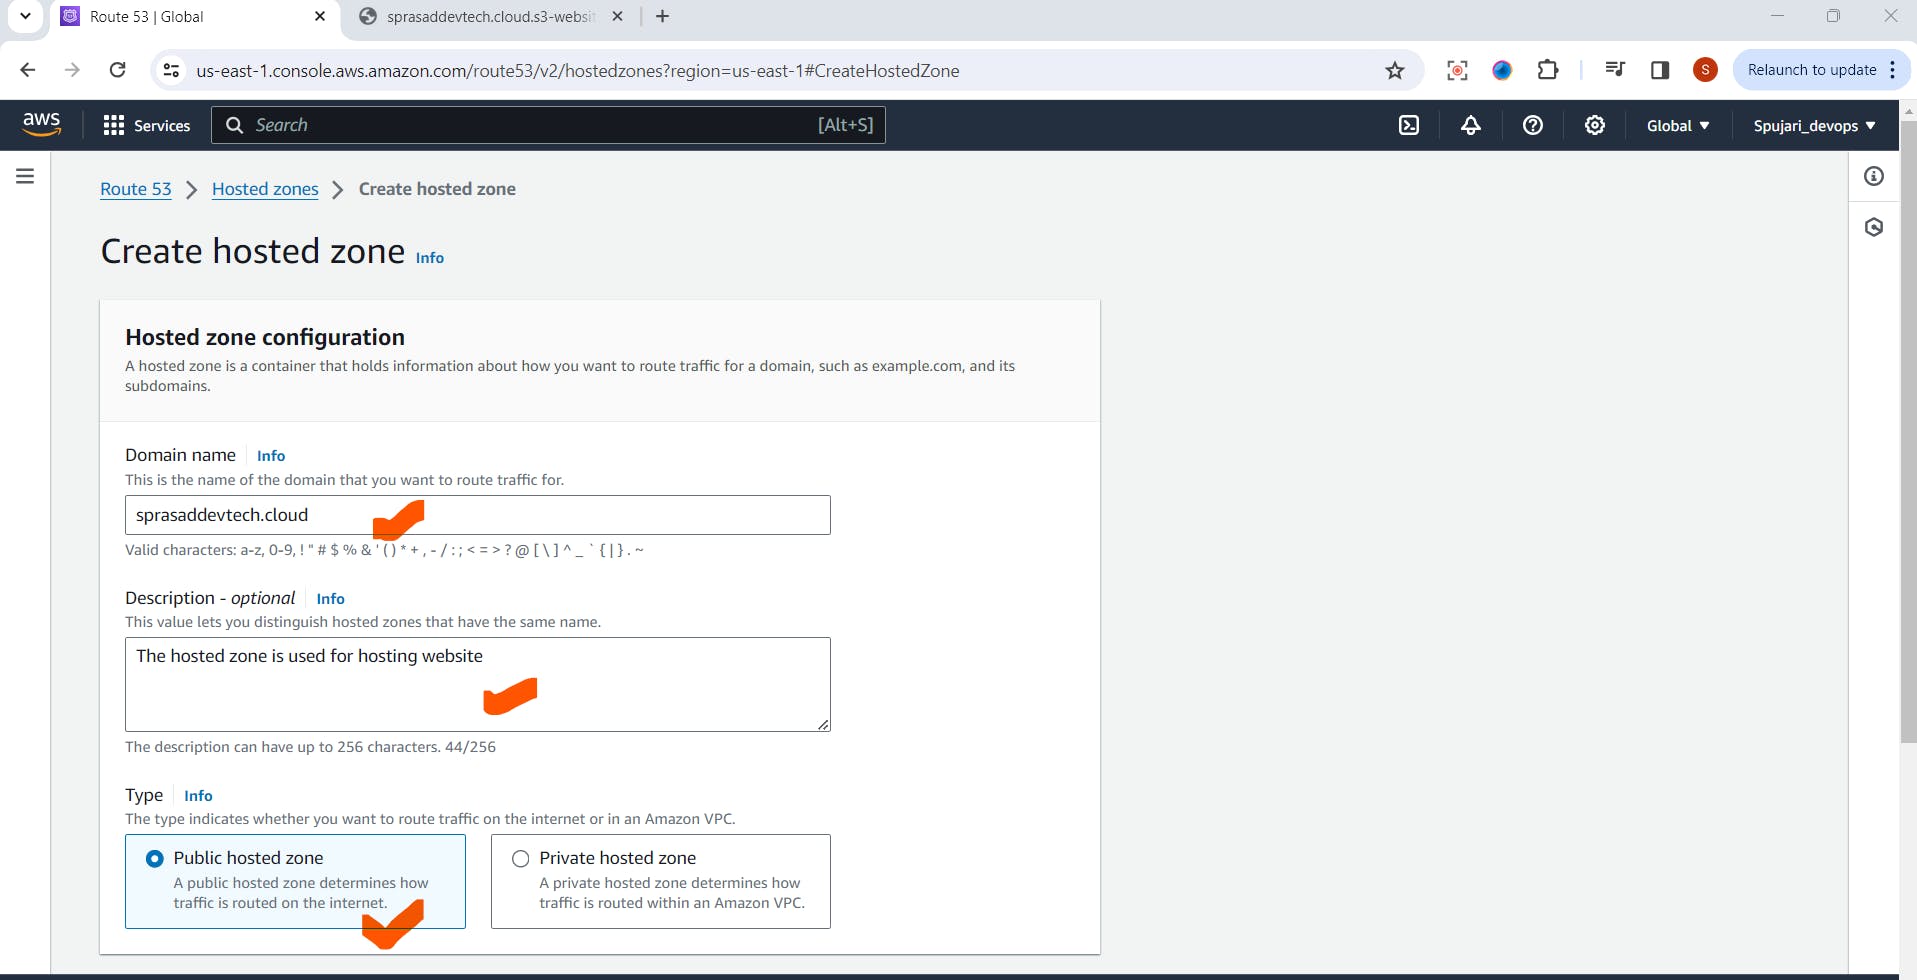
Click on Create hosted zone
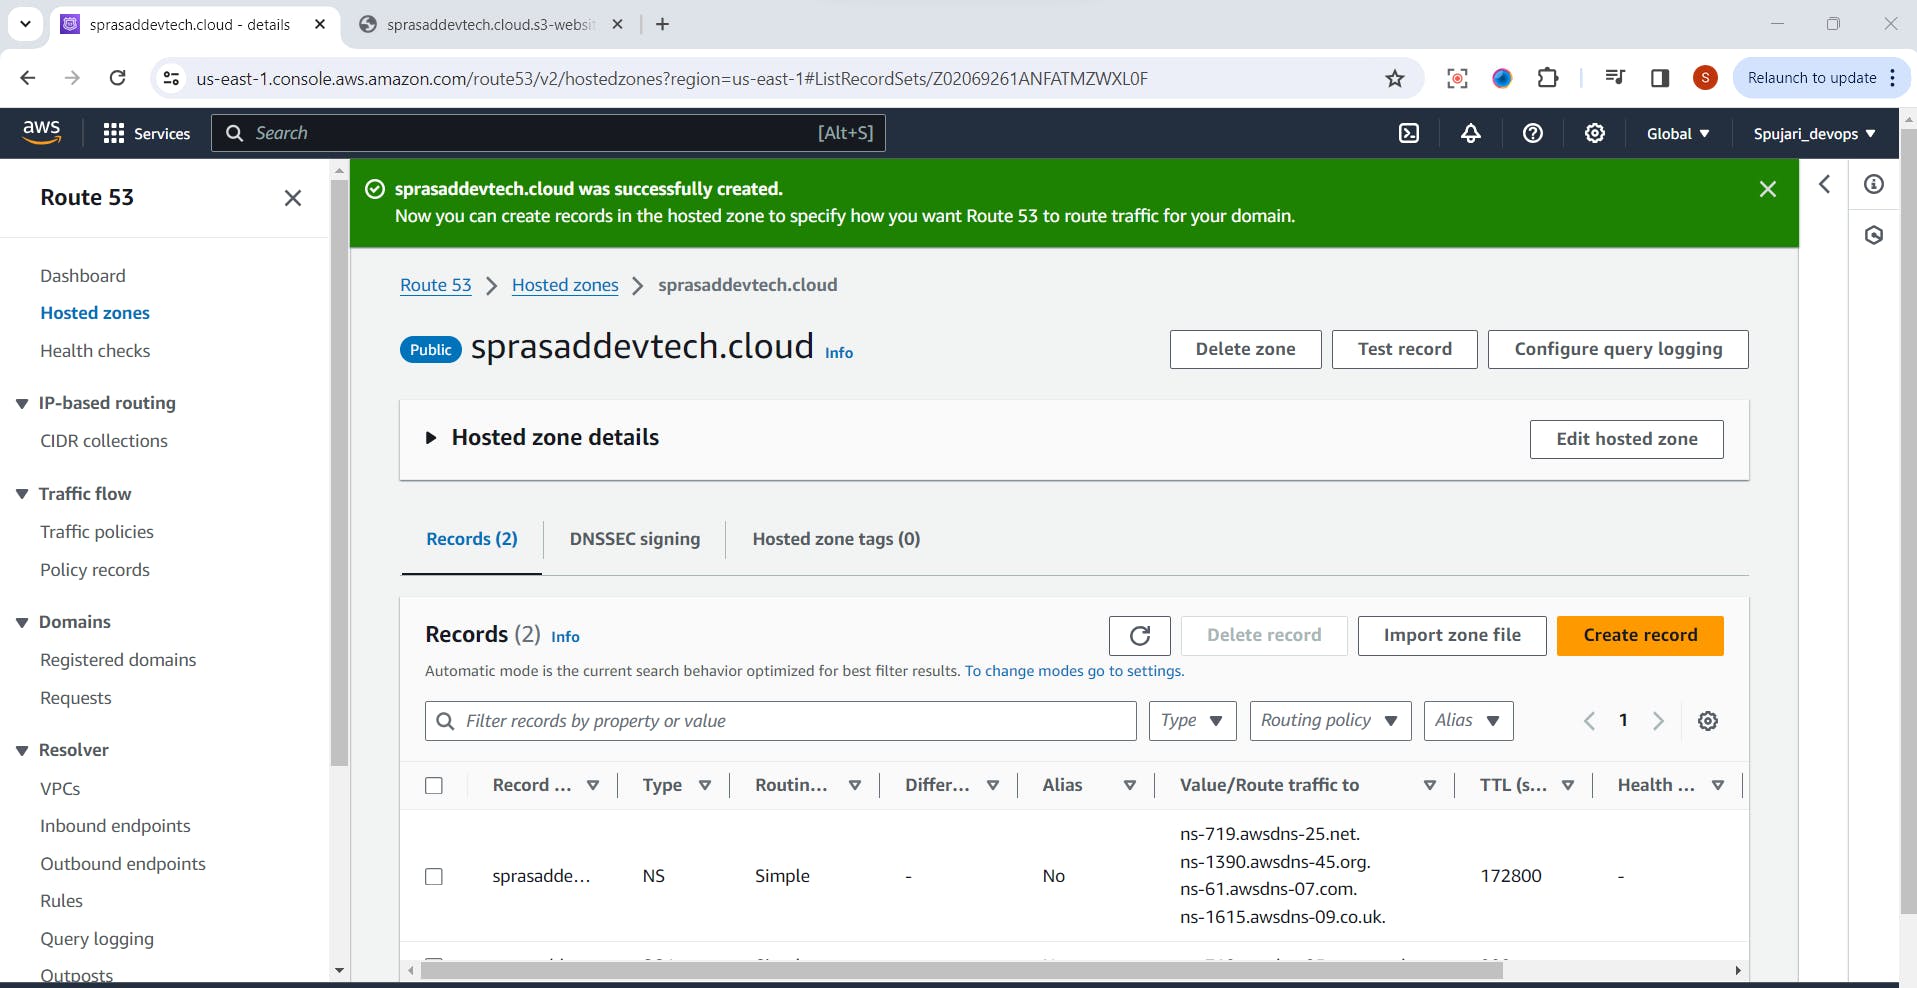
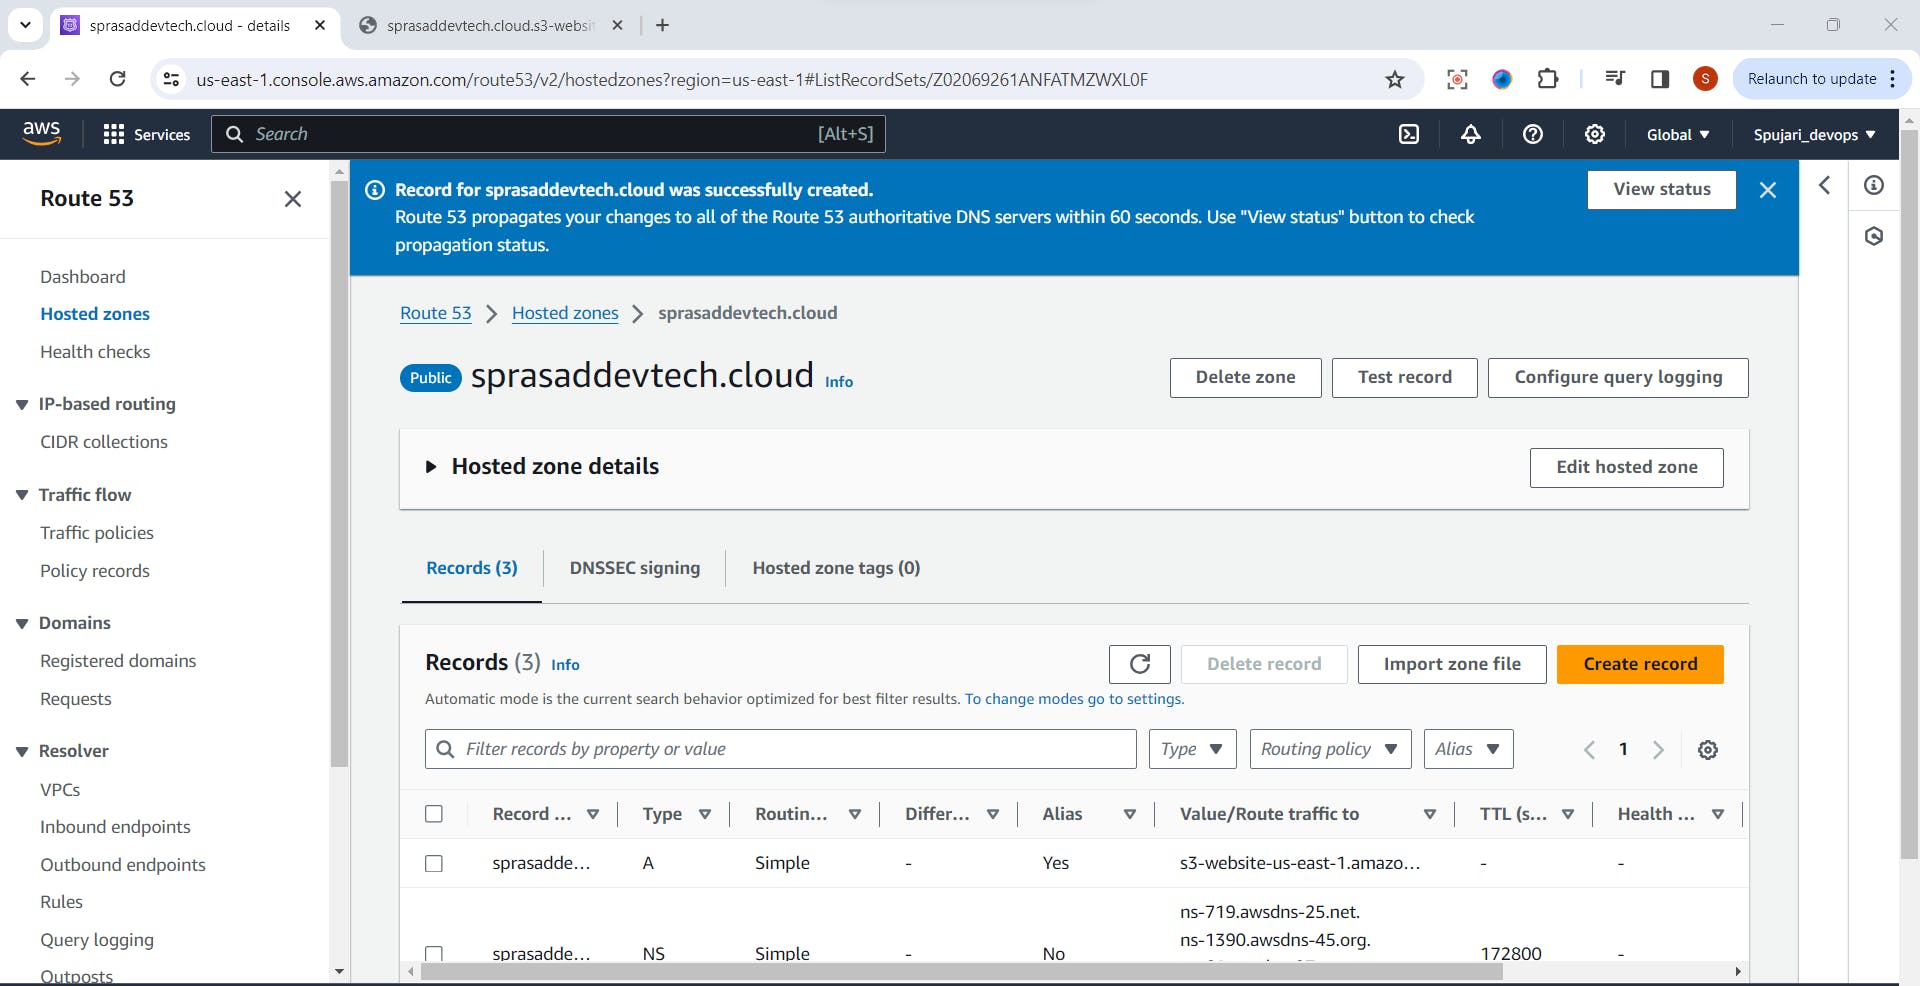
Hosted Zone created successfully
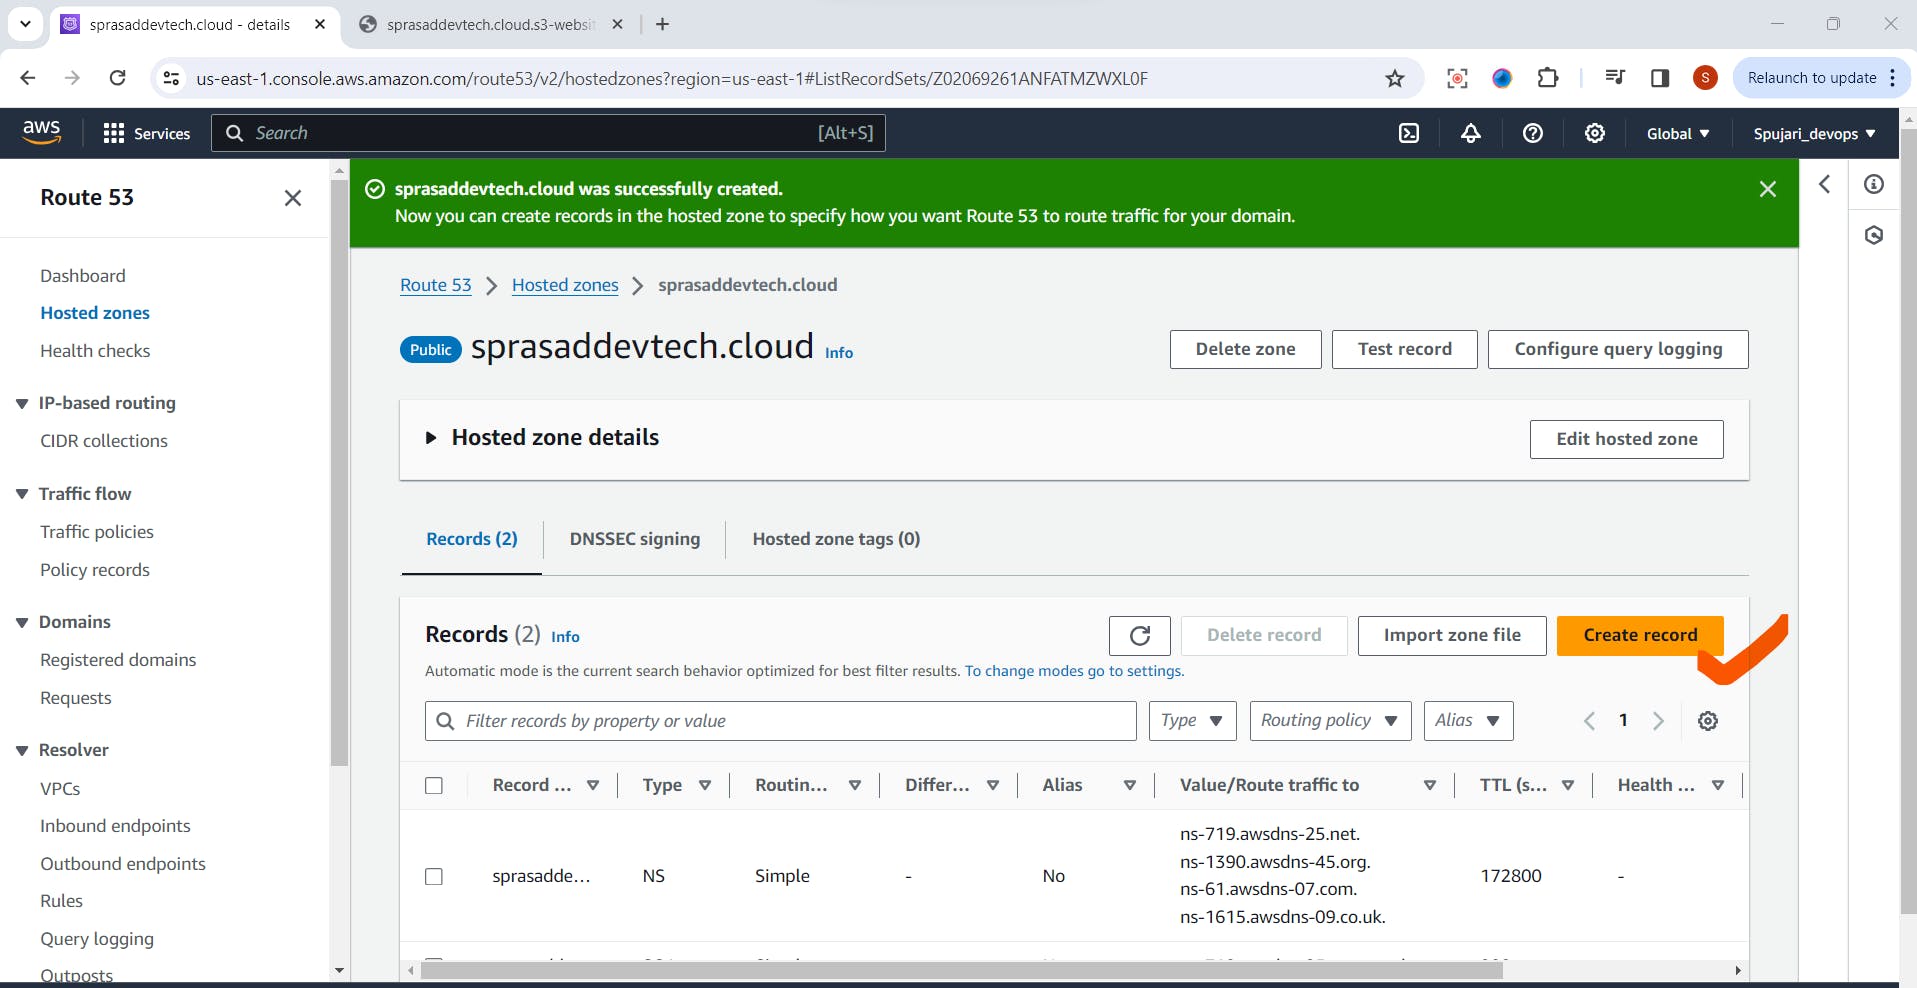
Click on Create Record
Enter below details
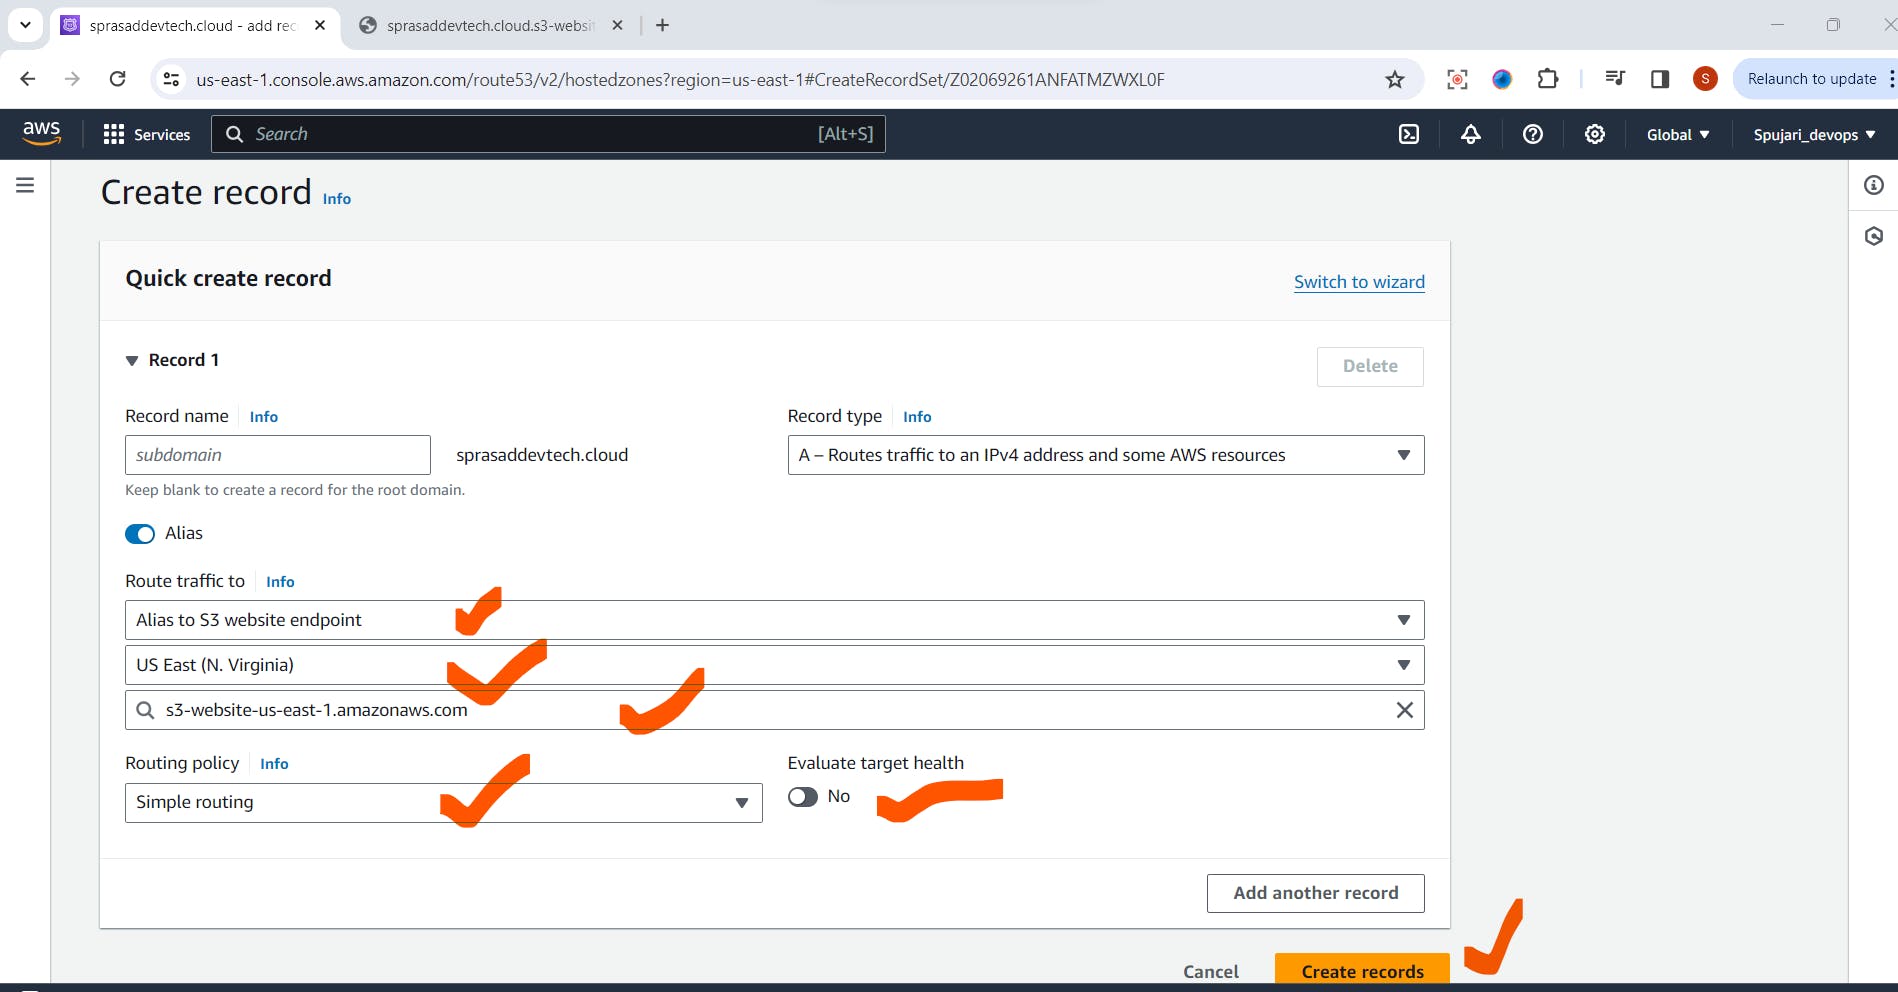
Record is created successfully
Now again we need to create new Record for WWW
Click on Create Record ->Fill below details
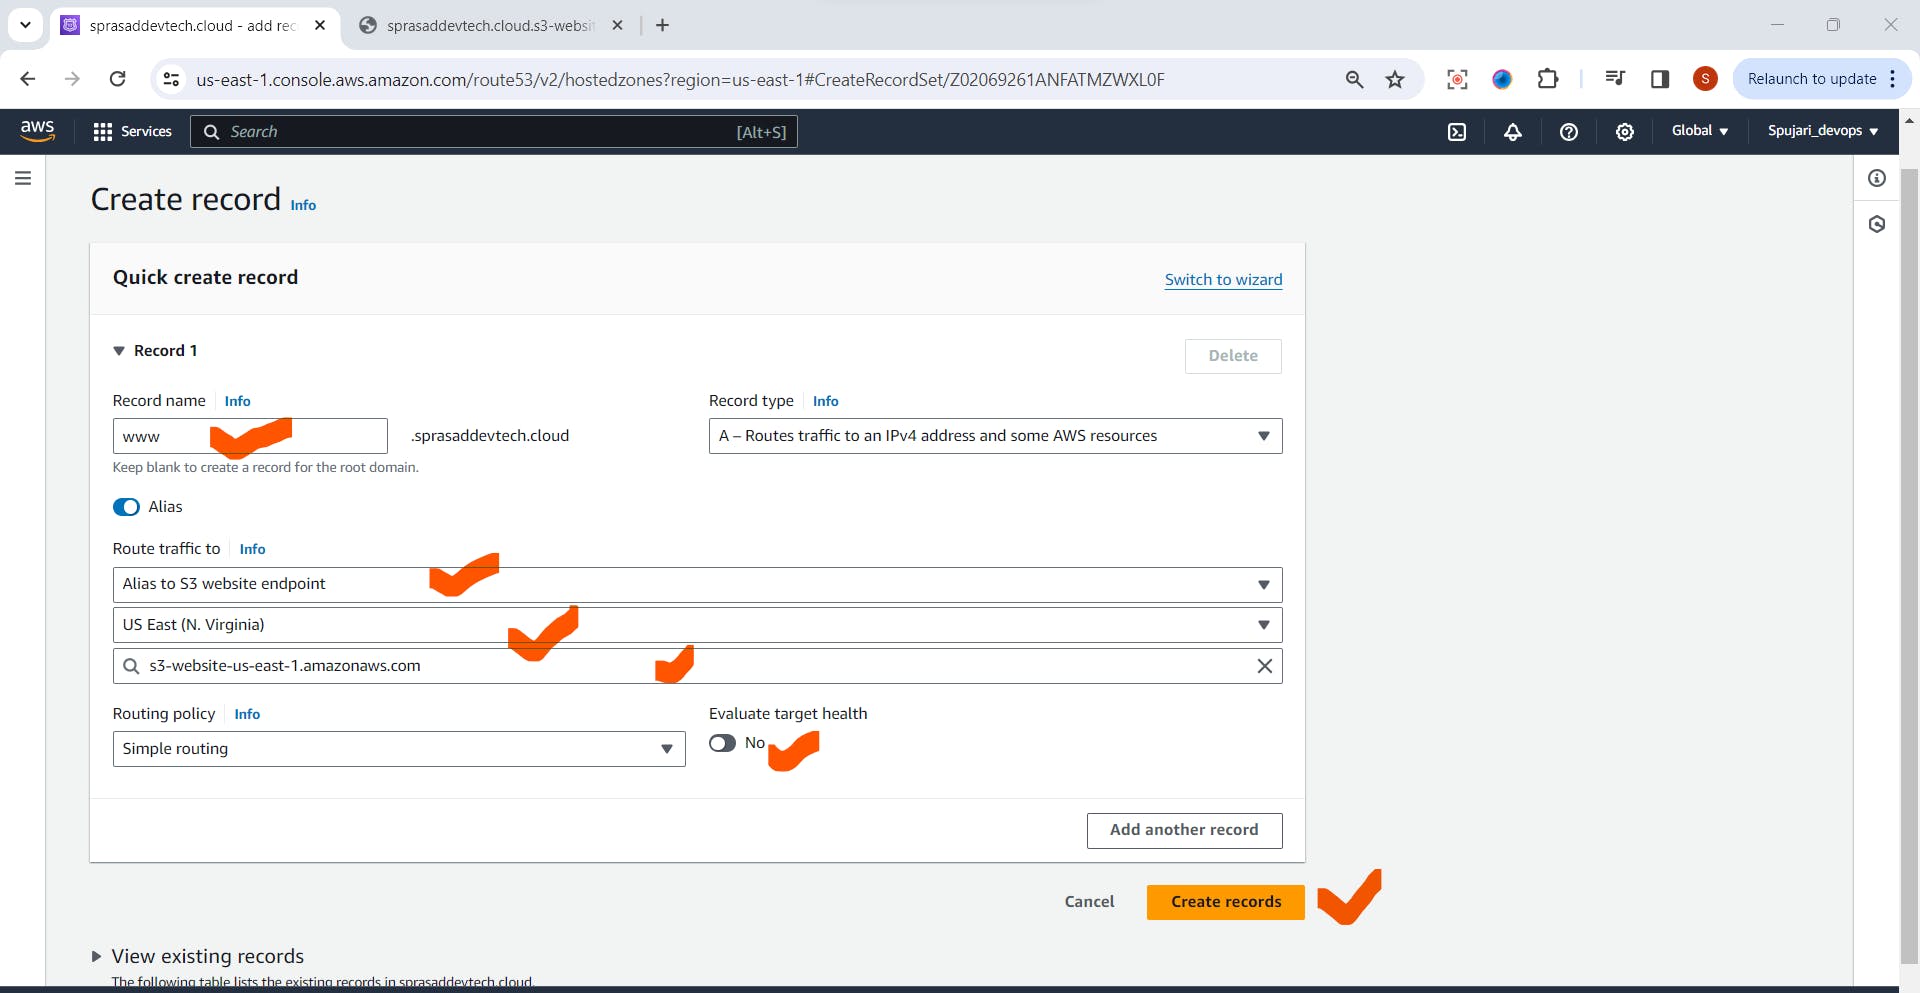
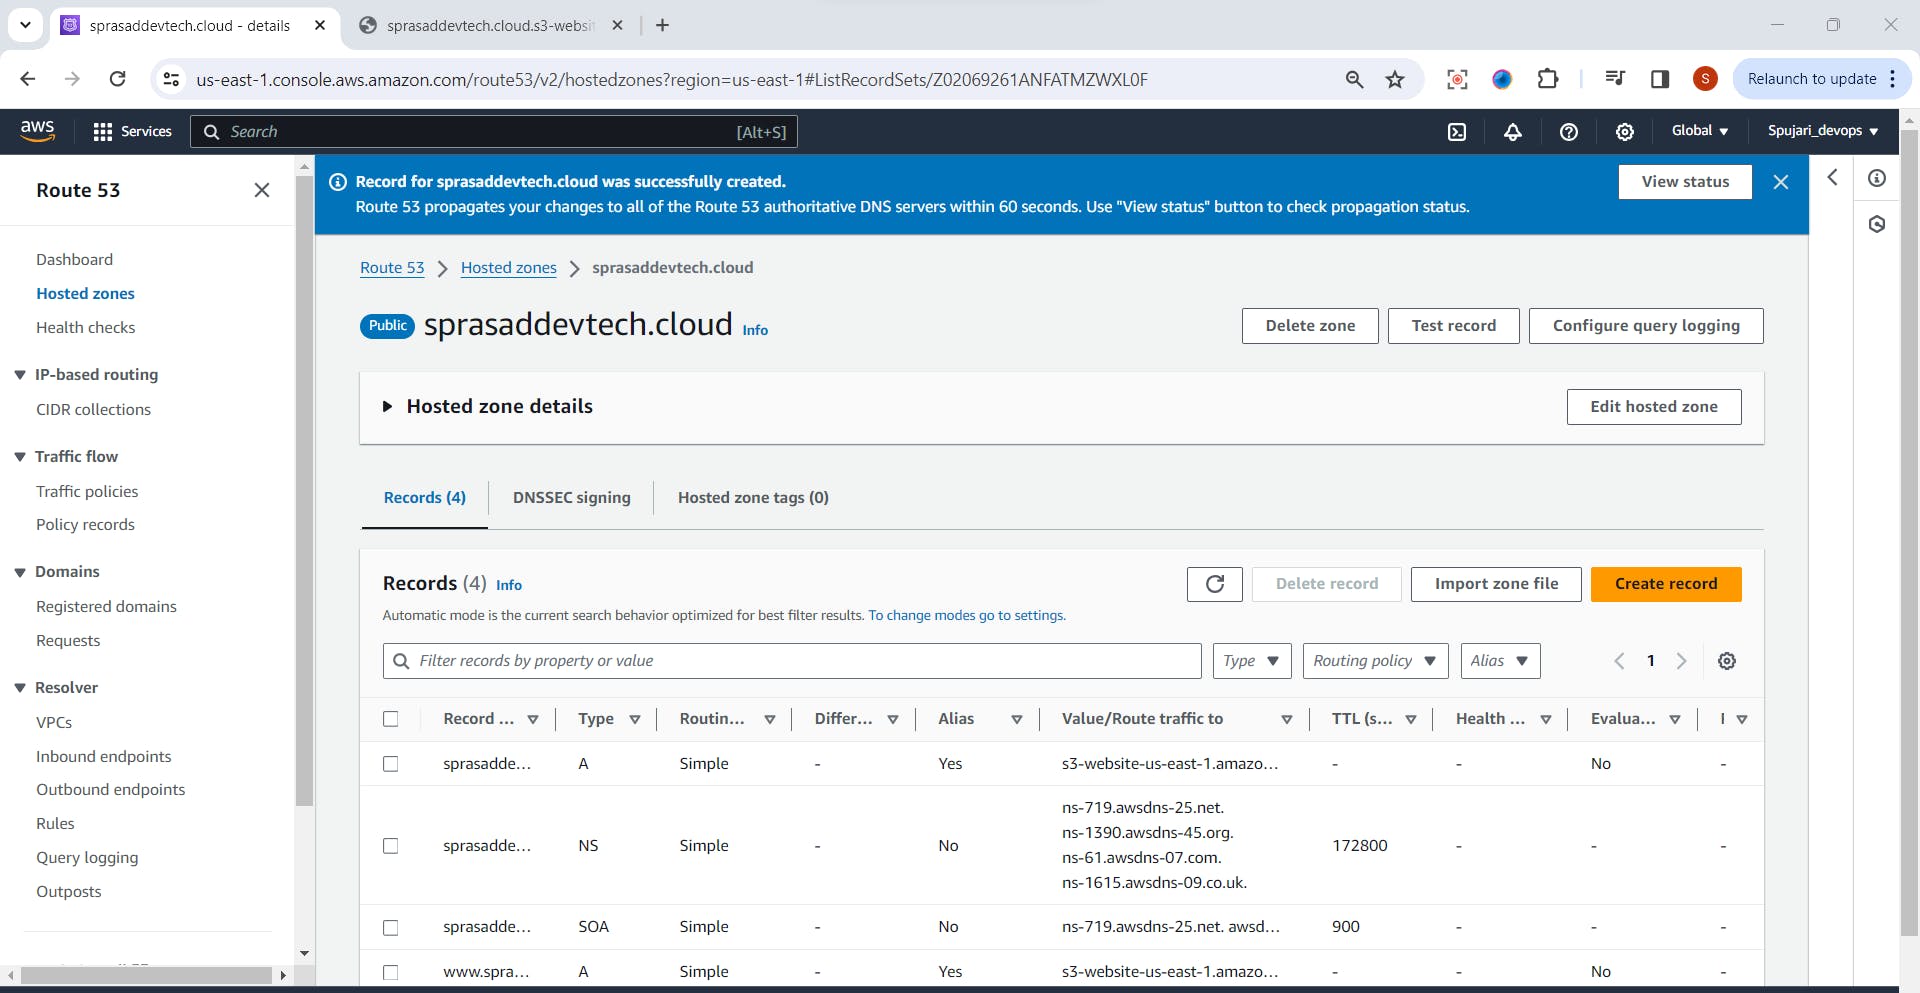
Record is created successfully
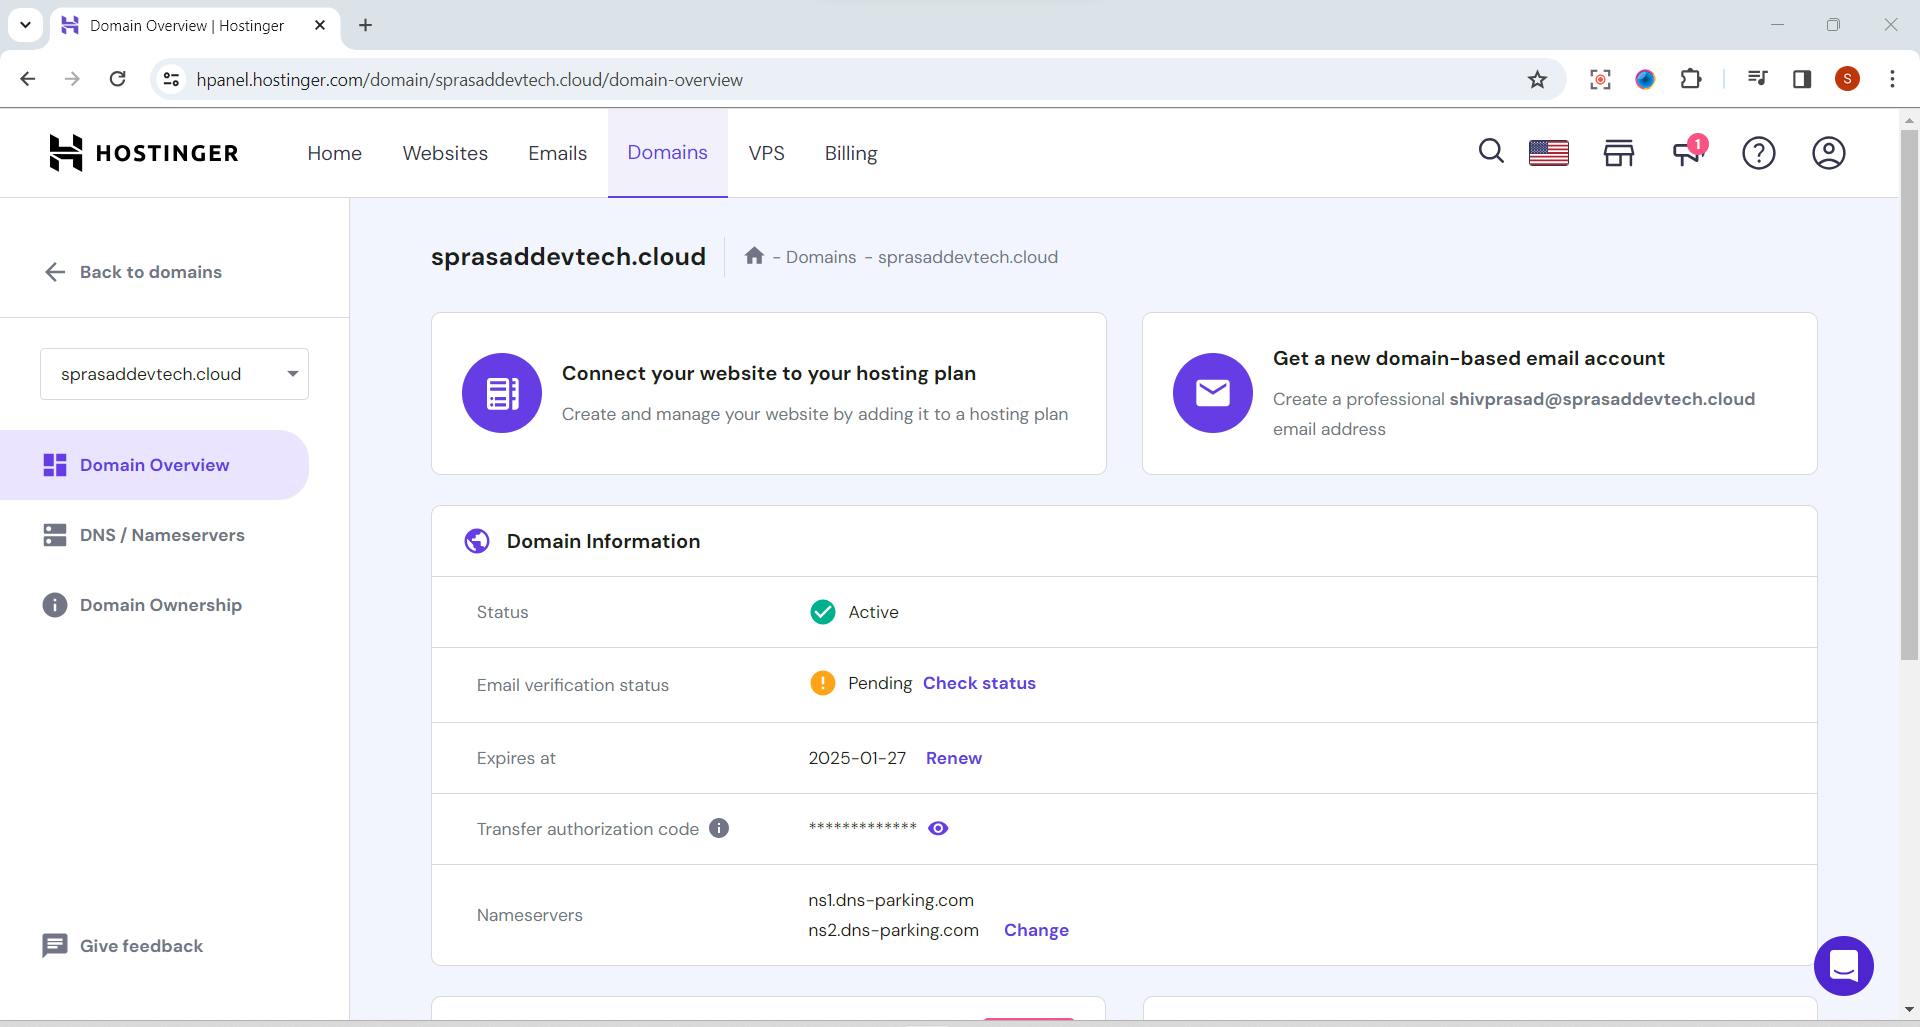
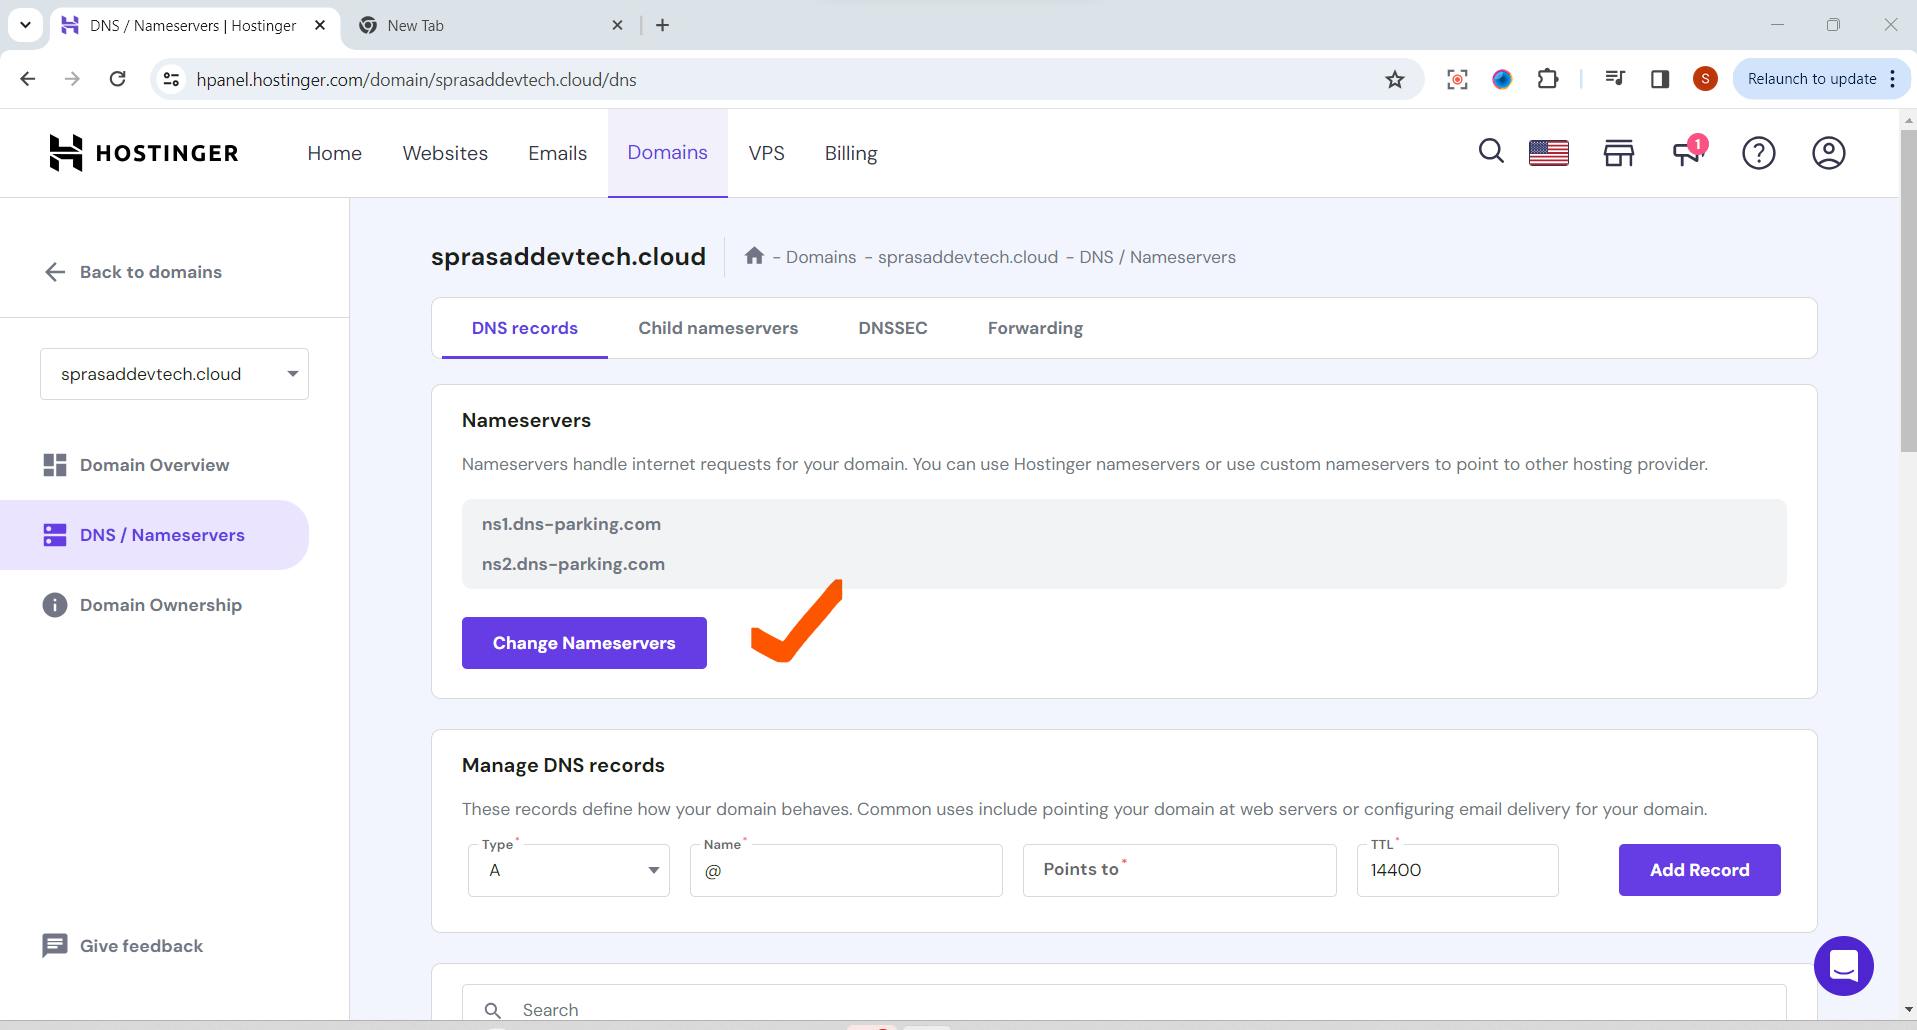
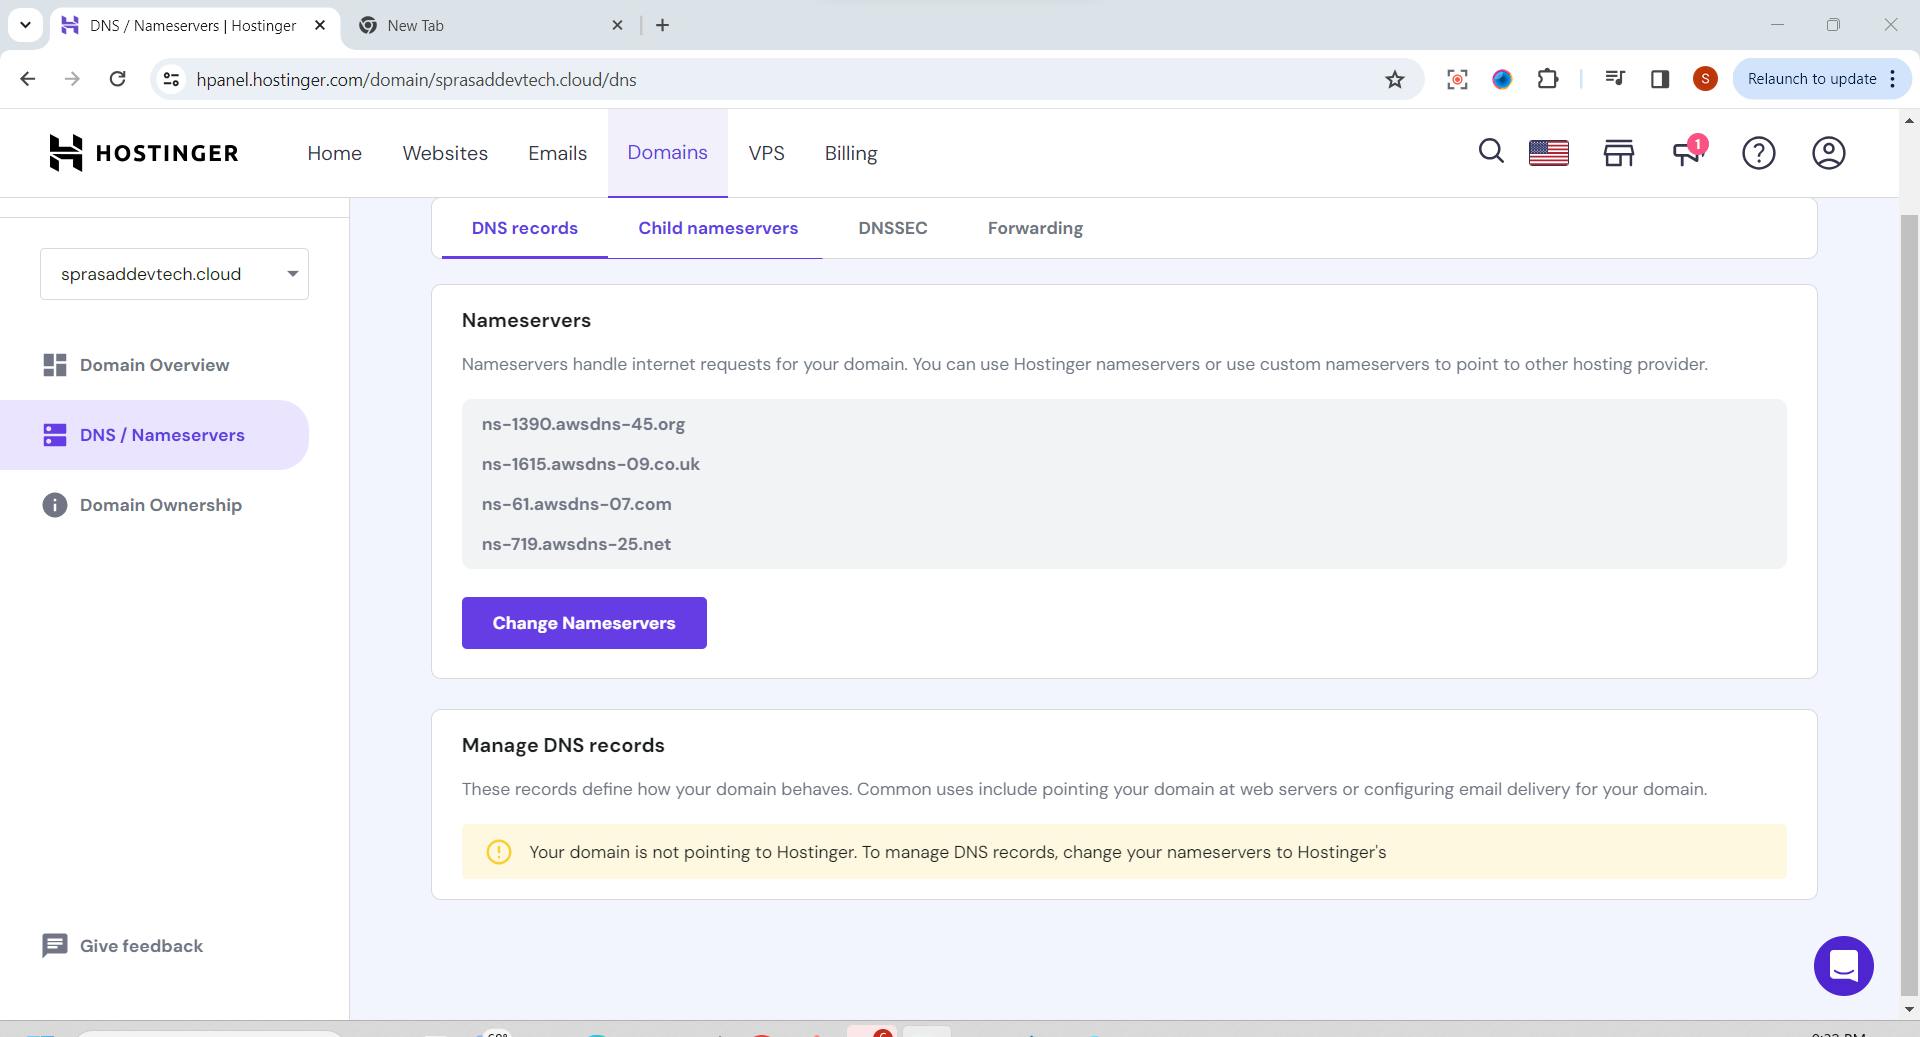
Step 4: Configure your DNS NameServer in your Domain
Go to your Domain -I created domain in Hostinger
Click on DNS/Nameserver
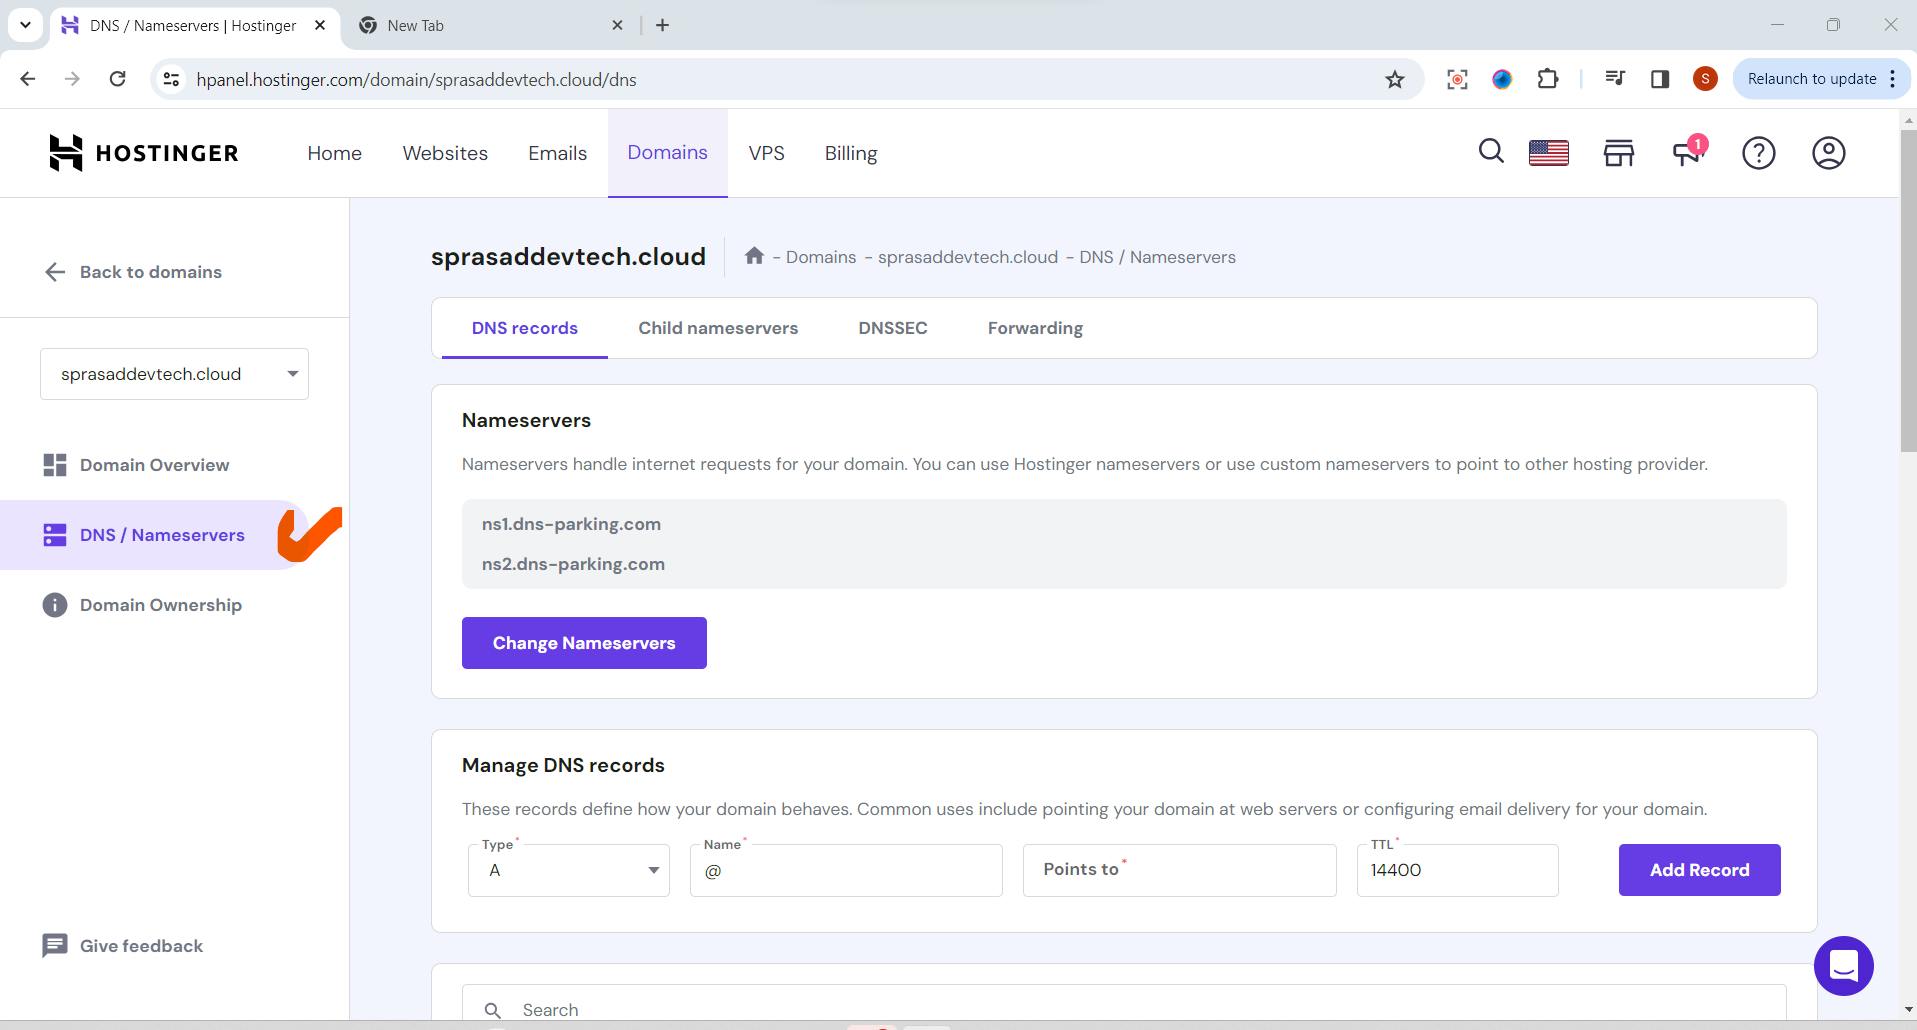
Click on Change Nameservers
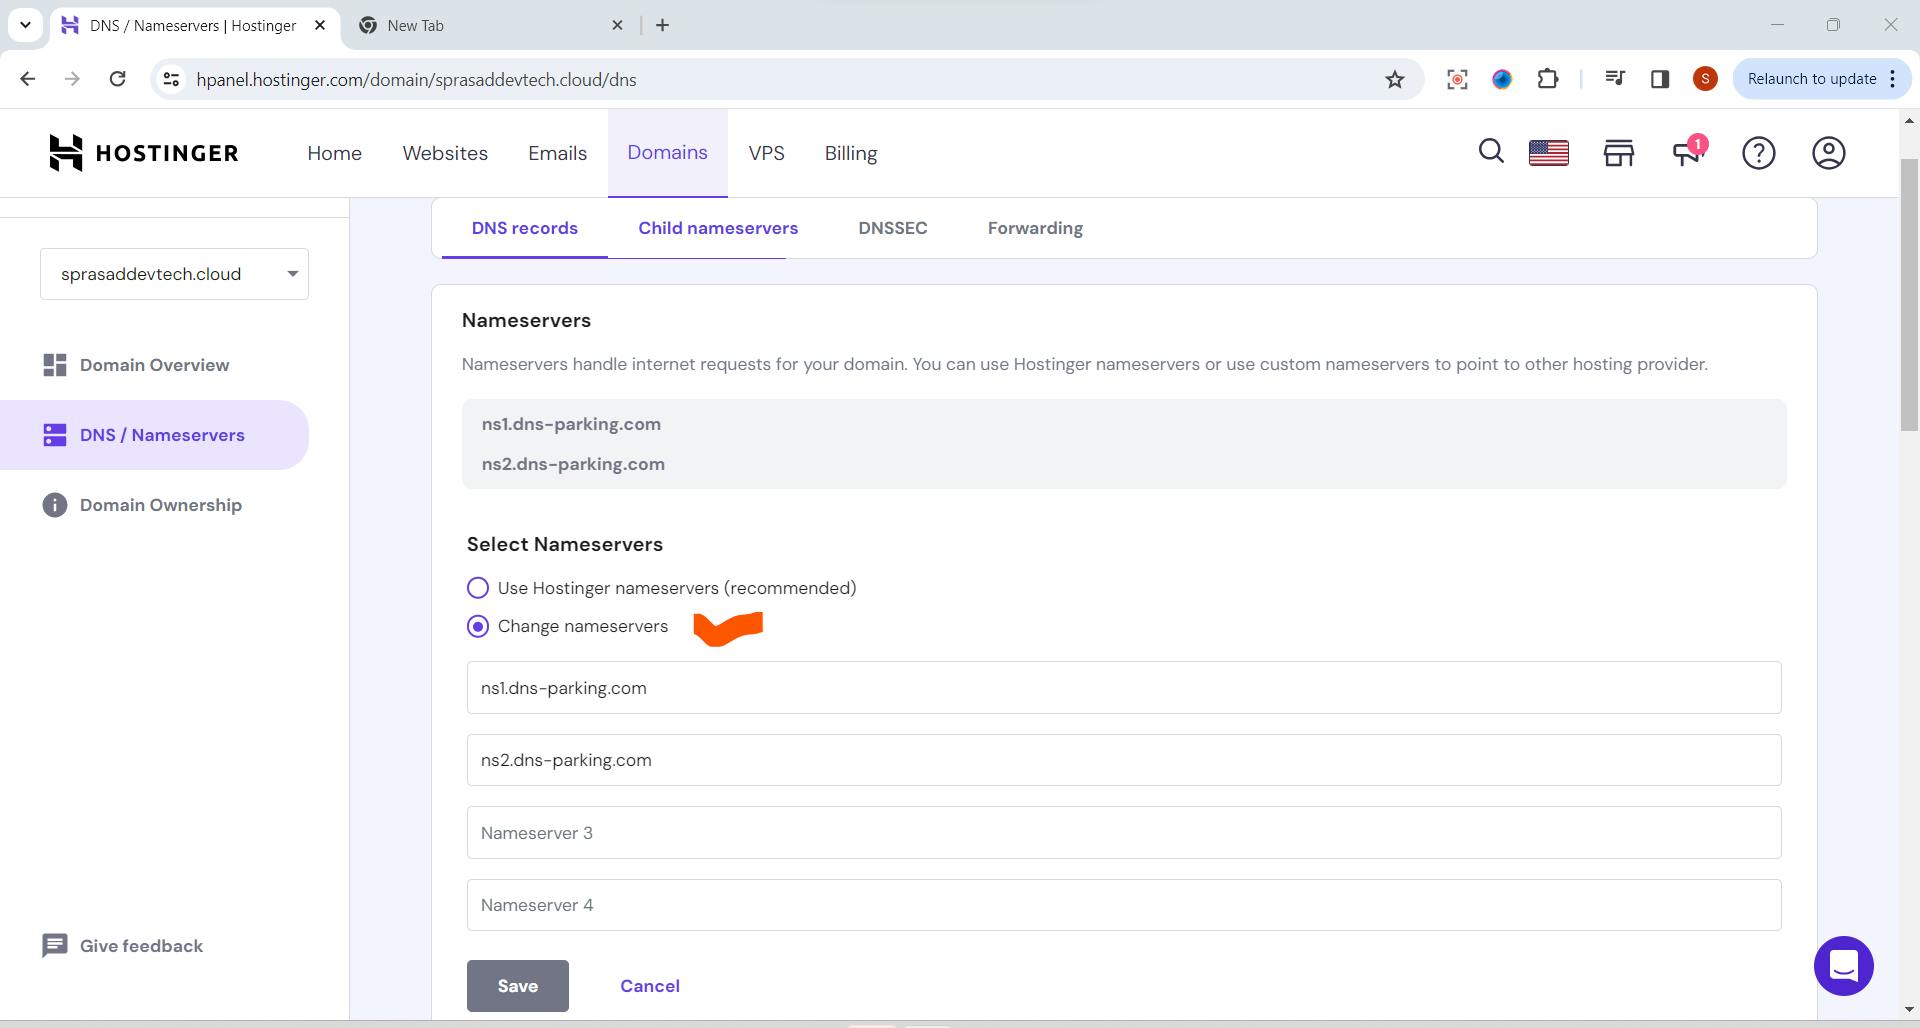
Now go to your AWS Route 53->Copy all url
Paste this URL in your Domain-DNS here ->Click on save
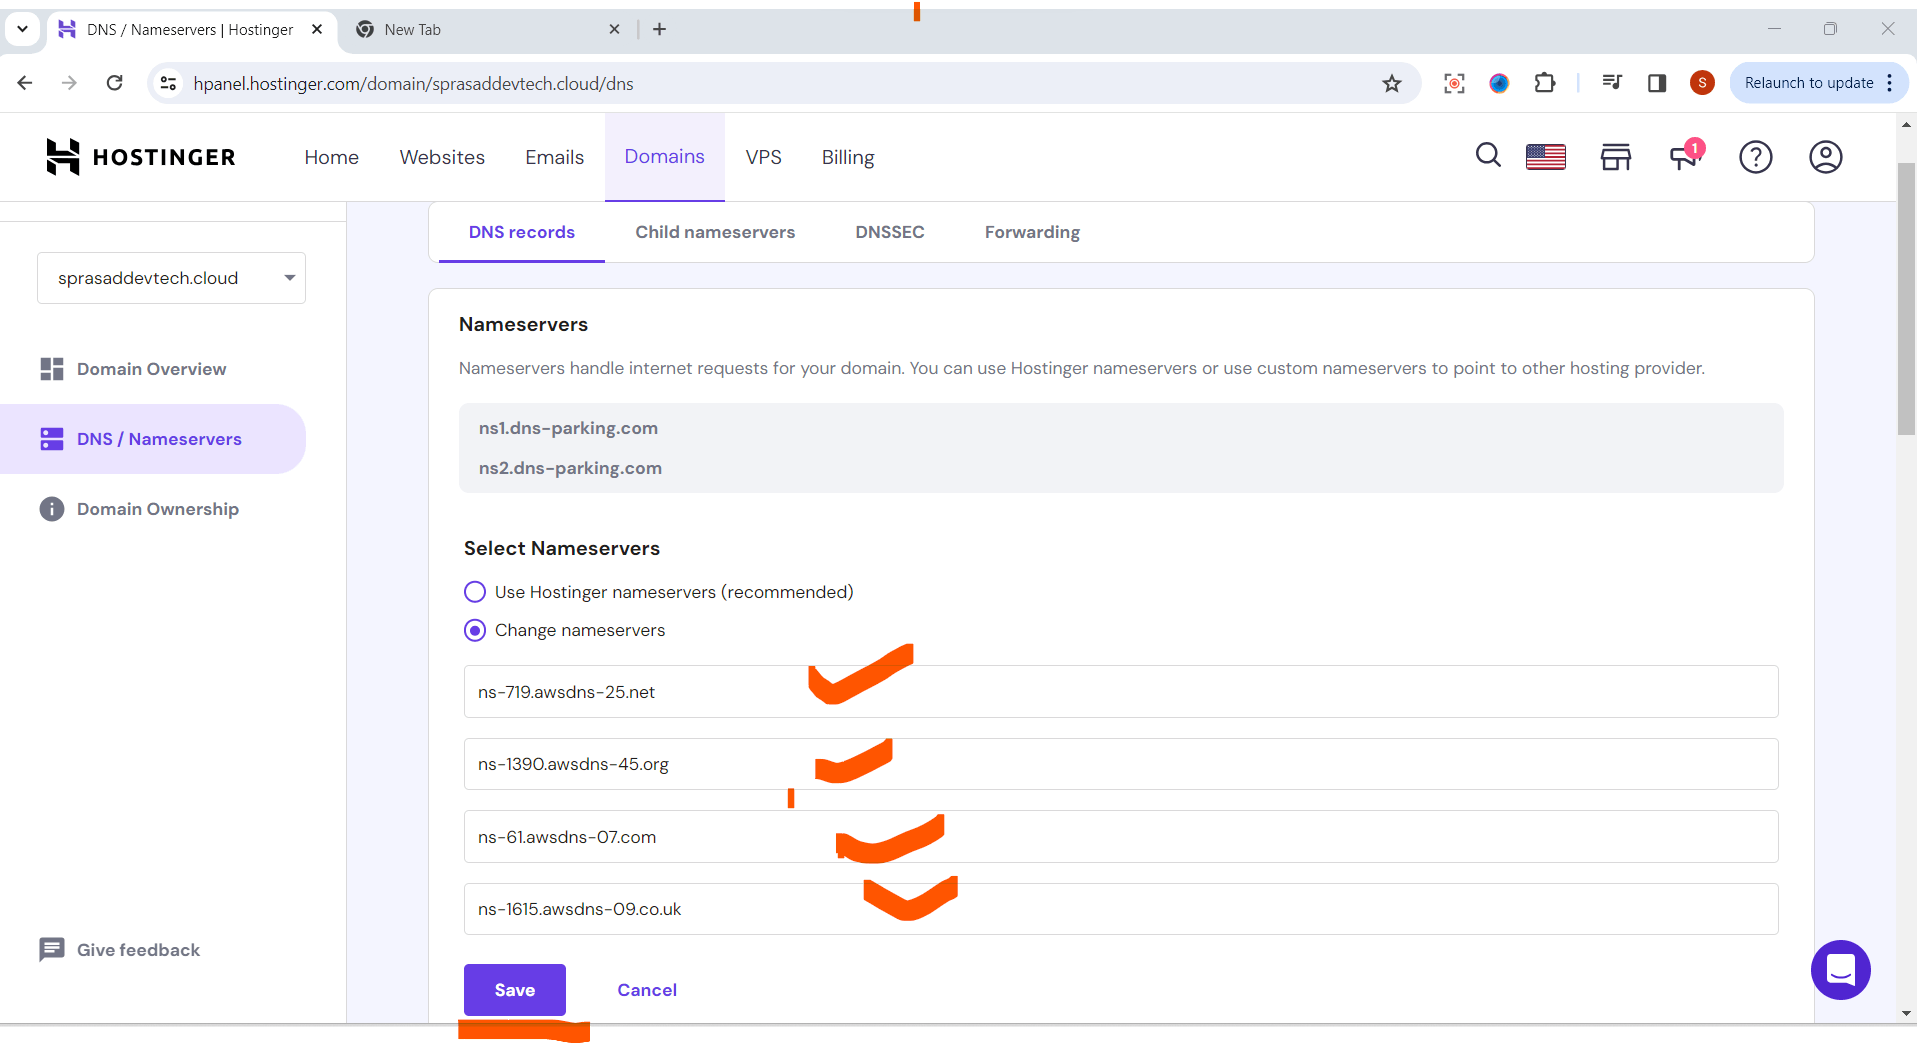
NameServer is updated successfully
Testing Your Website
Wait for DNS Propagation: It may take some time for the DNS changes to propagate. Be patient.
Visit Your Website: Once the propagation is complete, open a web browser and navigate to your domain. You should see your static website live.
Conclusion: Congratulations! You've successfully obtained a free domain and deployed your static website using AWS Route 53 and S3. This cost-effective solution ensures a reliable online presence, showcasing your content to the world. Embrace the power of the cloud and get started on your digital journey today! 🚀
If this post was helpful, please do follow and click the like button below to show your support .
- Thank you for reading💚
Best Regards,
Sprasad 🌐✨