🐳🔀 Building a Multi-Container Application with Docker Compose 🚢🌉

Greetings! I'm Sprasad P, a DevOps Engineer with a passion for optimizing development pipelines, automating processes, and enabling teams to deliver software faster and more reliably.
🚀 Project:
In this project, we'll build a multi-container application using Docker Compose. The application will consist of a Node.js backend, a React.js frontend, and a MongoDB database. Let's get started!
📝 Step 1: Set up the Project Structure
Create a new directory for your project:
mkdir multi-container-app
Navigate into the directory:
cd multi-container-appCreate a directory for the backend:
mkdir backend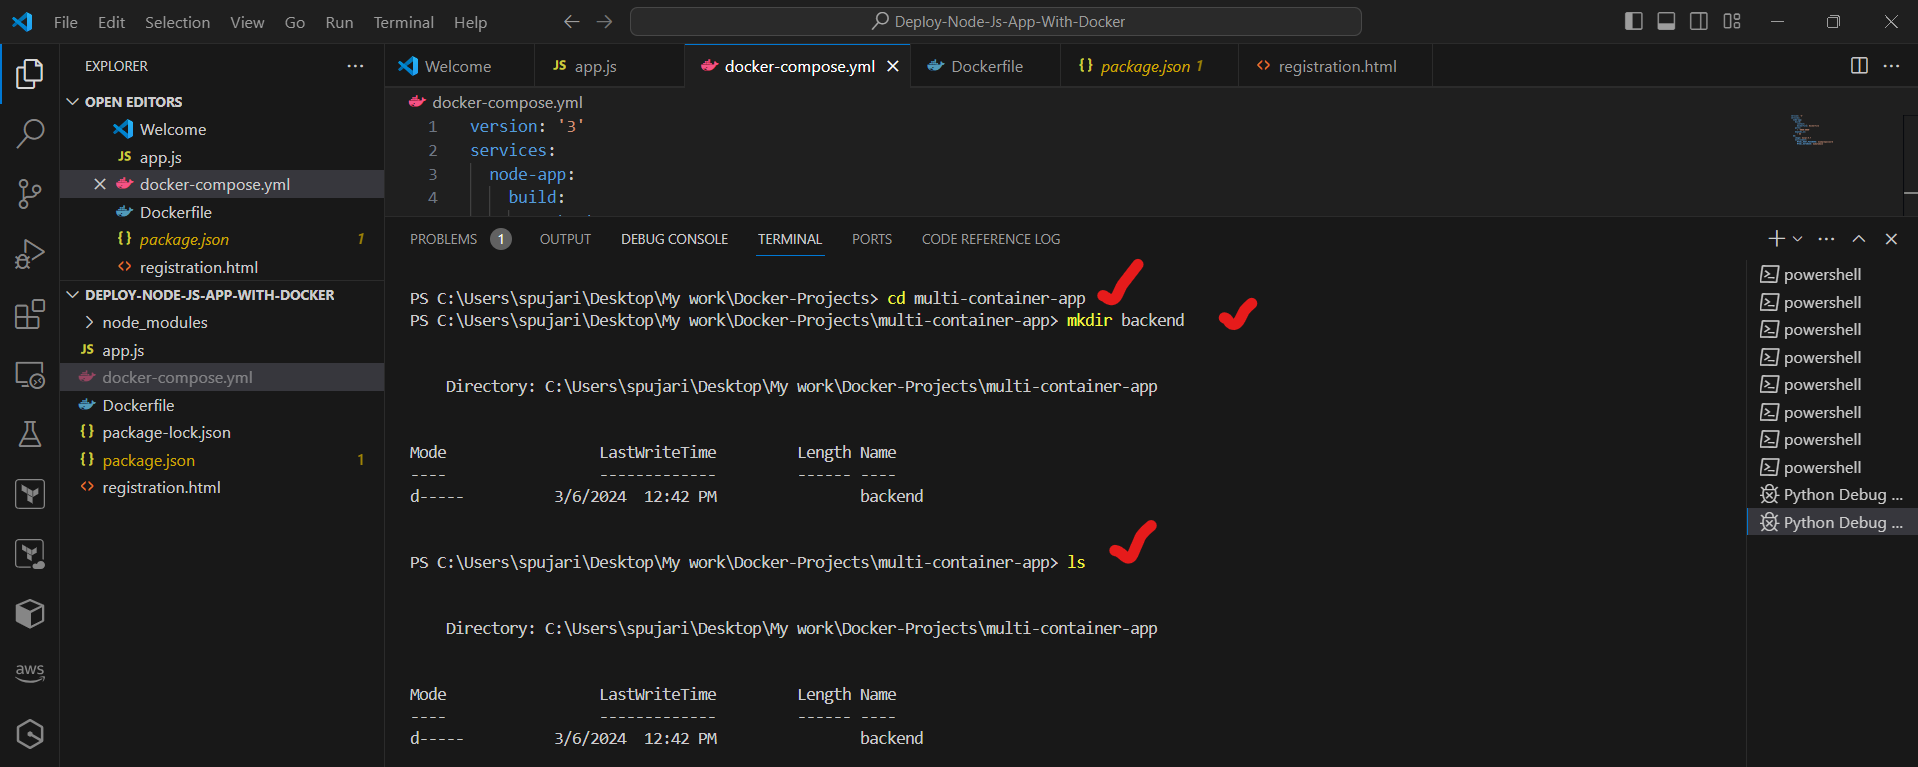
Create a directory for the frontend:
mkdir frontend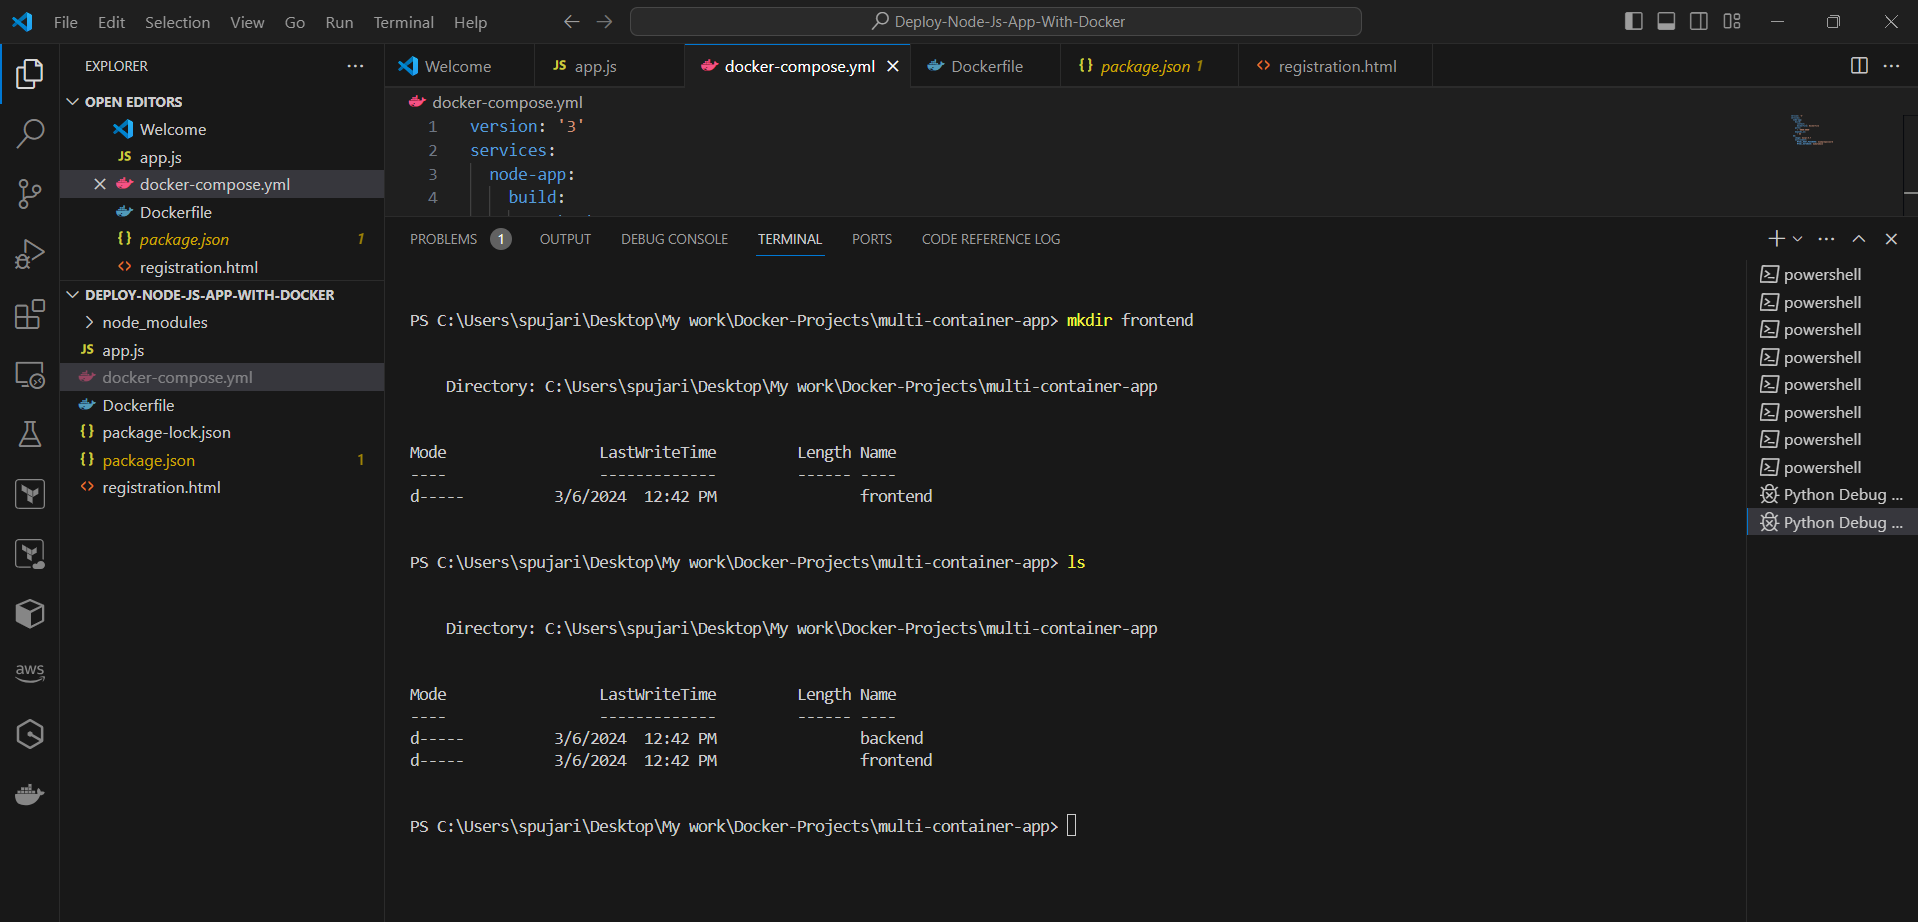
📦 Step 2: Initialize Node.js Projects
Initialize a new Node.js project for the backend:
cd backendnpm init -y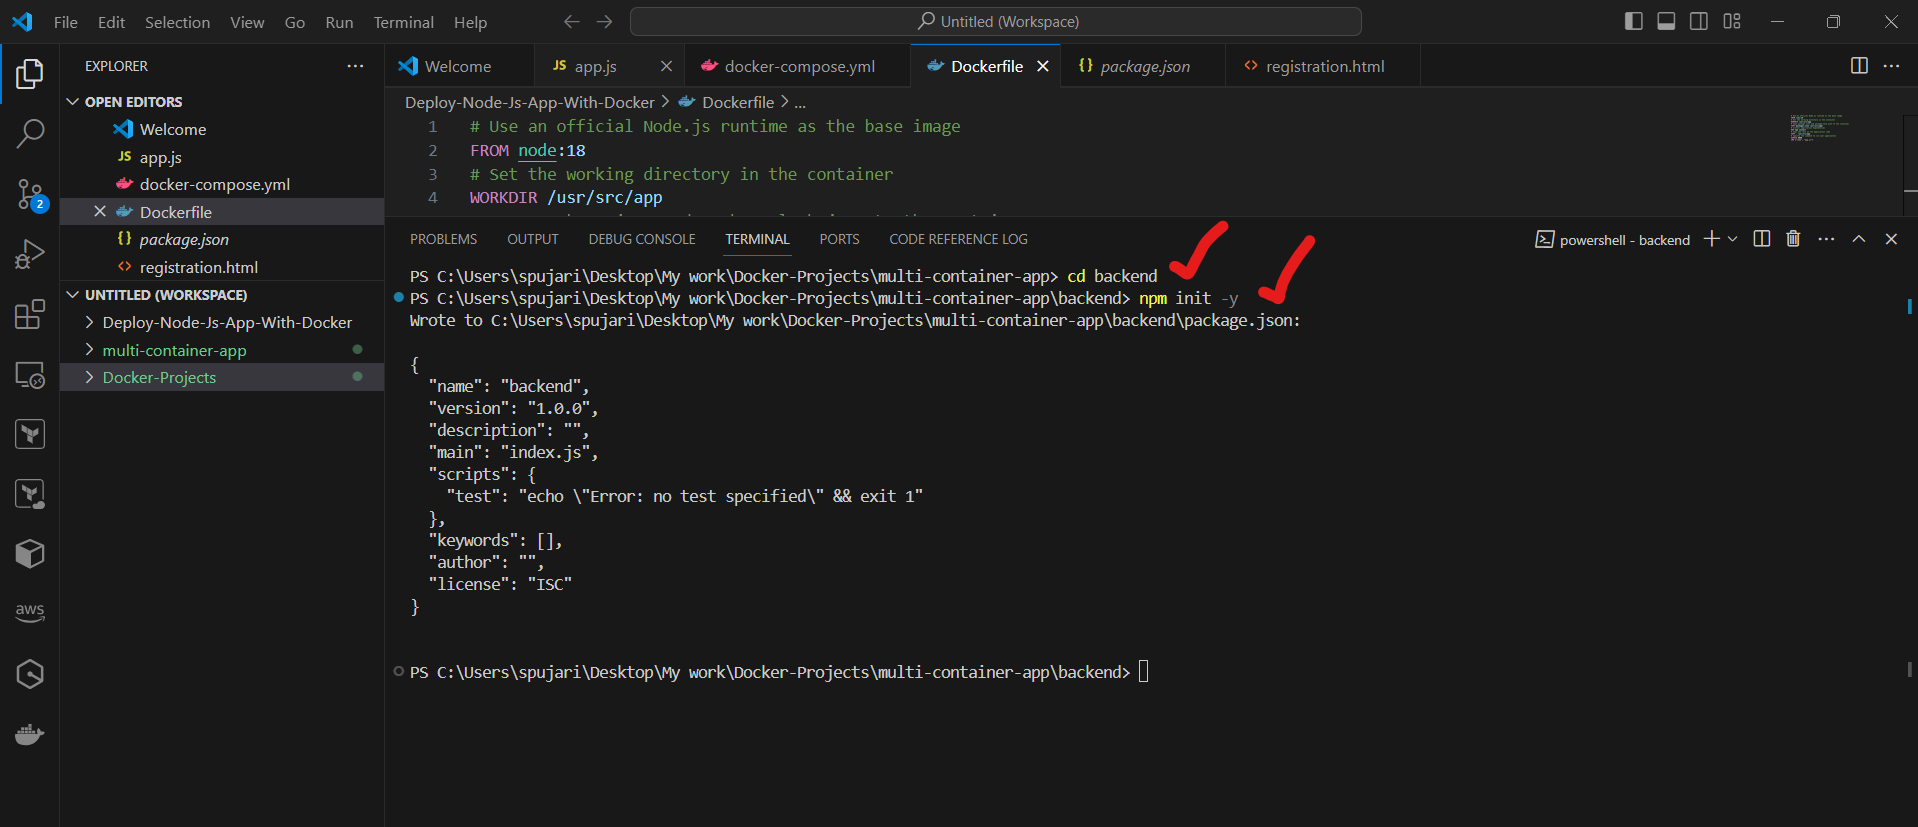
Install required dependencies for the backend (e.g., Express.js, Mongoose):
npm install express mongoose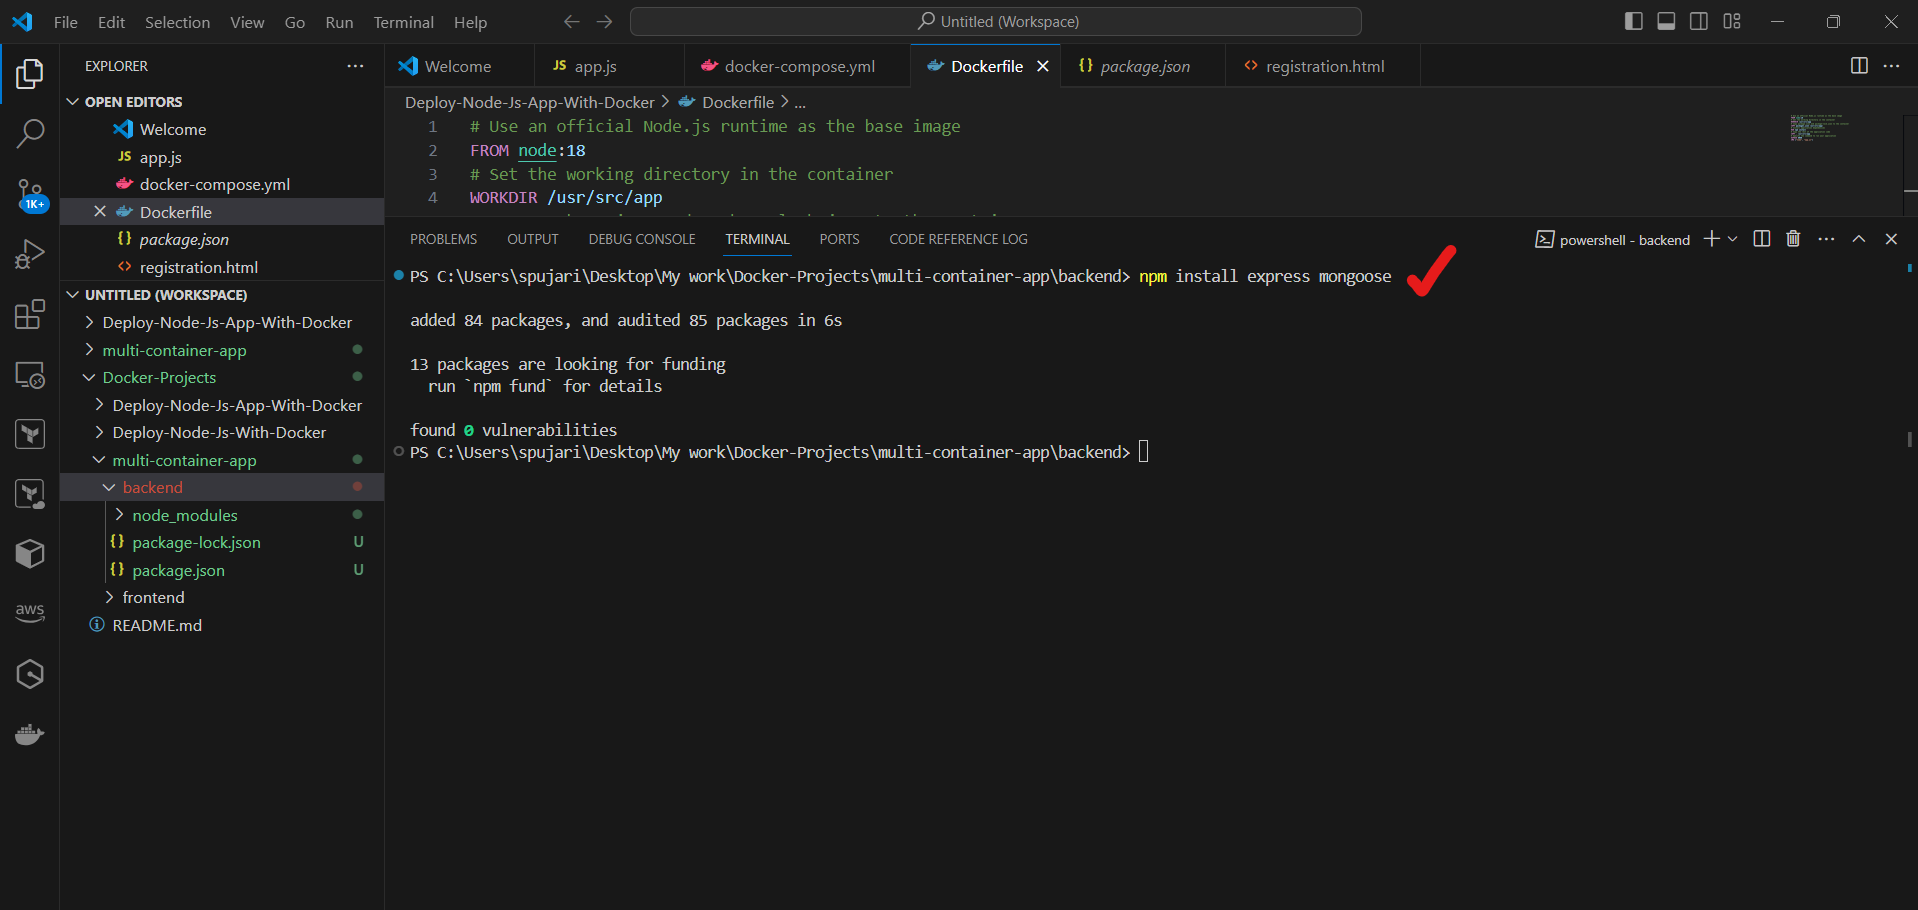
Initialize a new Node.js project for the frontend:
npx create-react-app frontendThe
npxcommand above will create a new directory namedfrontendin themulti-container-appworking directory. Now,cdinto thefrontenddirectory.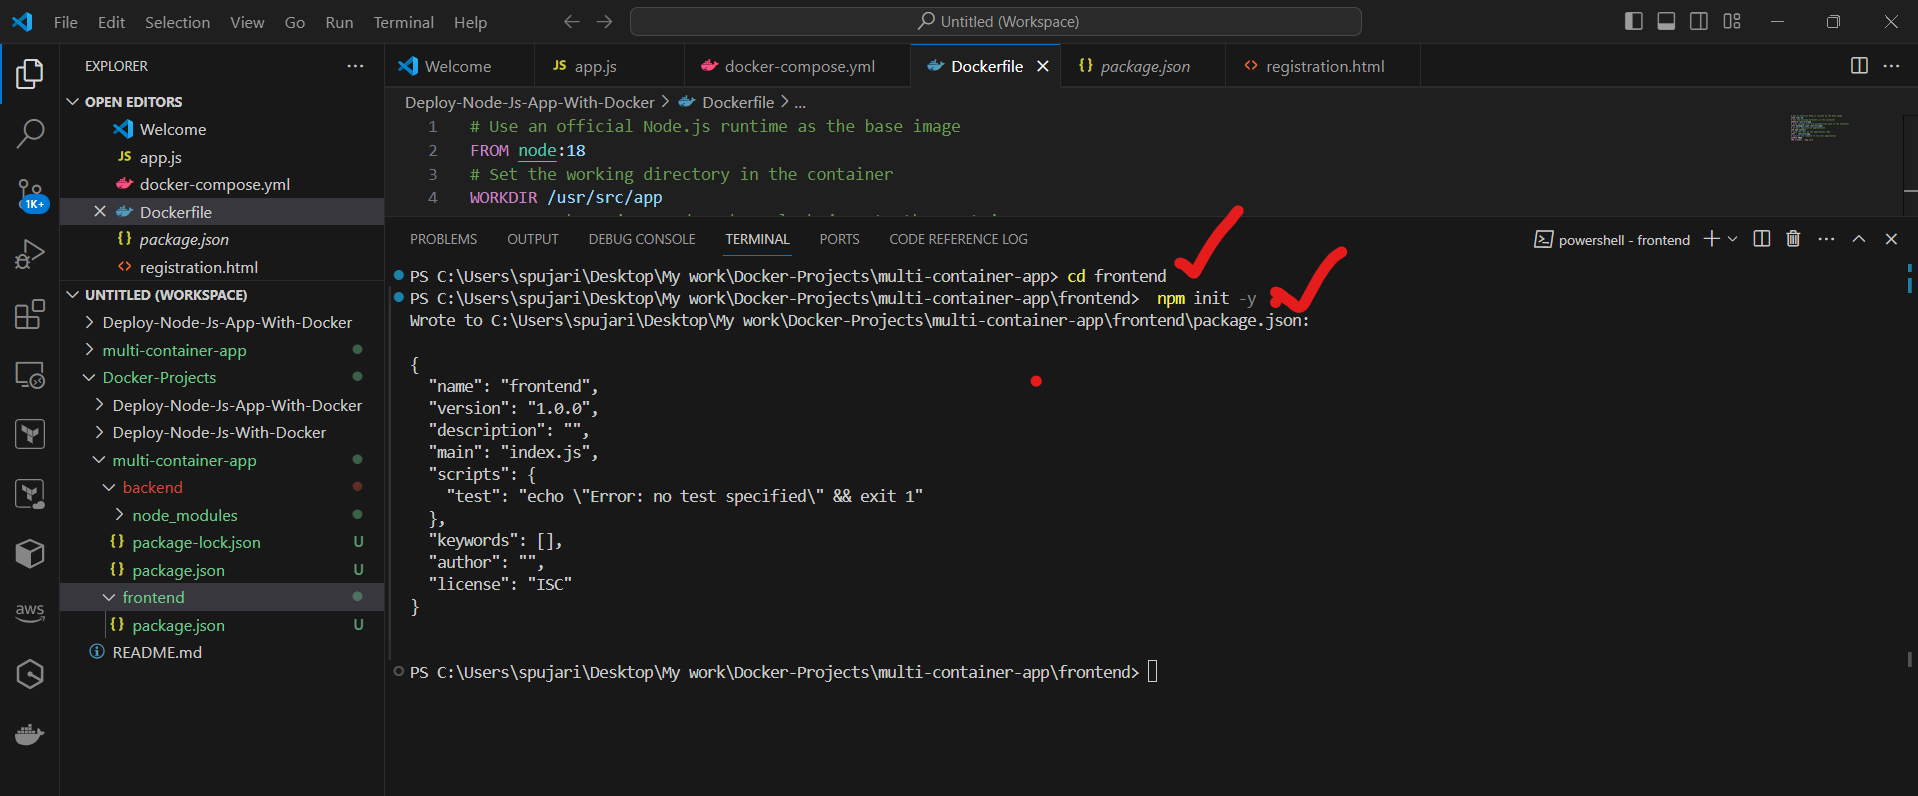
Install required dependencies for the frontend (e.g., React.js):
npm install react react-dom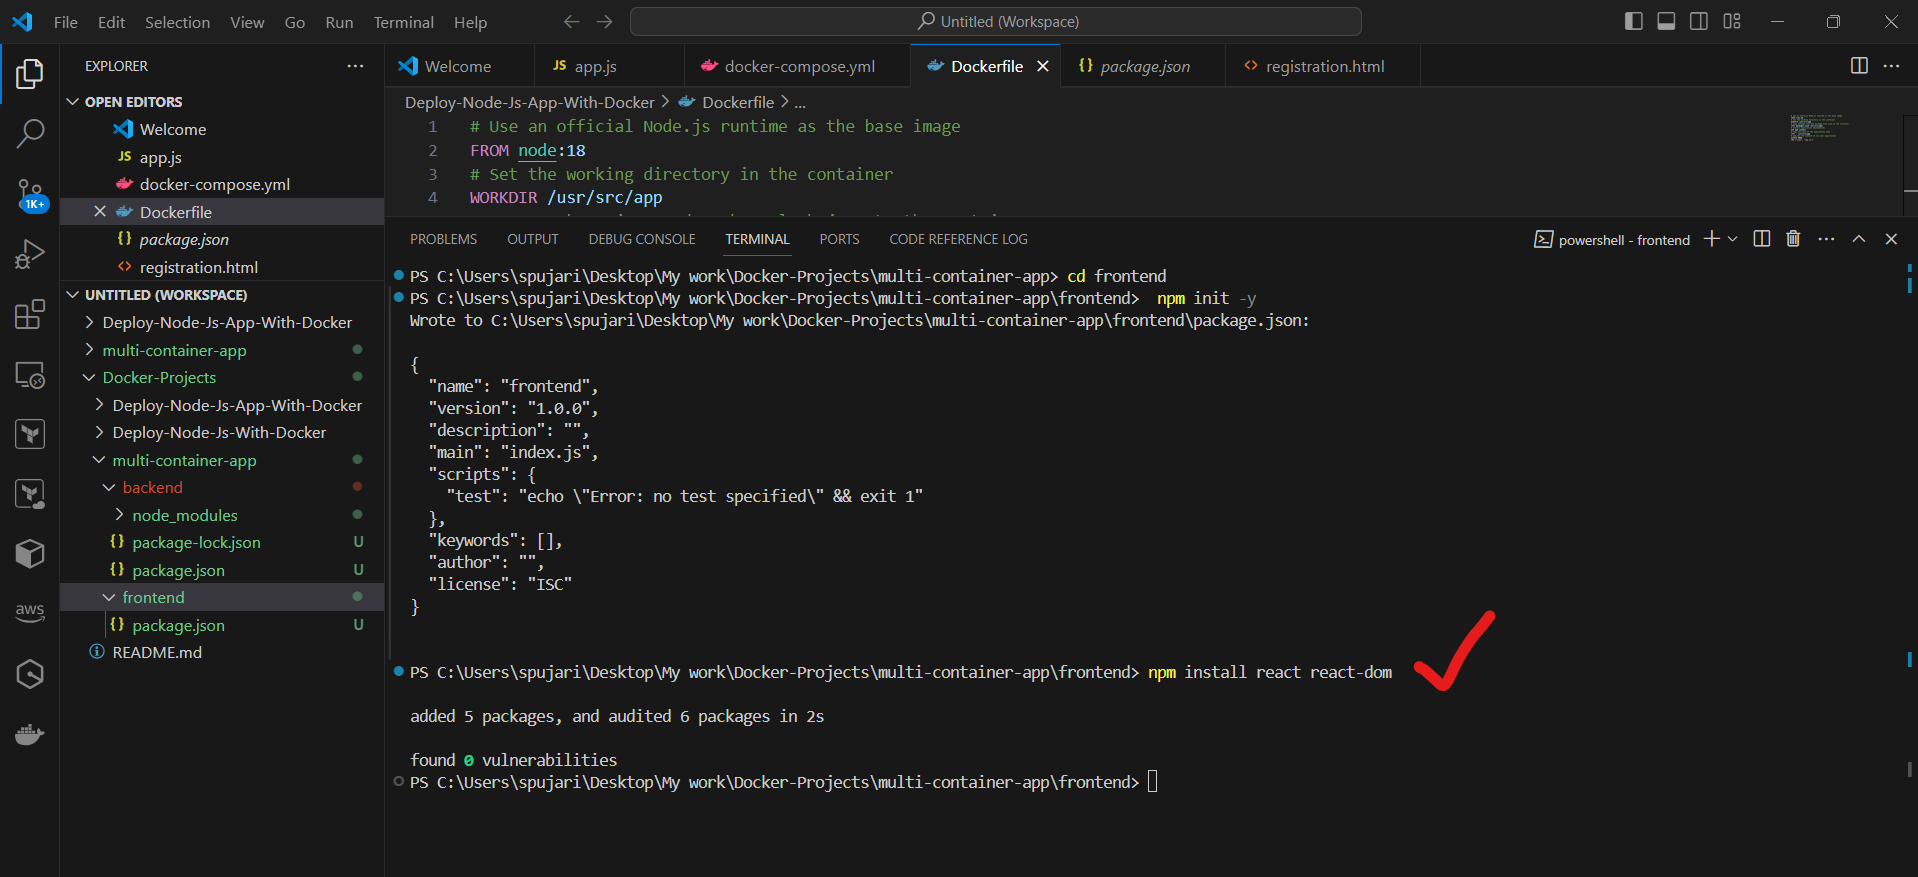
⚙️ Step 3: Set up the Backend
In the
backenddirectory, create a new fileserver.js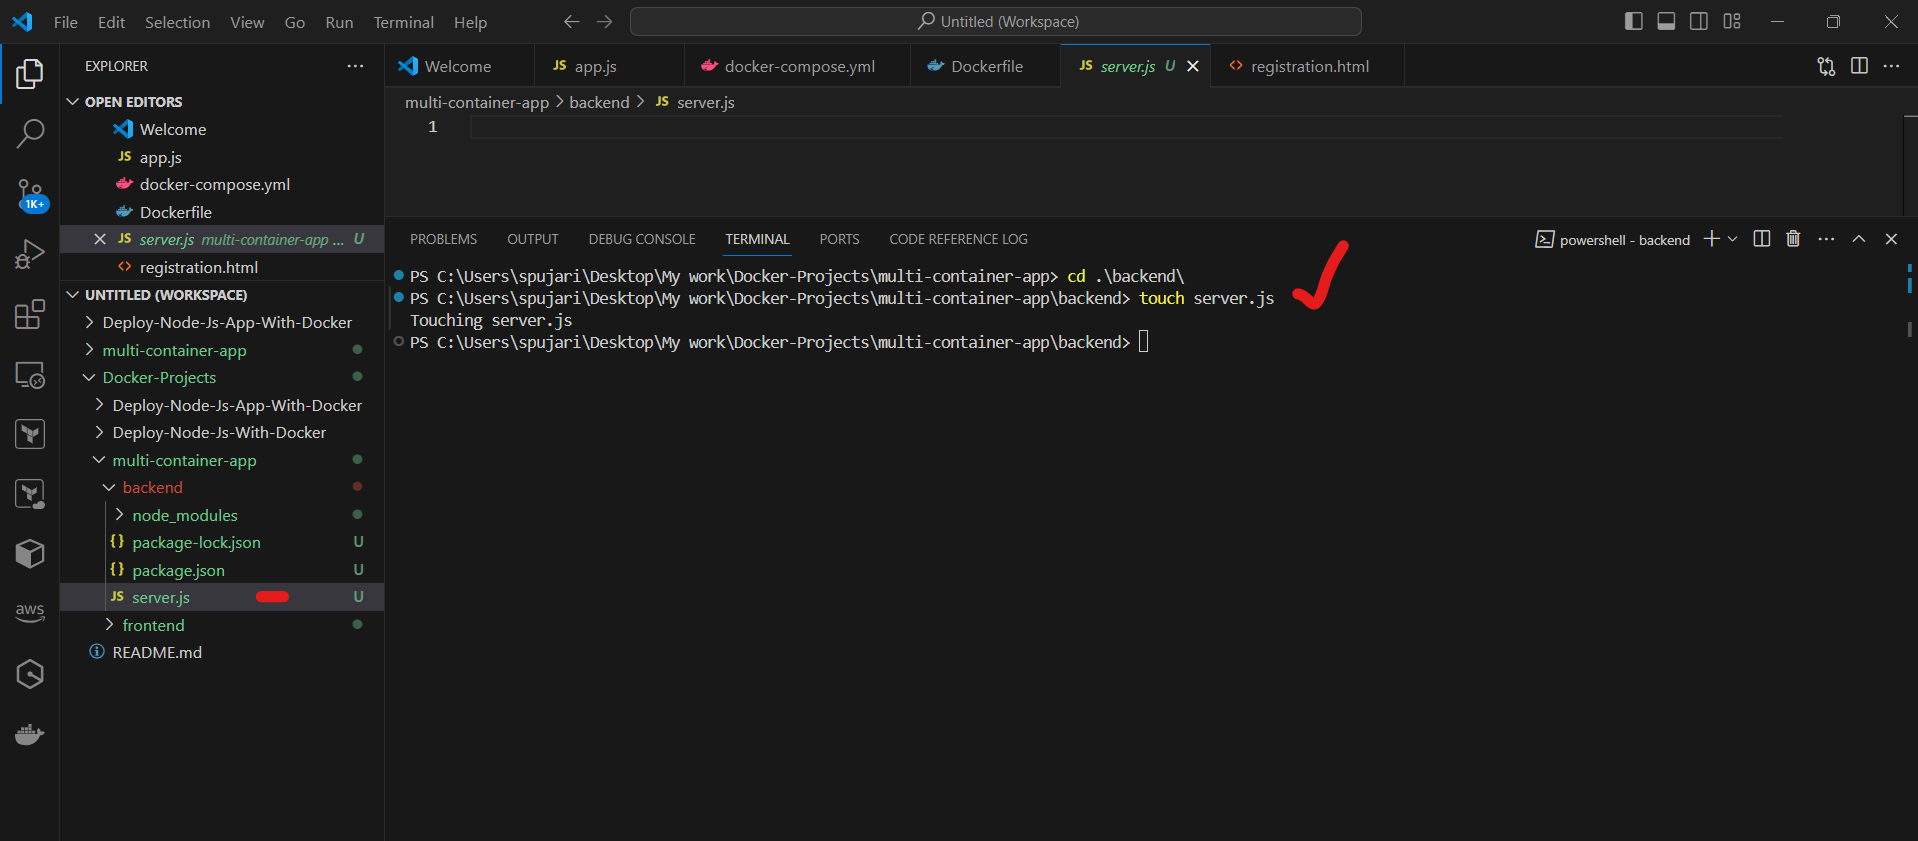
Add the following code to
server.jsto set up a basic Express server and connect to MongoDB: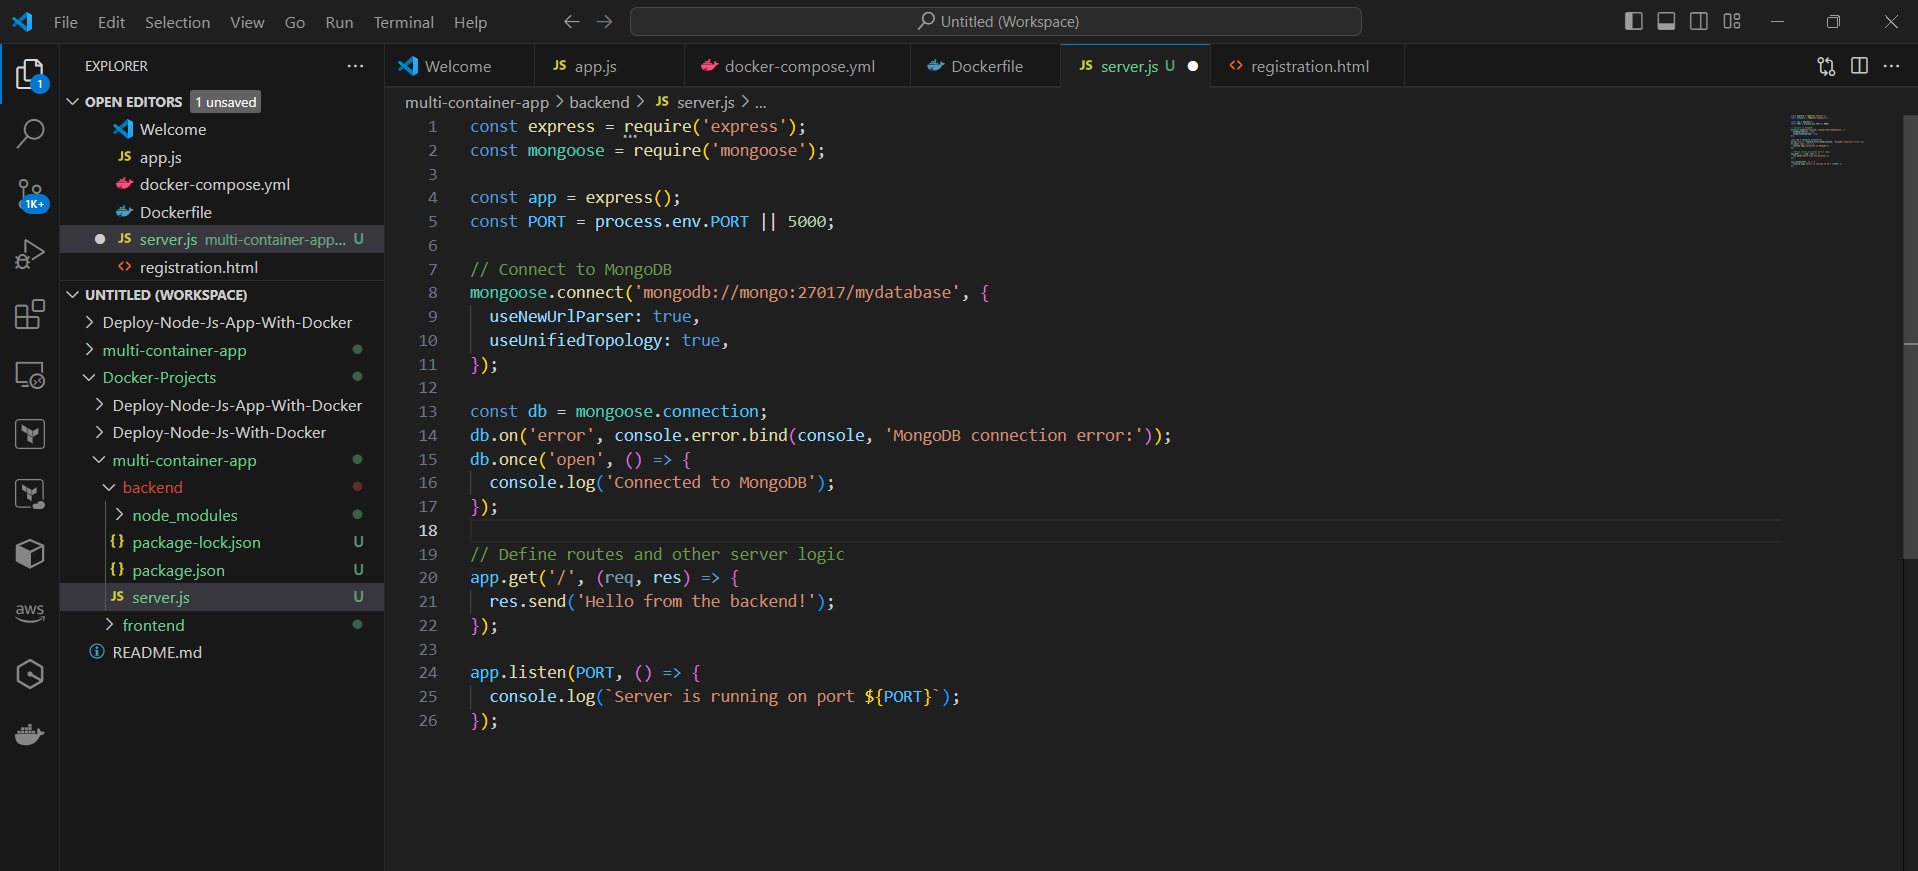
🖥️ Step 4: Set up the Frontend
In the
frontenddirectory, go tosrc/App.jsAdd the following code to
src/App.jsto create a basic React component: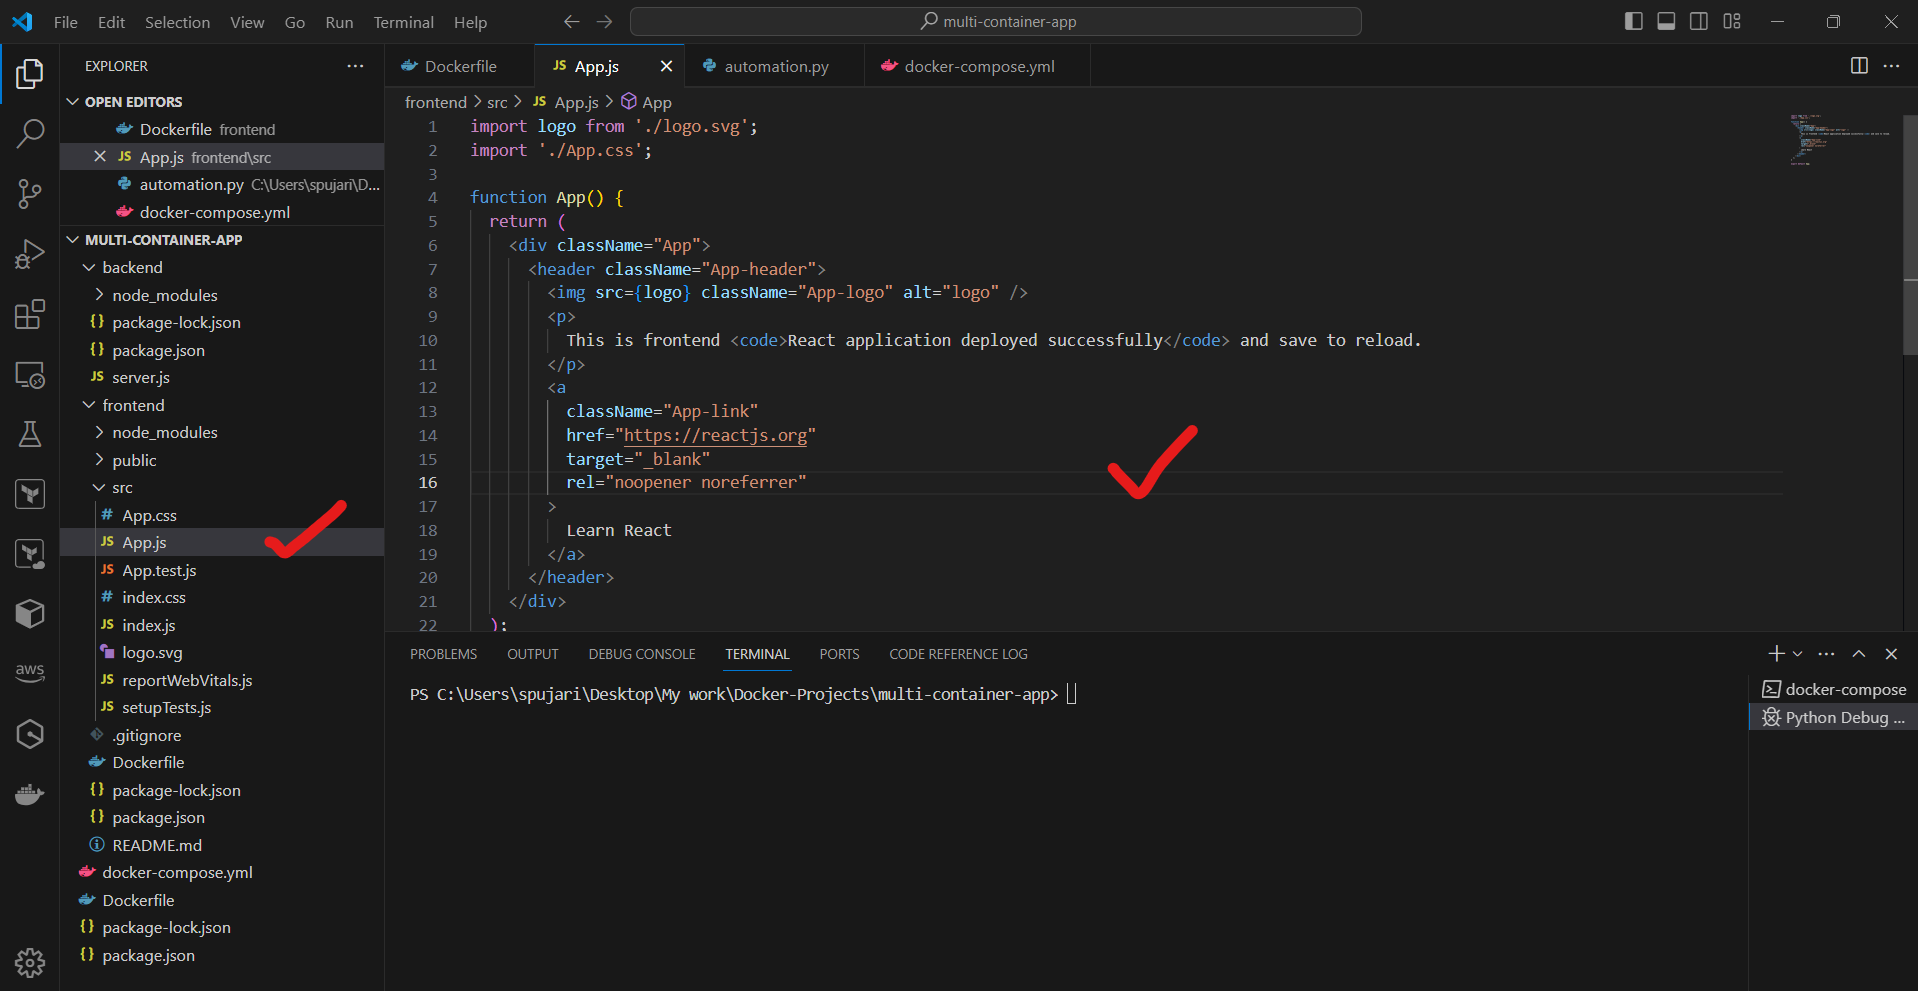
Create a new file
src/index.jsand add the following code to render the React app: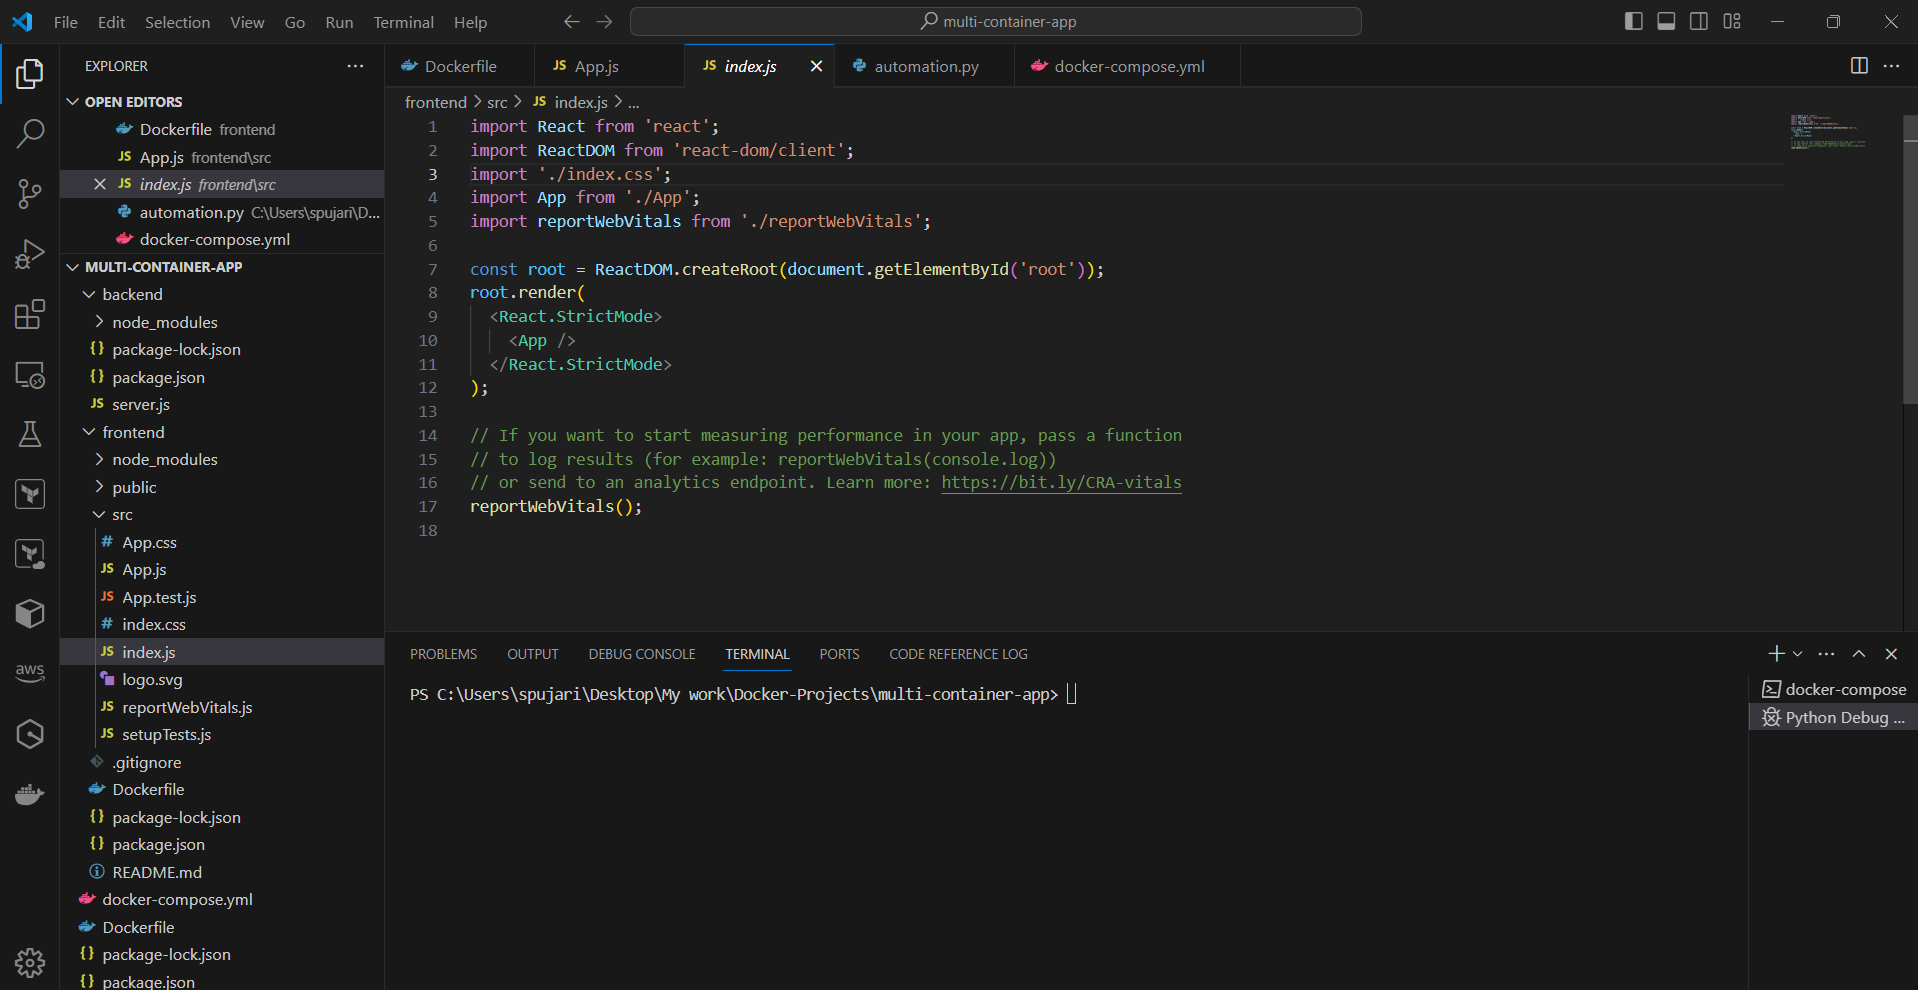
🐳 Step 5: Create Docker Images
In the project root directory, create a new file
Dockerfilefor the backend: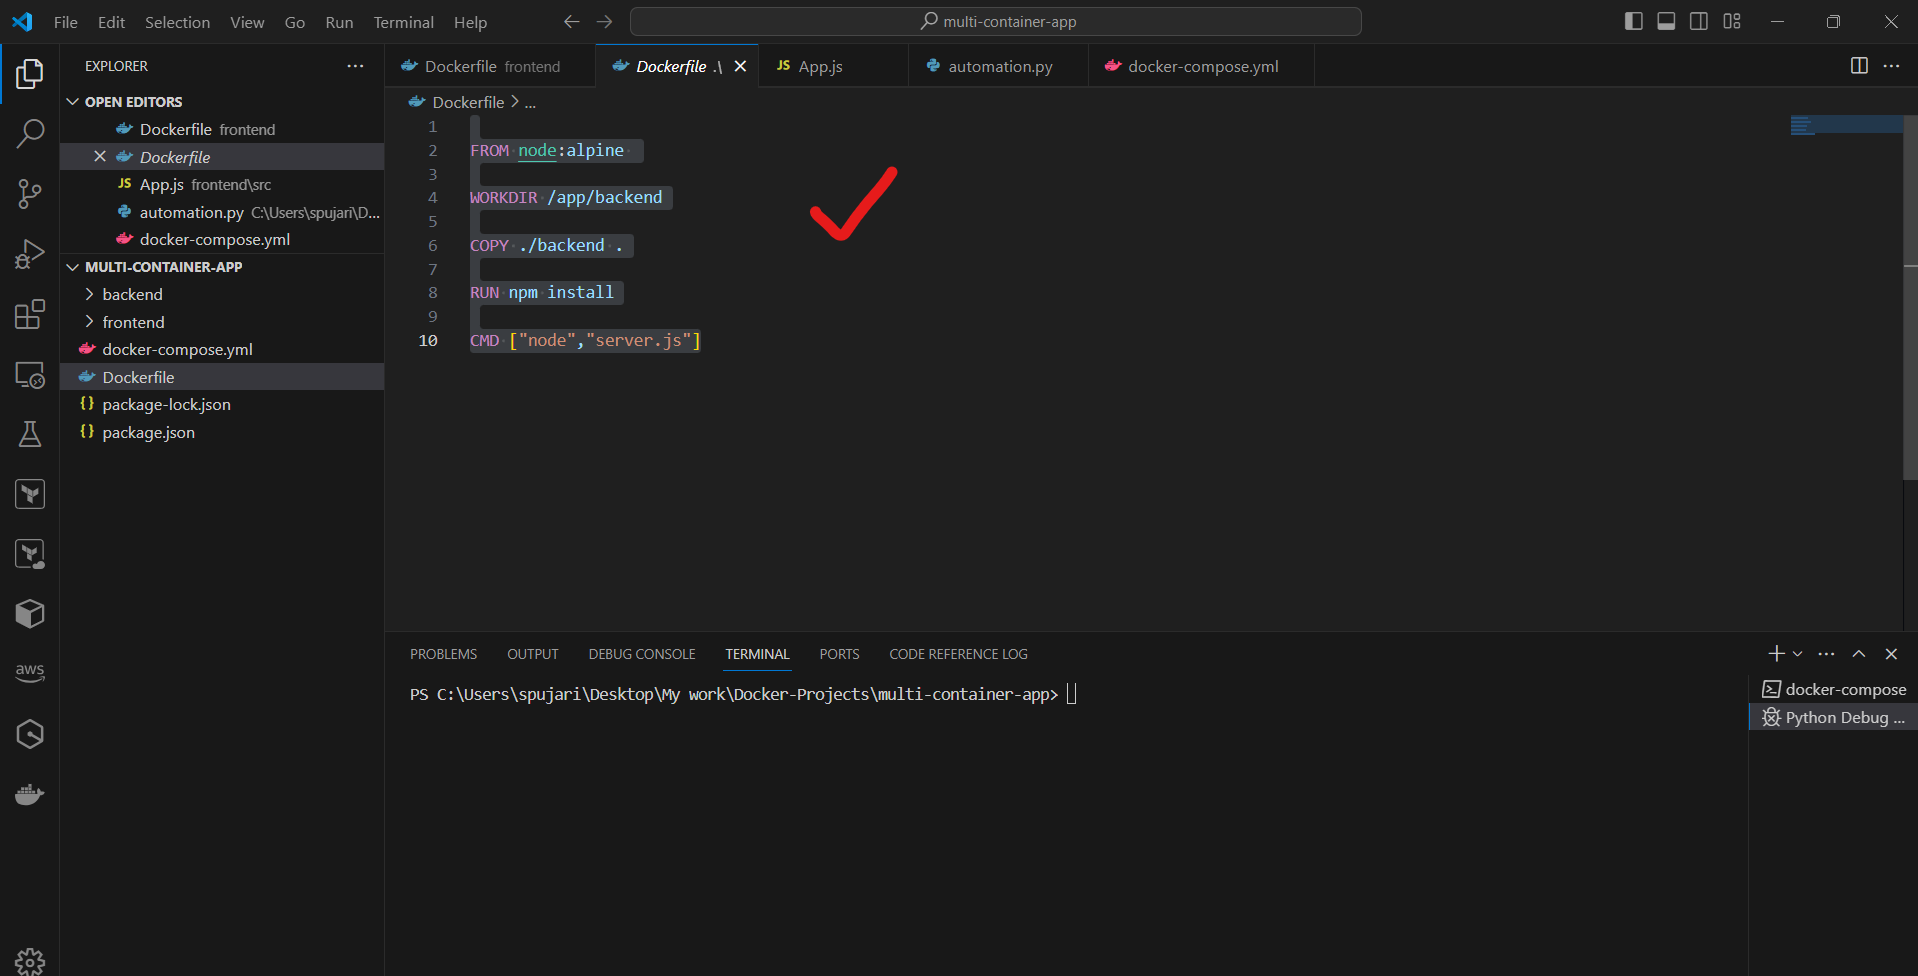
Create another
Dockerfilefor the frontend in thefrontenddirectory: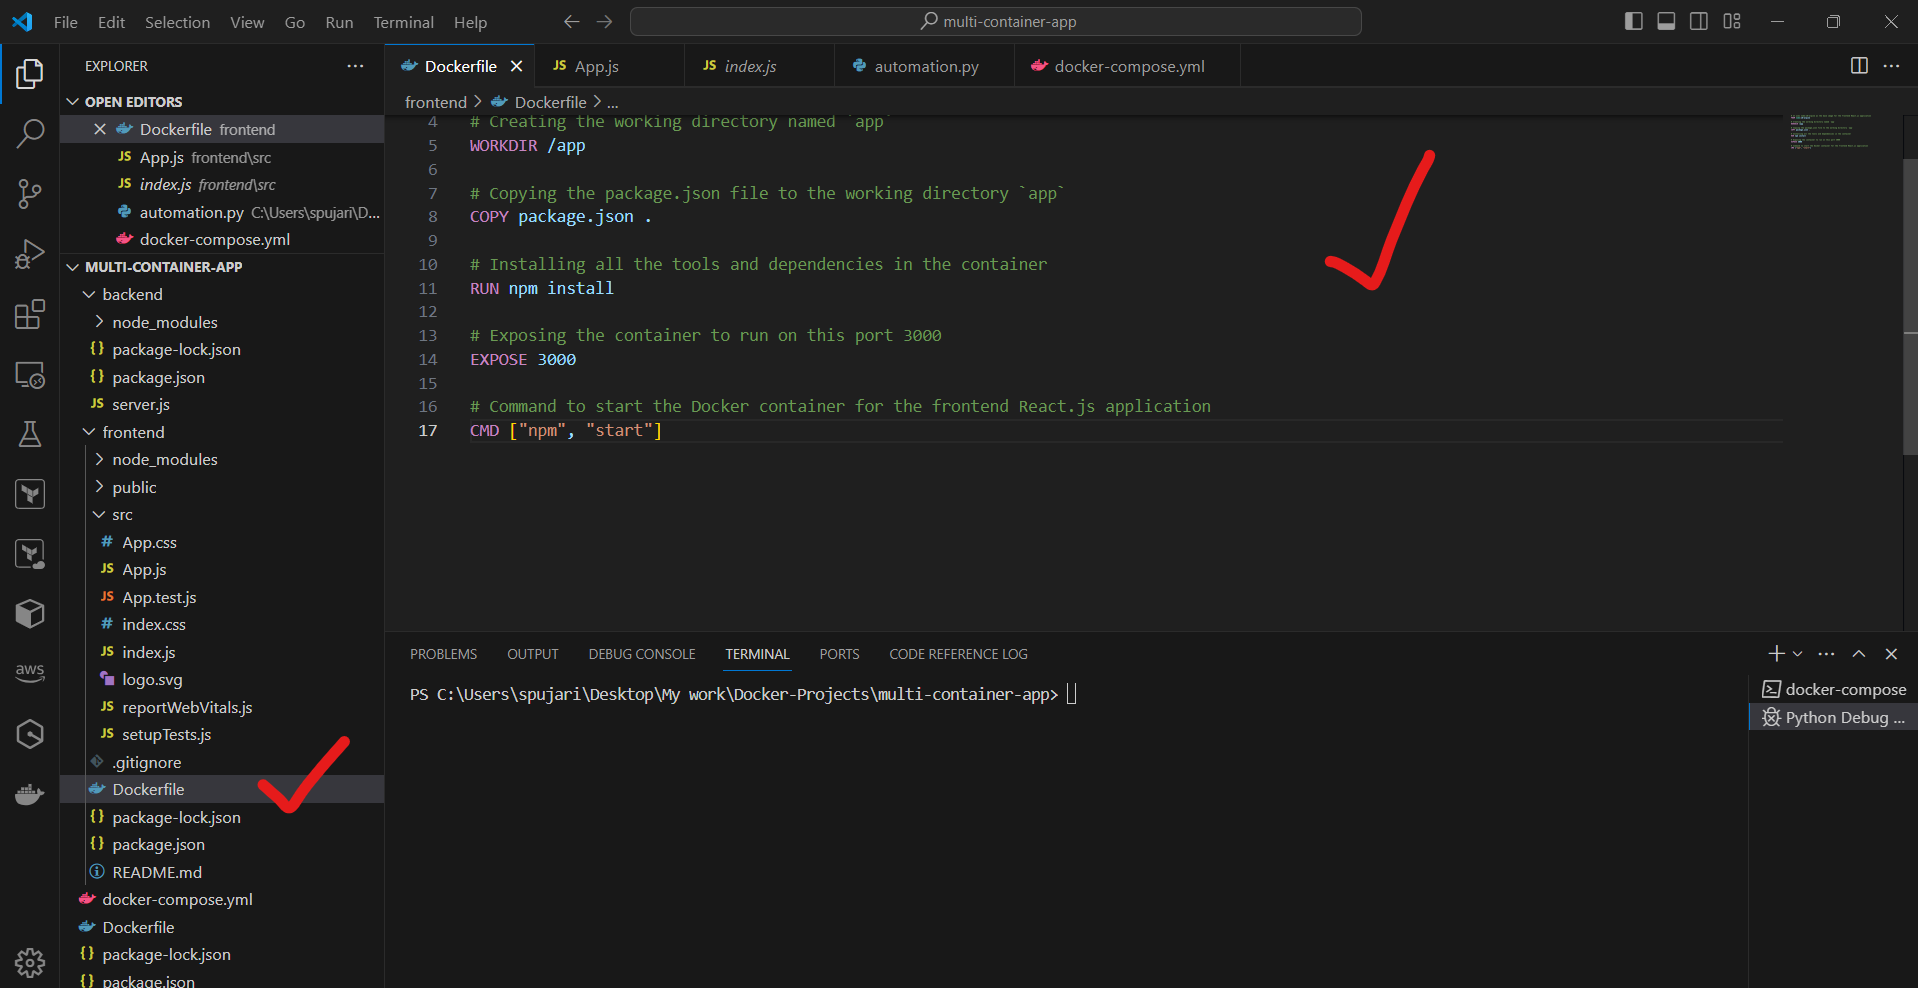
🚢 Step 6: Set up Docker Compose
In the project root directory, create a new file
docker-compose.ymlAdd the following content to
docker-compose.yml: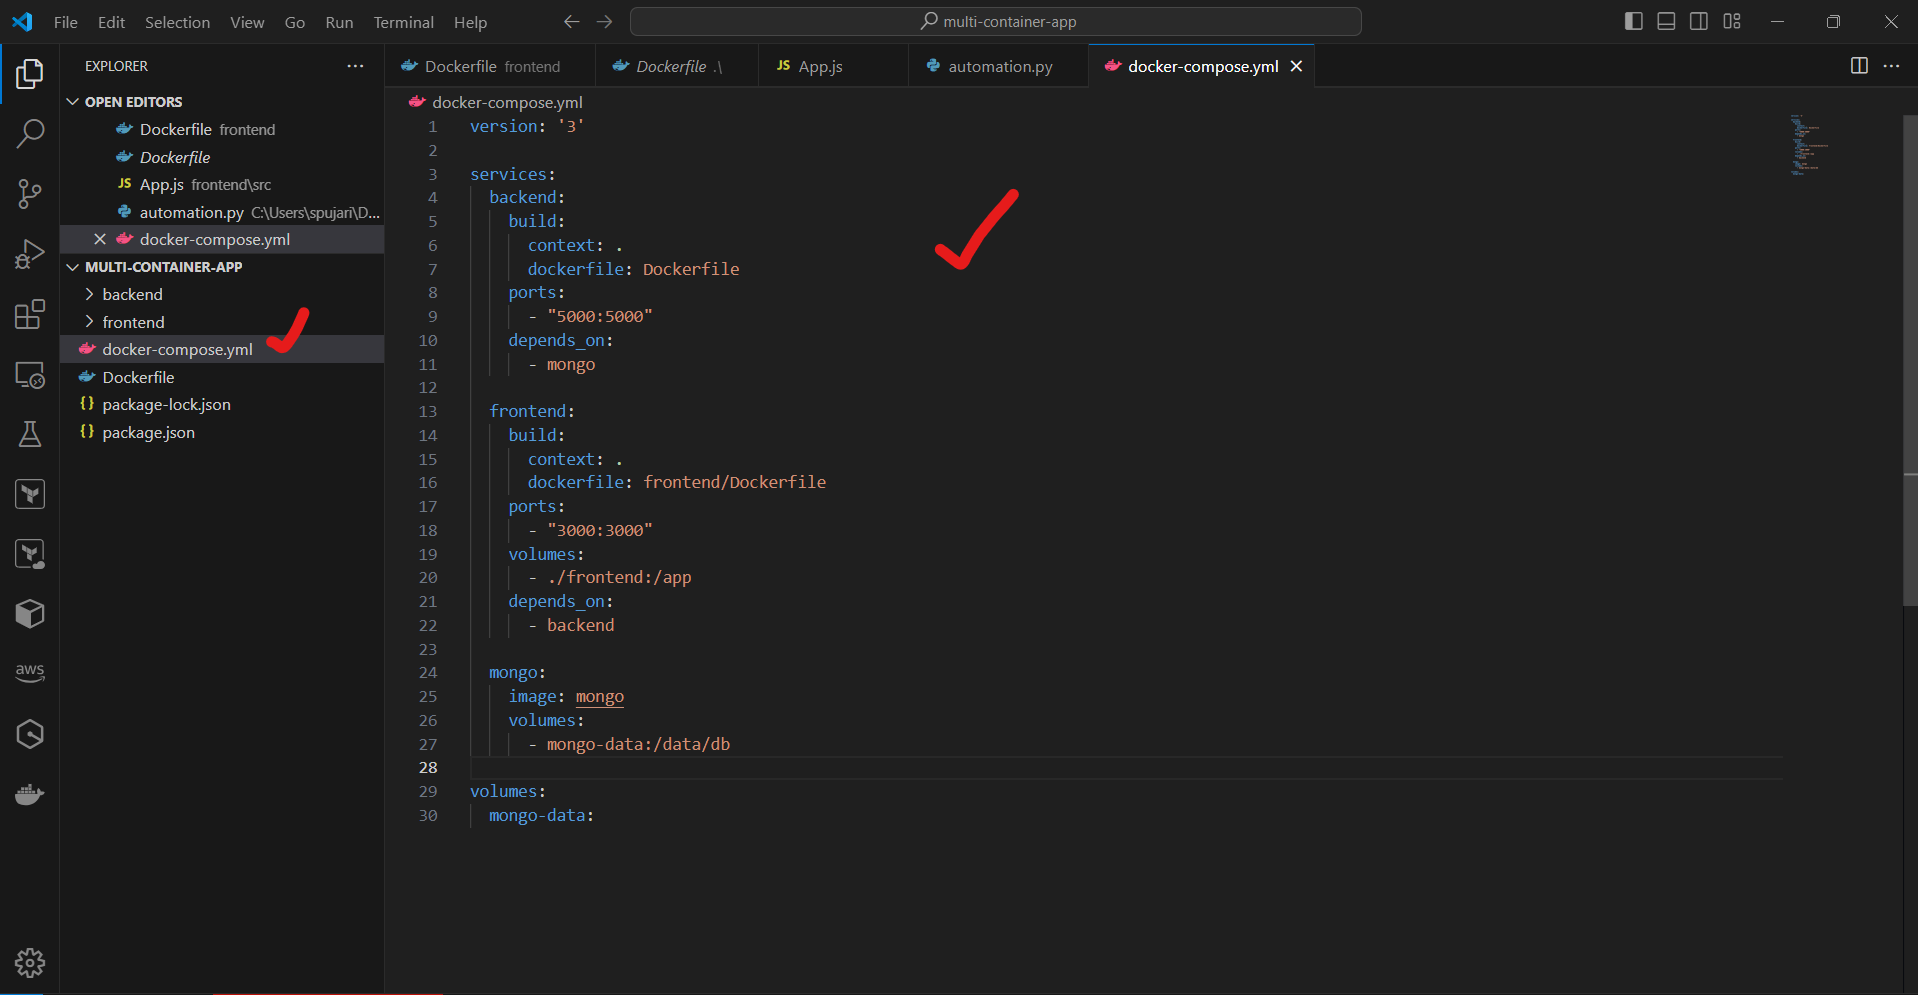
🚀 Step 7: Build and Run the Application
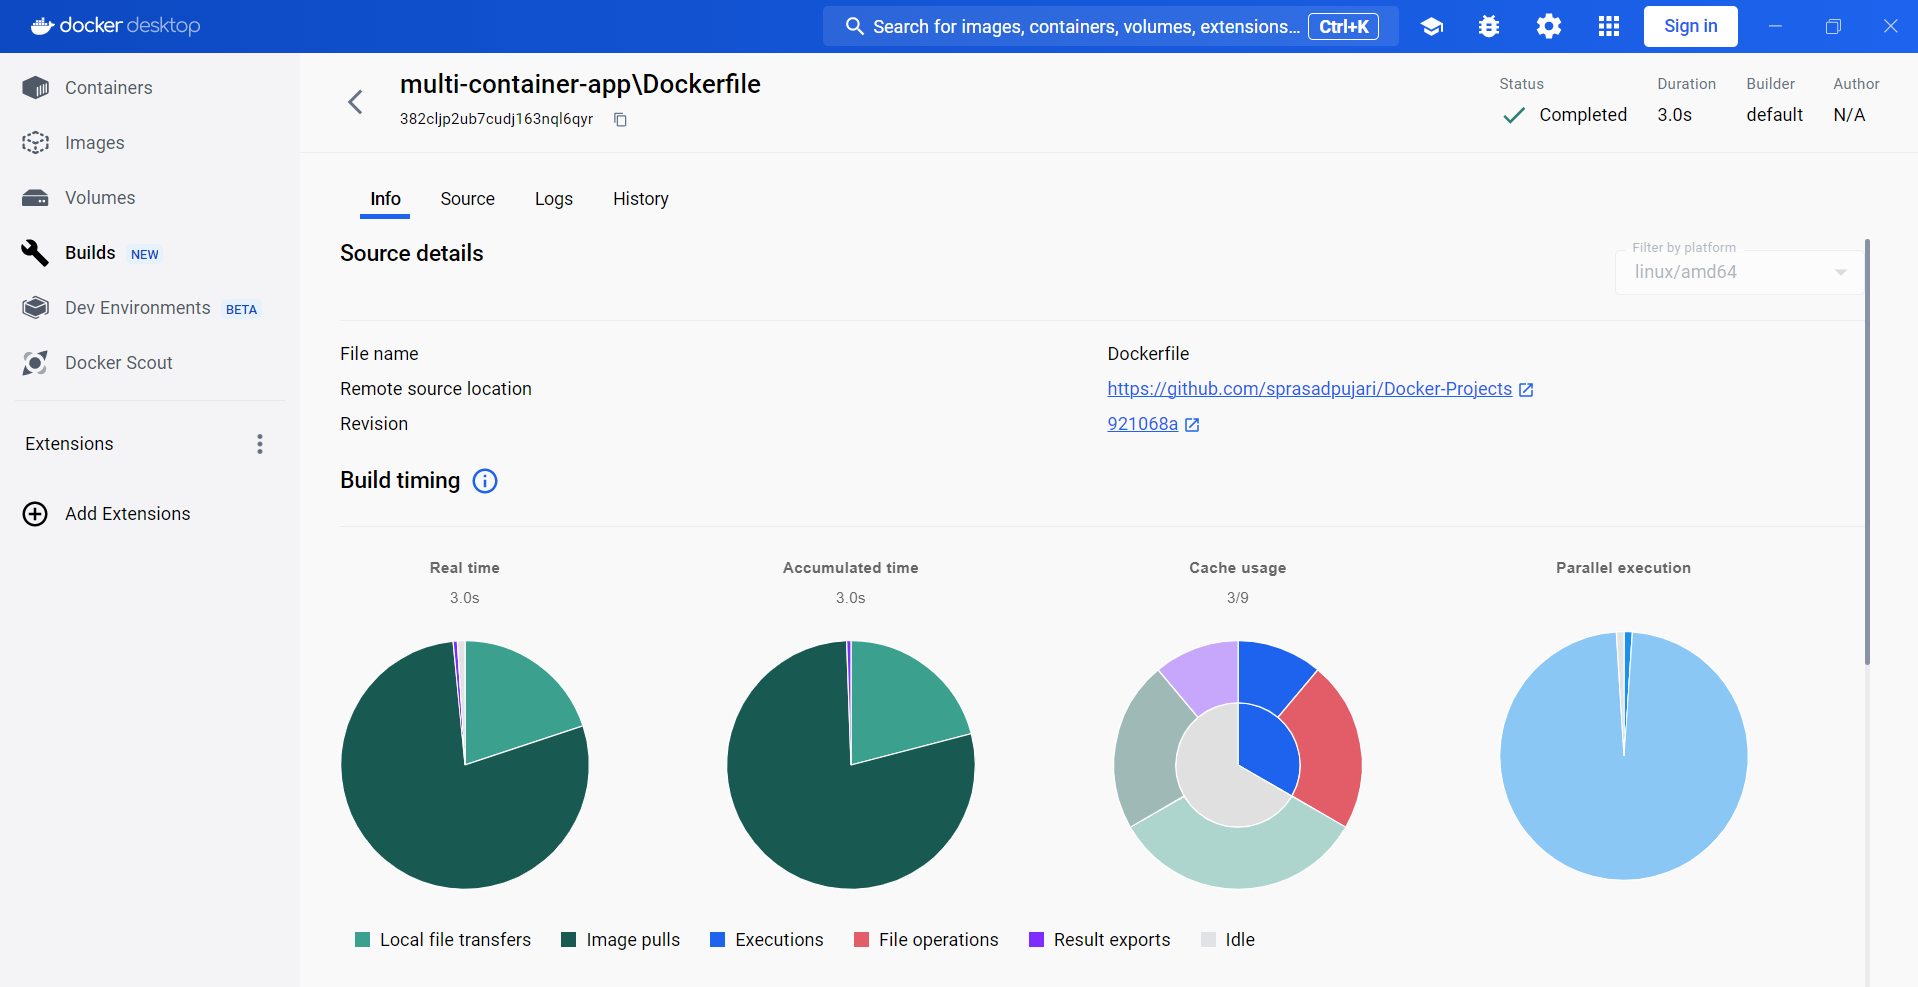
In the project root directory, run the following command to build the Docker images:
docker-compose build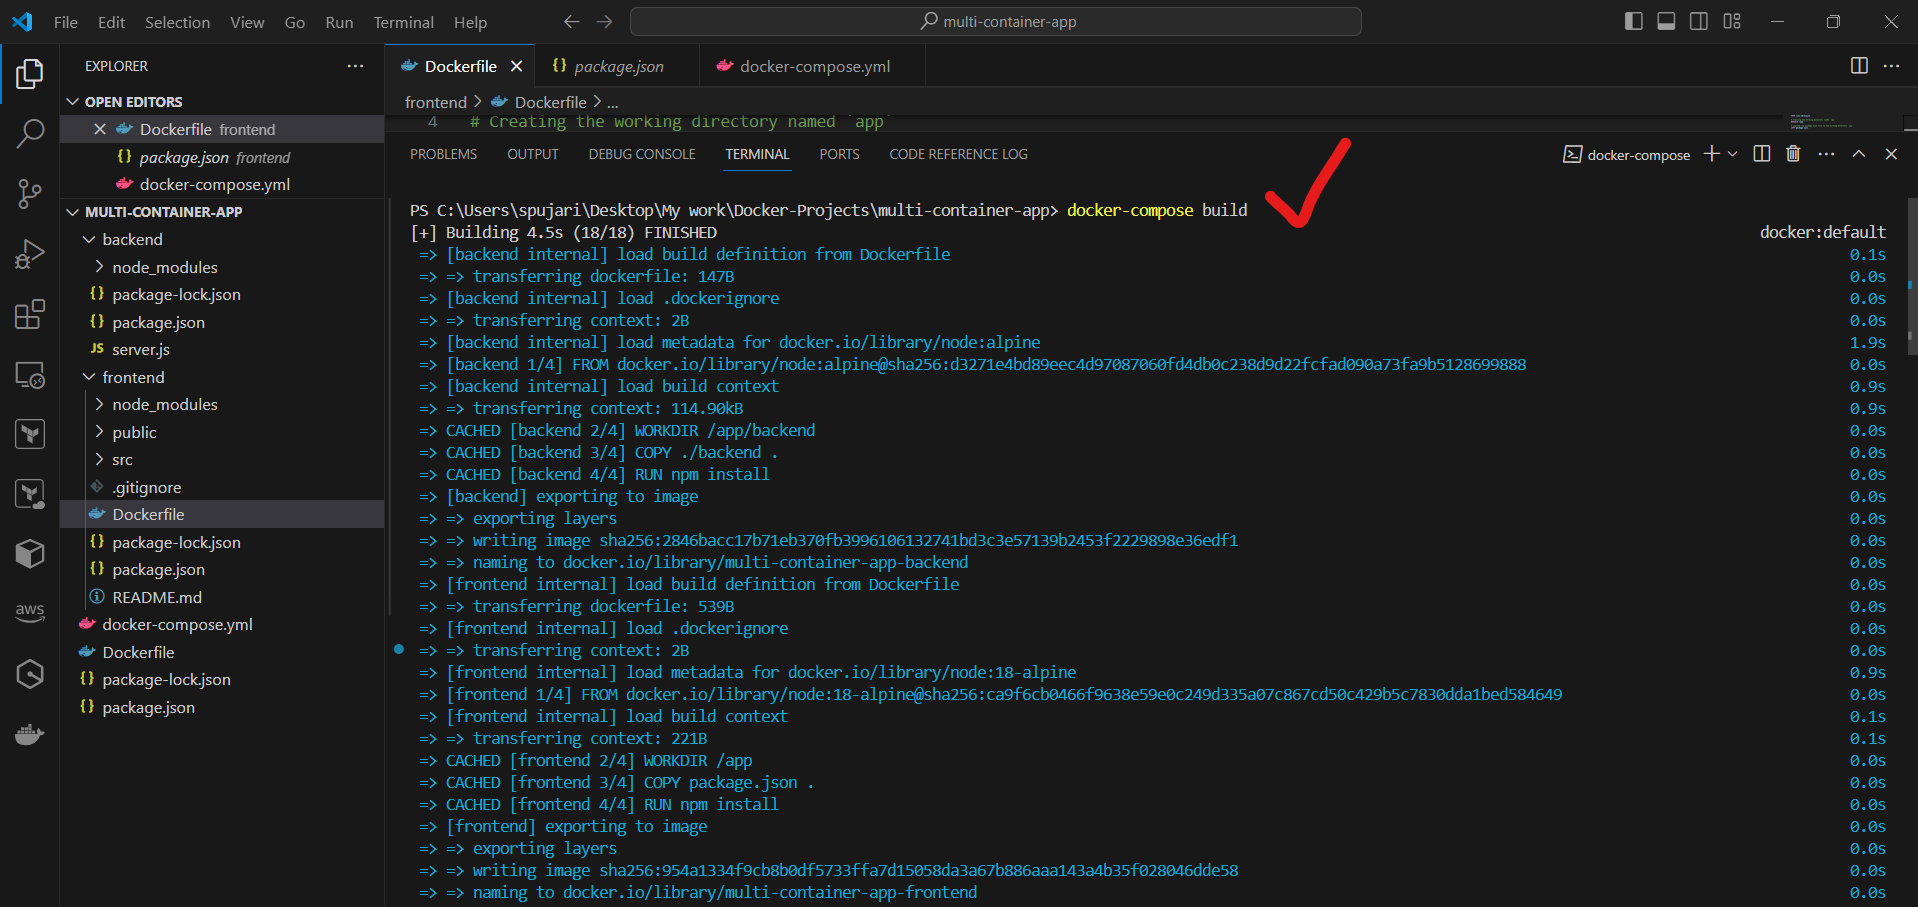
Once the build is complete, run the following command to start the containers:
docker-compose up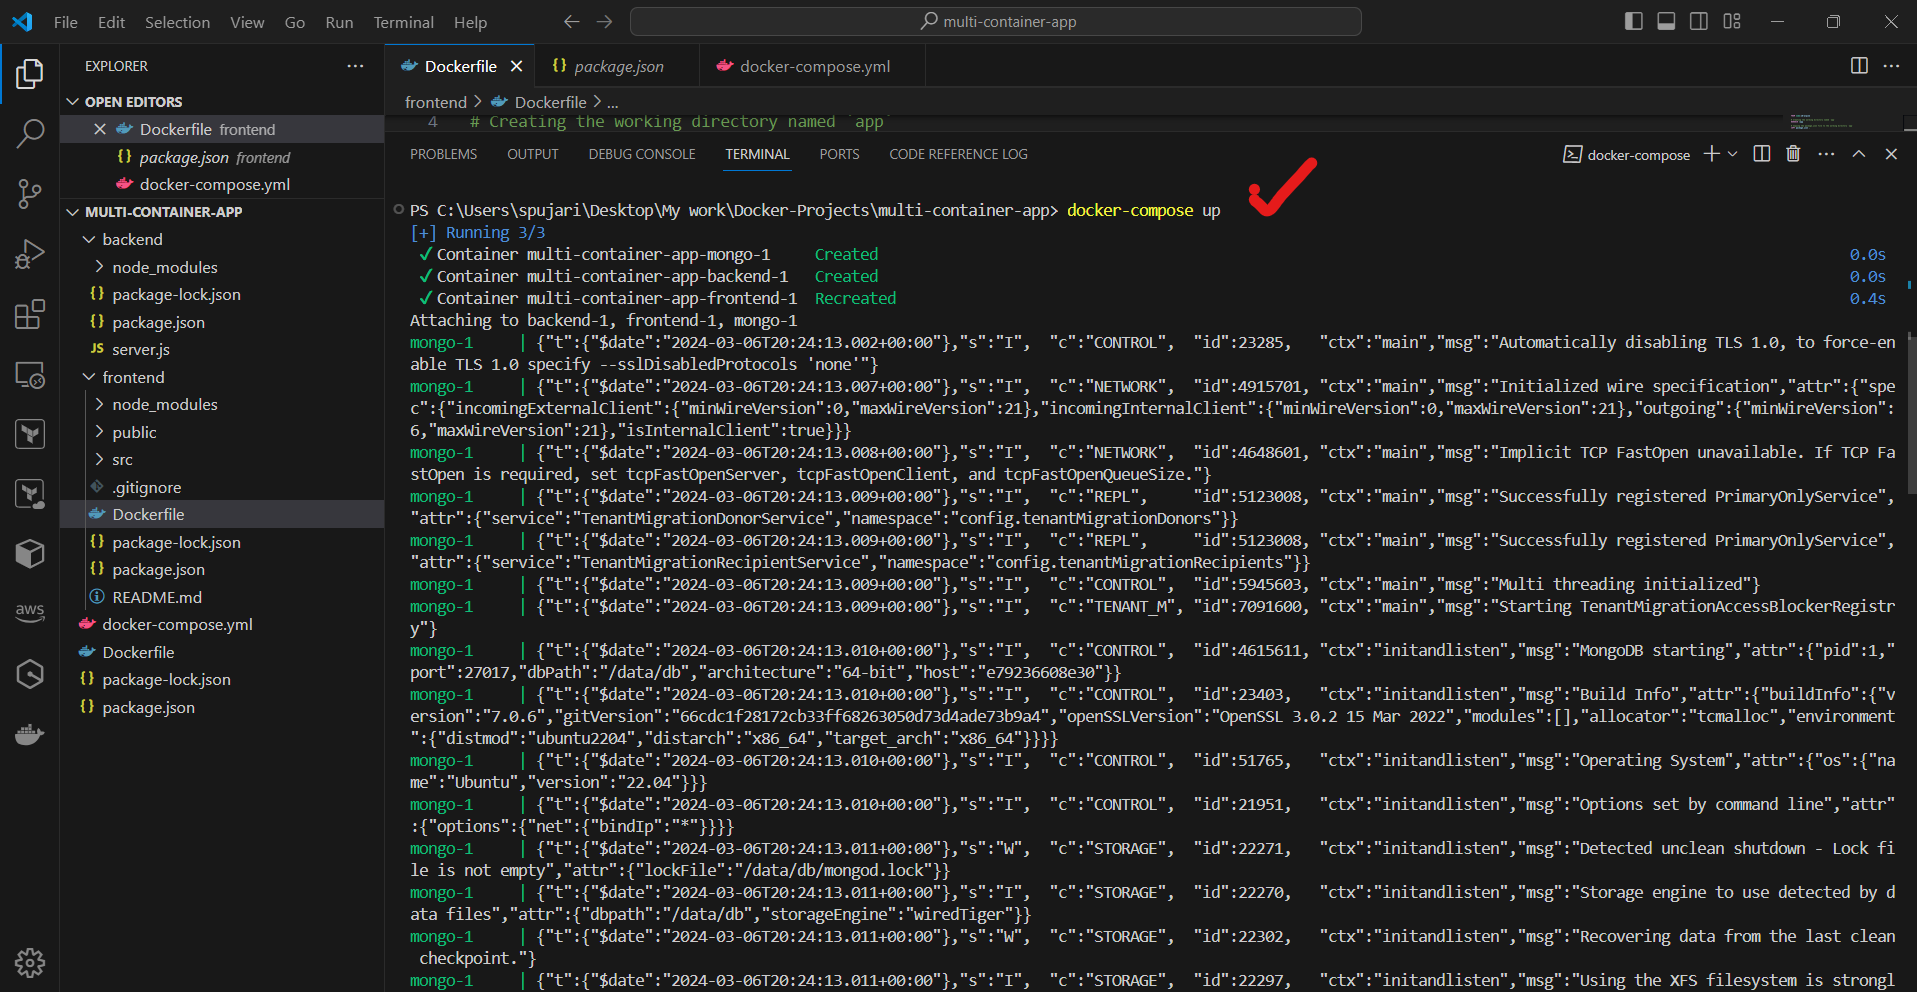
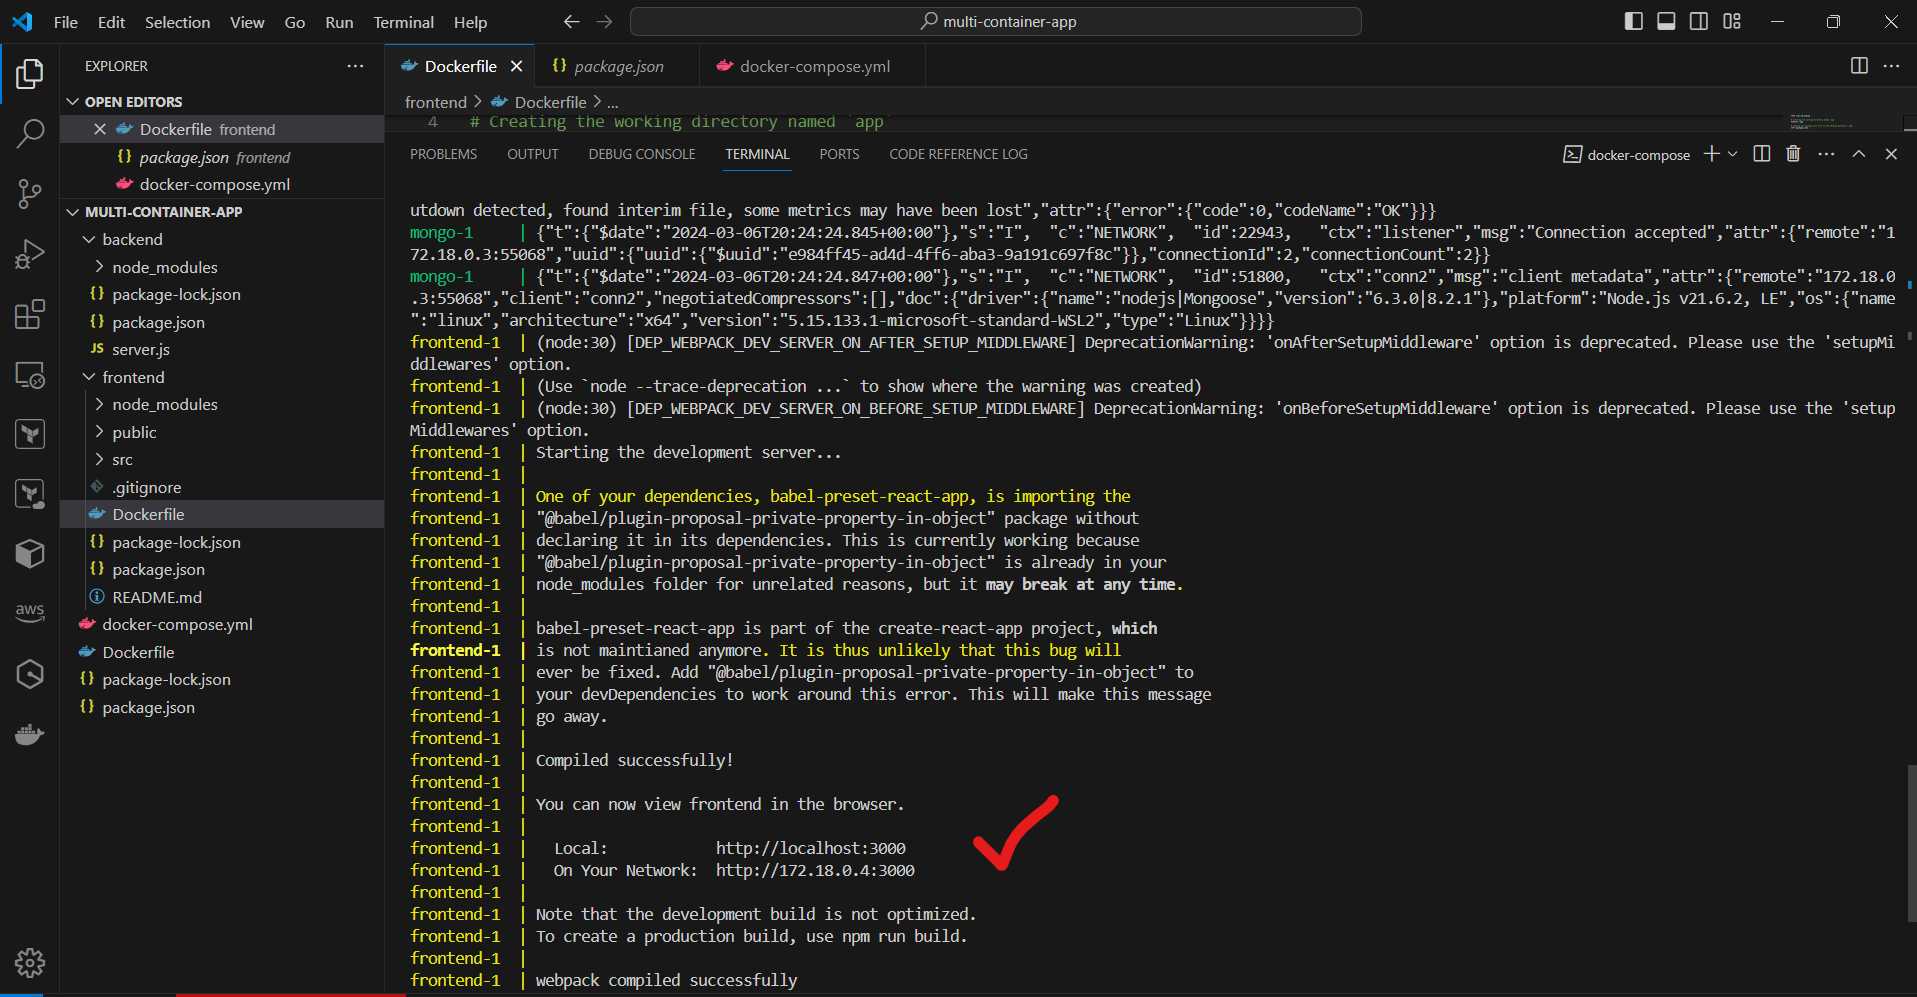
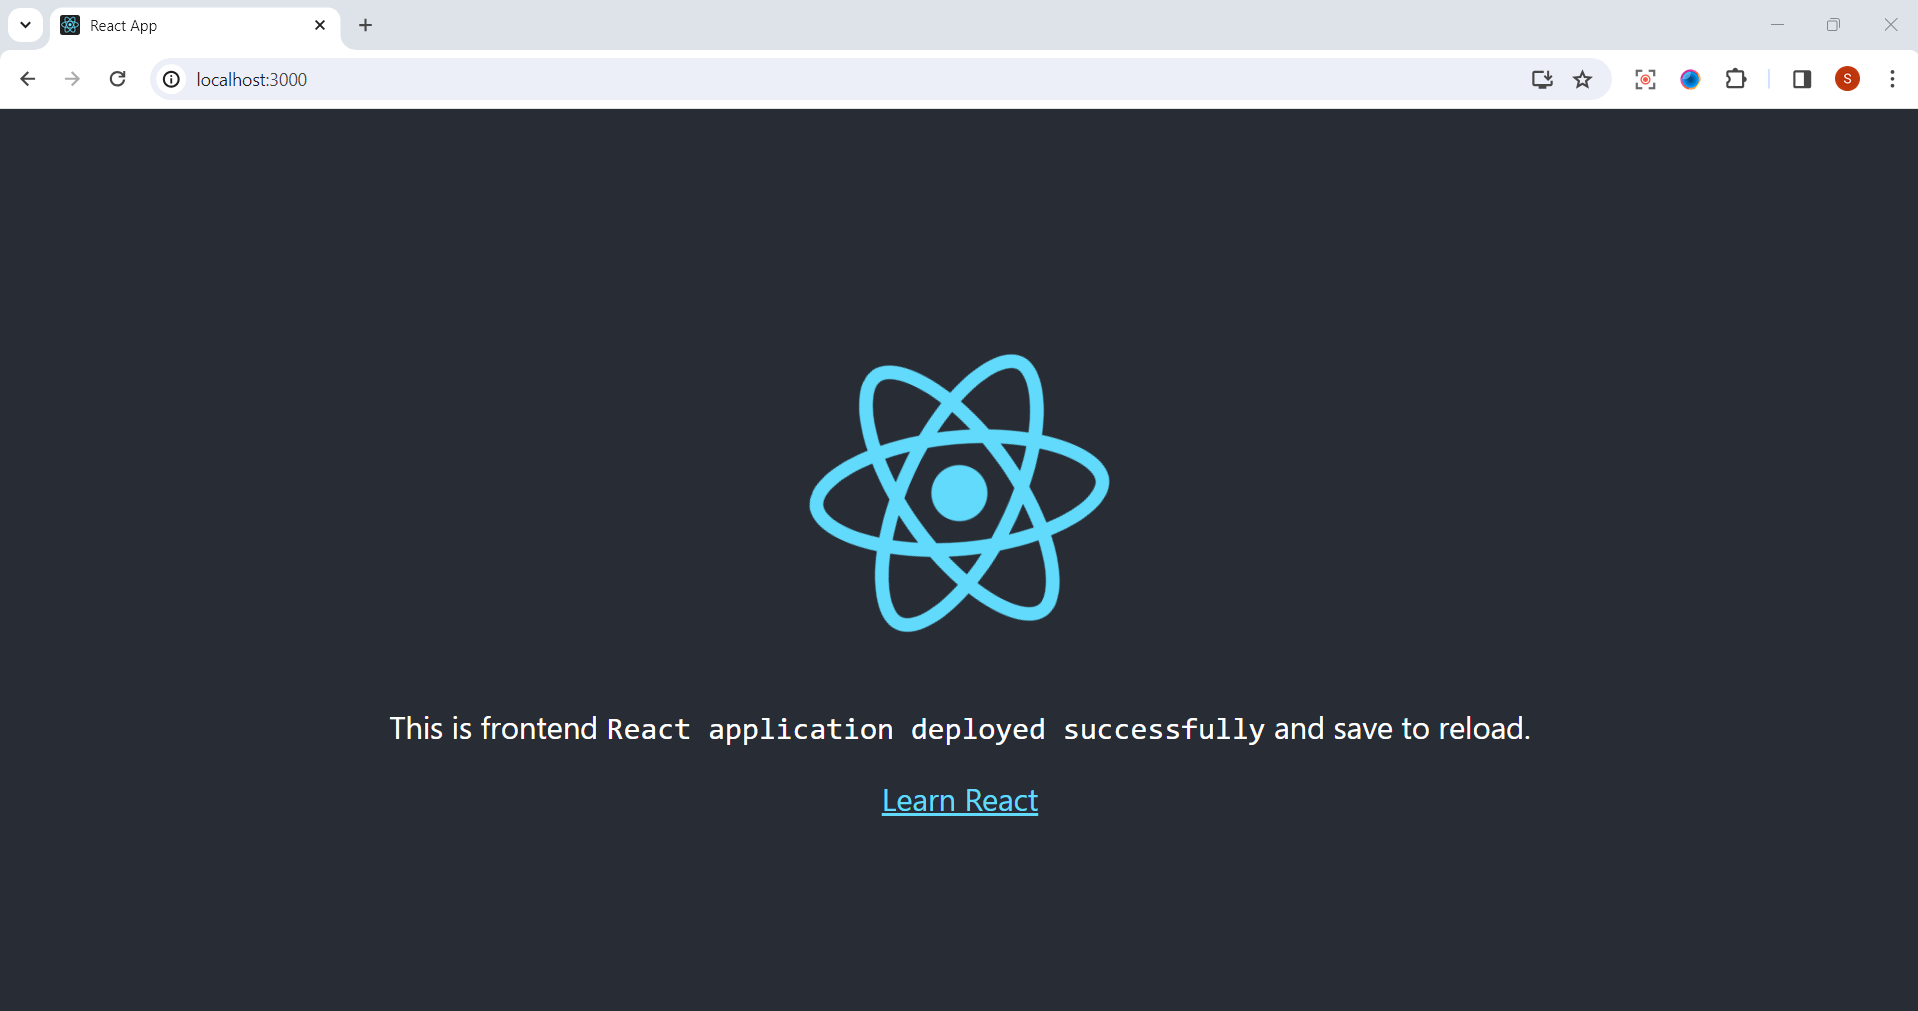
You should now be able to access the frontend at http://localhost:3000
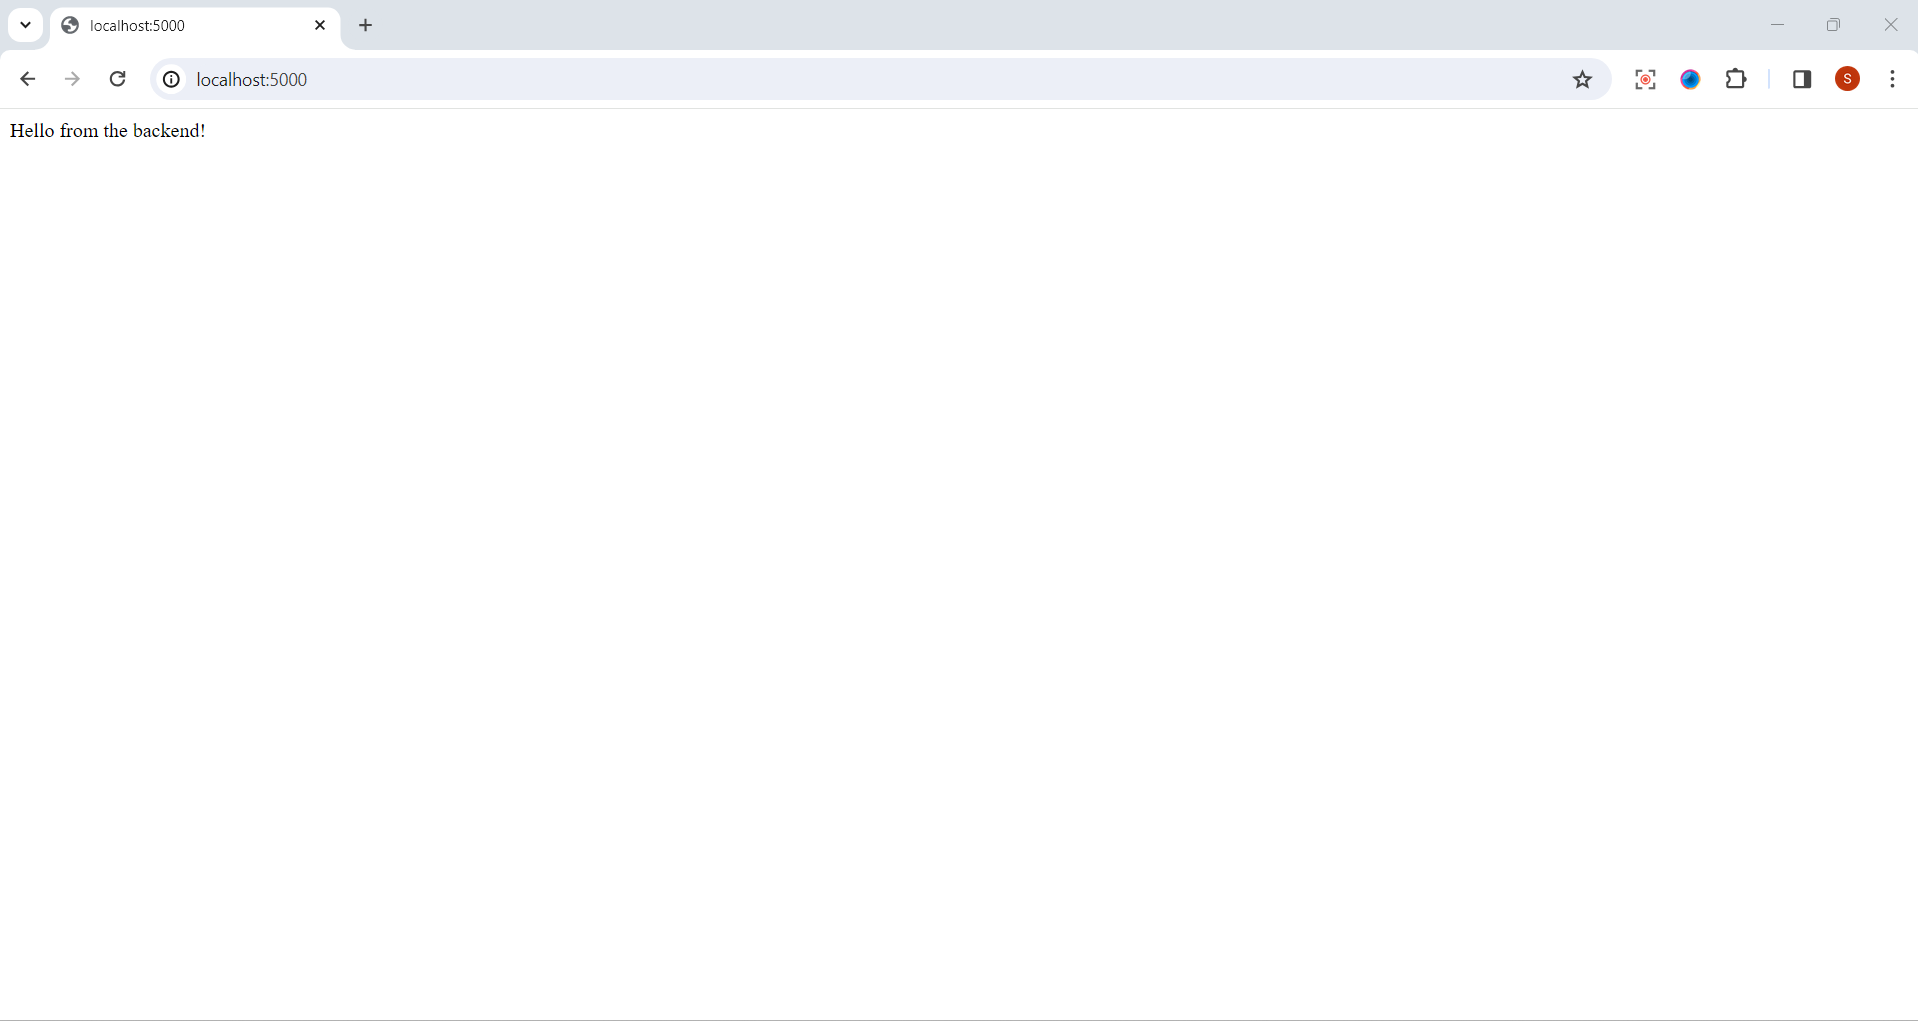
and the backend at http://localhost:5000.
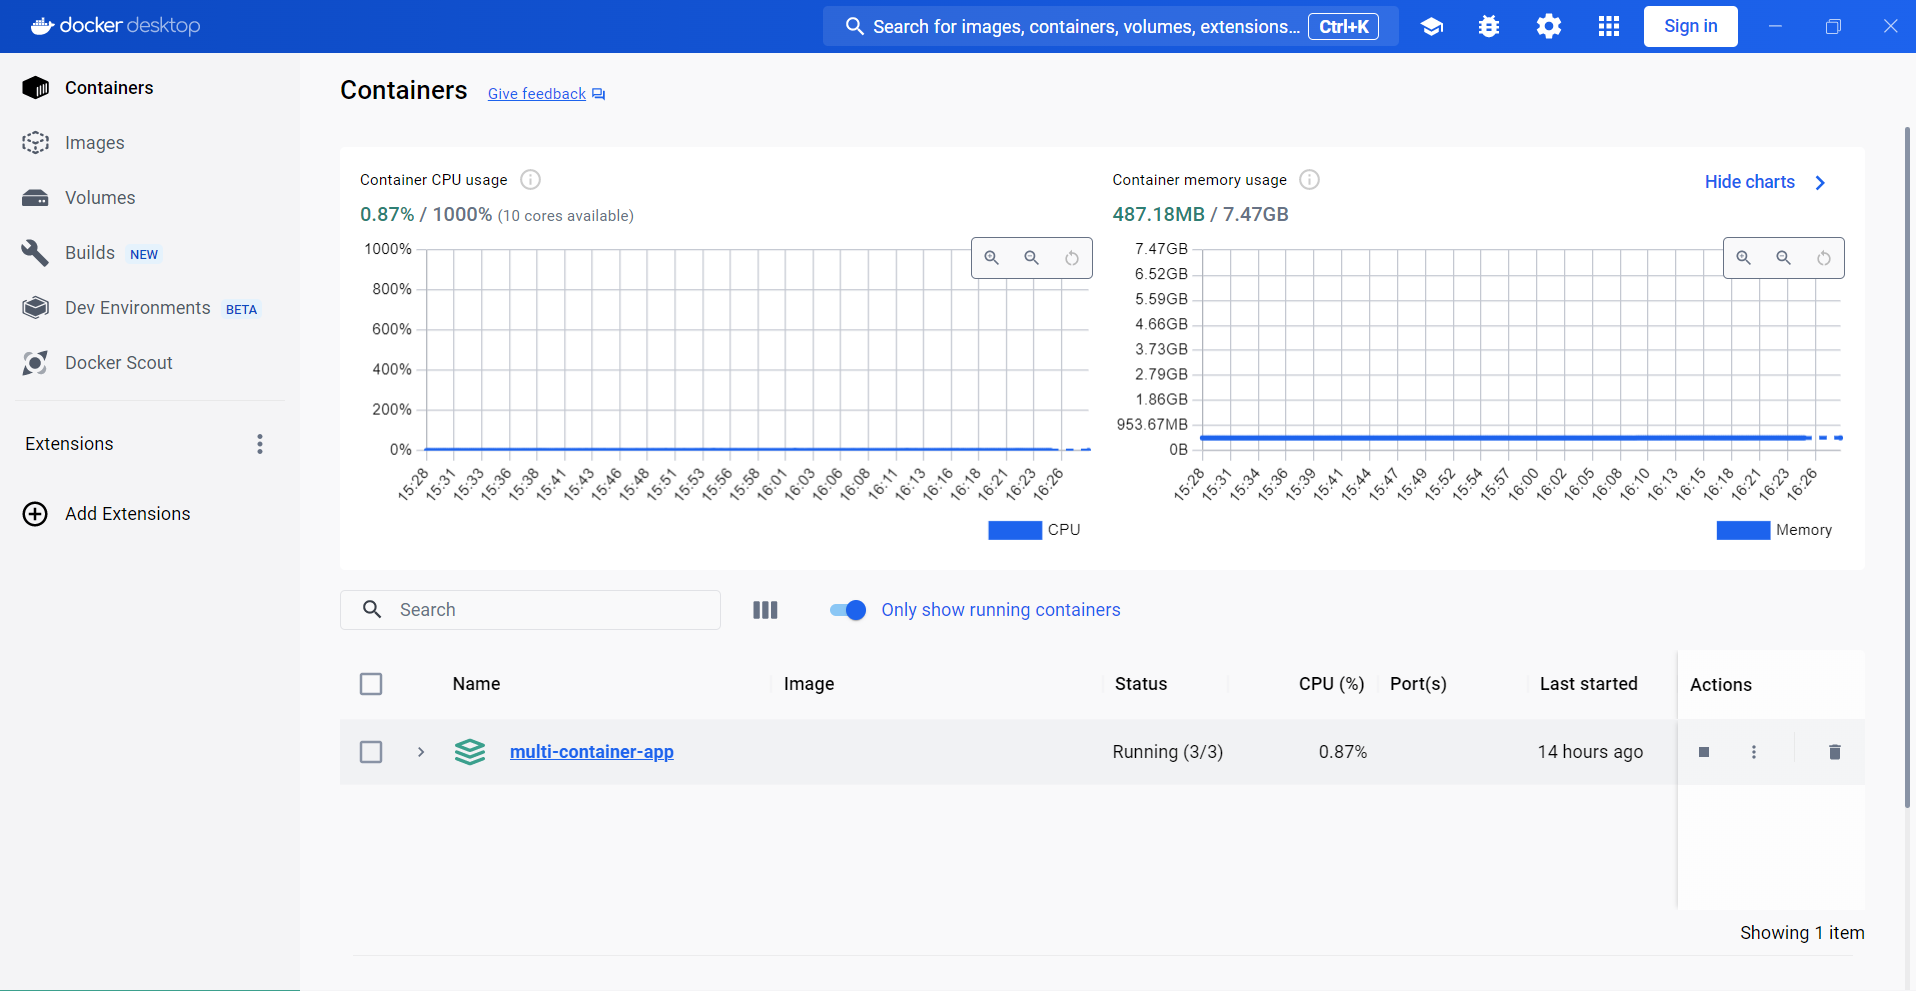
Monitoring and Maintenance:
👇 Click the link below to access the code 👇
You can find all of the Docker code used in this tutorial on the following GitHub repository:
https://github.com/sprasadpujari/Docker-Projects/tree/main/multi-container-app
This link will take you to the specific GitHub repository and directory where the code for the multi-container application with Docker Compose is hosted. Explore the code, experiment, and enhance your Docker skills!
🎉 Congratulations! You've successfully built a multi-container application with Docker Compose, including a Node.js backend, a React.js frontend, and a MongoDB database.
Conclusion 🎉
This project demonstrates how Docker Compose simplifies the process of building and running multi-container applications by defining the services, dependencies, and configurations in a single file.
Feel free to explore and expand upon this project by adding more features, integrating additional services, or deploying it to a production environment using Docker and orchestration tools like Kubernetes.
Happy coding and containerizing! 🐳💻
Thank you for joining me on this exciting journey through the world of cloud computing! Your interest and support mean a lot, and I'm thrilled to continue exploring this fascinating field together. Let's stay connected and keep learning and growing as we navigate the ever-evolving landscape of technology. 🚀
📍 Connect with me on LinkedIn: https://www.linkedin.com/in/prasad-g-743239154/
📬 Or reach out directly at spujari.devops@gmail.com. I'm always open to hearing your thoughts and suggestions, as they help me improve and better cater to your needs. Let's keep moving forward and upward!
🤝 If you found this blog post helpful, please show your support by giving it a round of applause 👏👏👏. Your engagement boosts the visibility of the content and lets other DevOps and Cloud Engineers know that it might be useful to them too. Thank you for your support! 😀
Happy deploying, and let's continue our cloud computing adventures together!
Best Regards,
Sprasad


