Deploying a 2-tier Monolithic architecture on AWS using Terraform

Greetings! I'm Sprasad P, a DevOps Engineer with a passion for optimizing development pipelines, automating processes, and enabling teams to deliver software faster and more reliably.
Overview
Your team needs to set up a robust infrastructure to support your company's applications. We'll use Terraform, a tool that helps us create and manage our infrastructure easily.
Objectives
Deploy a 2-tier architecture: Create a foundation with a single file (monolith) containing hardcoded data.
Infrastructure Components:
VPC with CIDR 10.0.0.0/16
2 Public Subnets (High Availability) with CIDR 10.0.1.0/24 and 10.0.2.0/24
2 Private Subnets with CIDR 10.0.3.0/24 and 10.0.4.0/24, one hosting an RDS MySQL instance
Load balancer directing traffic to public subnets
1 EC2 t2.micro instance in each public subnet
Prerequisites
Installed Terraform
Installed AWS CLI
GitHub Account
Terraform registry — https://registry.terraform.io/
Terraform is the magic wand for developers and DevOps enthusiasts who want to build, manage, and scale infrastructure effortlessly. In this blog, we'll unravel the key concepts of Terraform, making it easily digestible for beginners.
What is Terraform?
🏗️ Terraform is an open-source infrastructure as code (IaC) tool that empowers users to provision resources seamlessly across various infrastructure providers. Whether you're playing with clouds like AWS, Azure, or Google Cloud, Terraform's got your back. It operates through APIs, allowing it to dance with almost any service that exposes one.
Core Workflow in Three Acts:
Write: Define Your Universe 📝
- Terraform lets you script your infrastructure in a language it understands. Imagine creating a configuration to unleash an application on virtual machines in a Virtual Private Cloud (VPC) with all the bells and whistles like security groups and load balancers.
Plan: The Blueprint 🗺️
- Terraform analyzes your script, creating a blueprint of what it's going to build, update, or demolish. It's like having an architect examine your dream house plan before the construction begins.
Apply: Bring Your Blueprint to Life! 🚀
- With a nod from you, Terraform transforms the blueprint into reality. It builds, updates, or tears down your infrastructure in the right order, ensuring everything falls into place like a well-choreographed dance.
Variables: The Chameleons of Configuration 🎨
🔧 Variables in Terraform are like actors in a play. They let you tweak specific elements of your Terraform modules without rewriting the whole script. This functionality makes your modules flexible, reusable, and easily shareable across different configurations.
Resources: The Building Blocks 🏡
In the Terraform script, a resource block is where the magic happens. This block describes the infrastructure objects you're conjuring up - be it virtual networks, compute instances, or even high-level components like DNS records.
This walk-through covers building a 2 tier architecture and will follow through from creating a VPC to deploying ec2 instances and a database instance. Let’s kick this off.
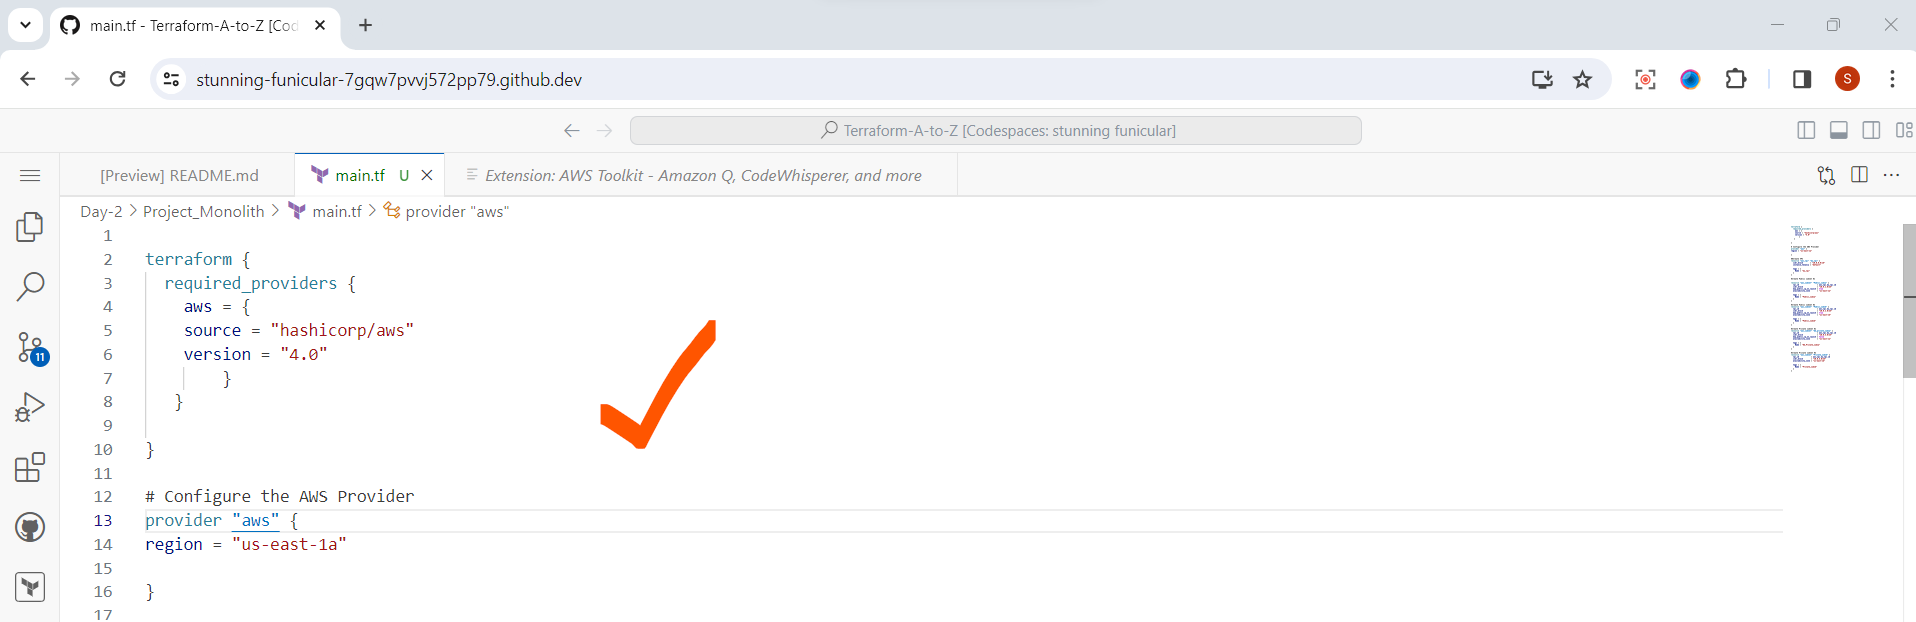
Step 1 : Create main.tf
First, you must create a new terraform file withany name and .tf extension. I’ll be using the main.tf.
The first set of code must show which providers, the terraform configurations require. In this case, the AWS provider is specified and it interacts with many resources supported by AWS.
Step 2:Create VPC
Next, we need to declare the aws_vpc resource, which will represent a new VPC with 10.0.0.0/16 address space:
Go to your code space ,and add below code
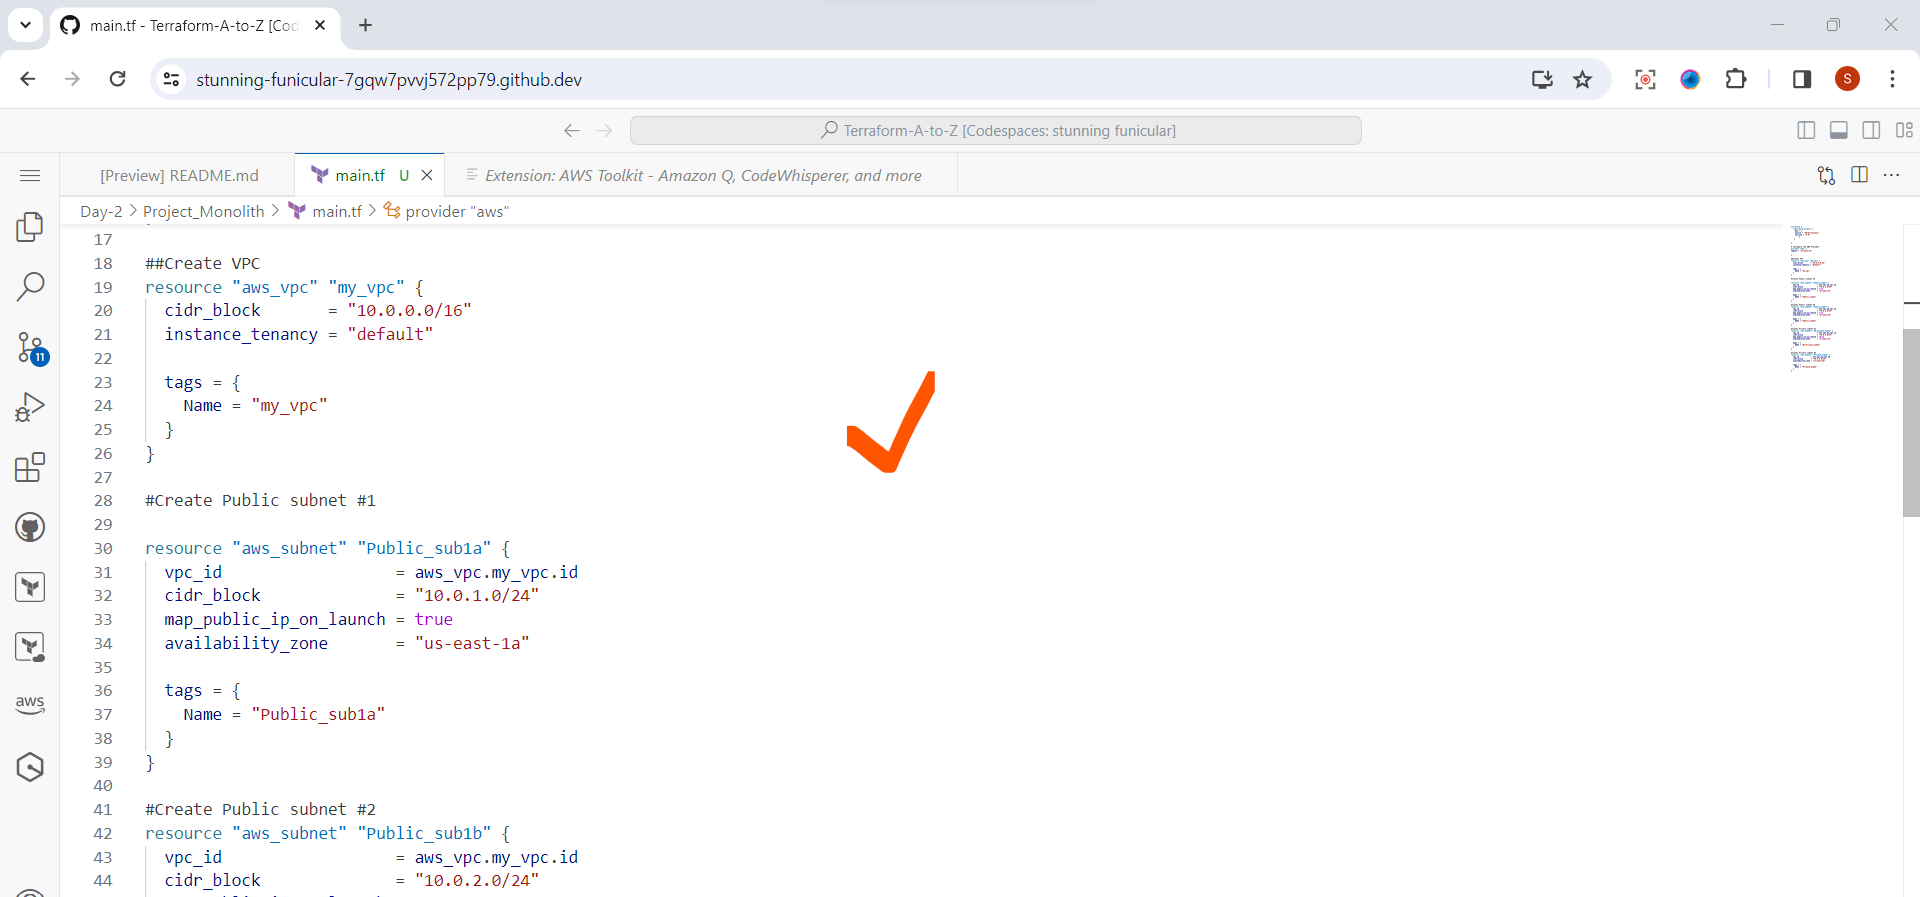
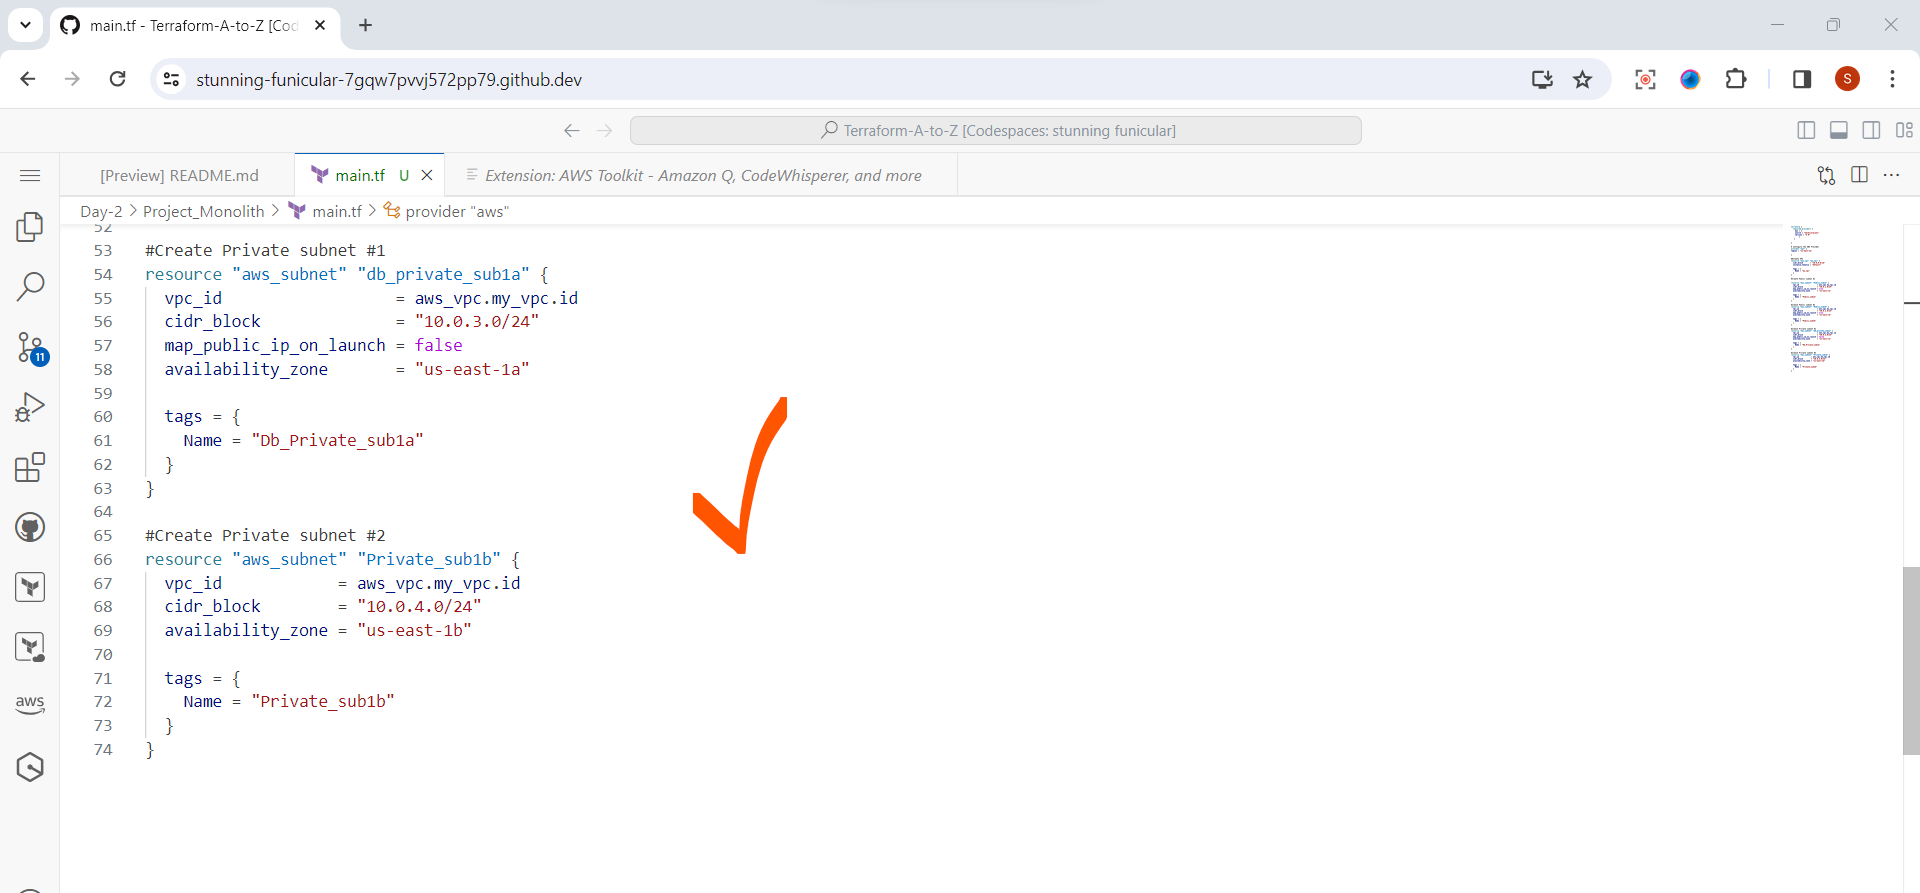
Step 3: Create Subnets
Go to your code space ,and add below code
As soon as the VPC resource is declared, we’re ready to declare the aws_subnetresource, which will describe our Public Subnet.
Here we’re asking Terraform to create our Subnet in a VPC by referring the vpc_id value which is taken from aws_vpc resource declaration with name main by its id.
We’re also specifying the Subnet address space within VPC by setting up a cidr_block option to 10.0.0.0/24 value.
Each subnet in a VPC belongs to one of the available AWS Availability Zones within AWS Regions. So, we’re also specifying it by setting the availability_zone option to us-east-1a value.
Create Public subnet

Create Private Subnet
Step 4: Create Internet Gateway
We call Subnets Public because they have an available route (0.0.0.0/0) in their Route Table attached to VPC Internet Gateway.
So, let’s create an Internet Gateway now by specifying the aws_internet_gateway resource:
This entity attached to a VPC will allow Internet traffic flow to the Public Subnet.
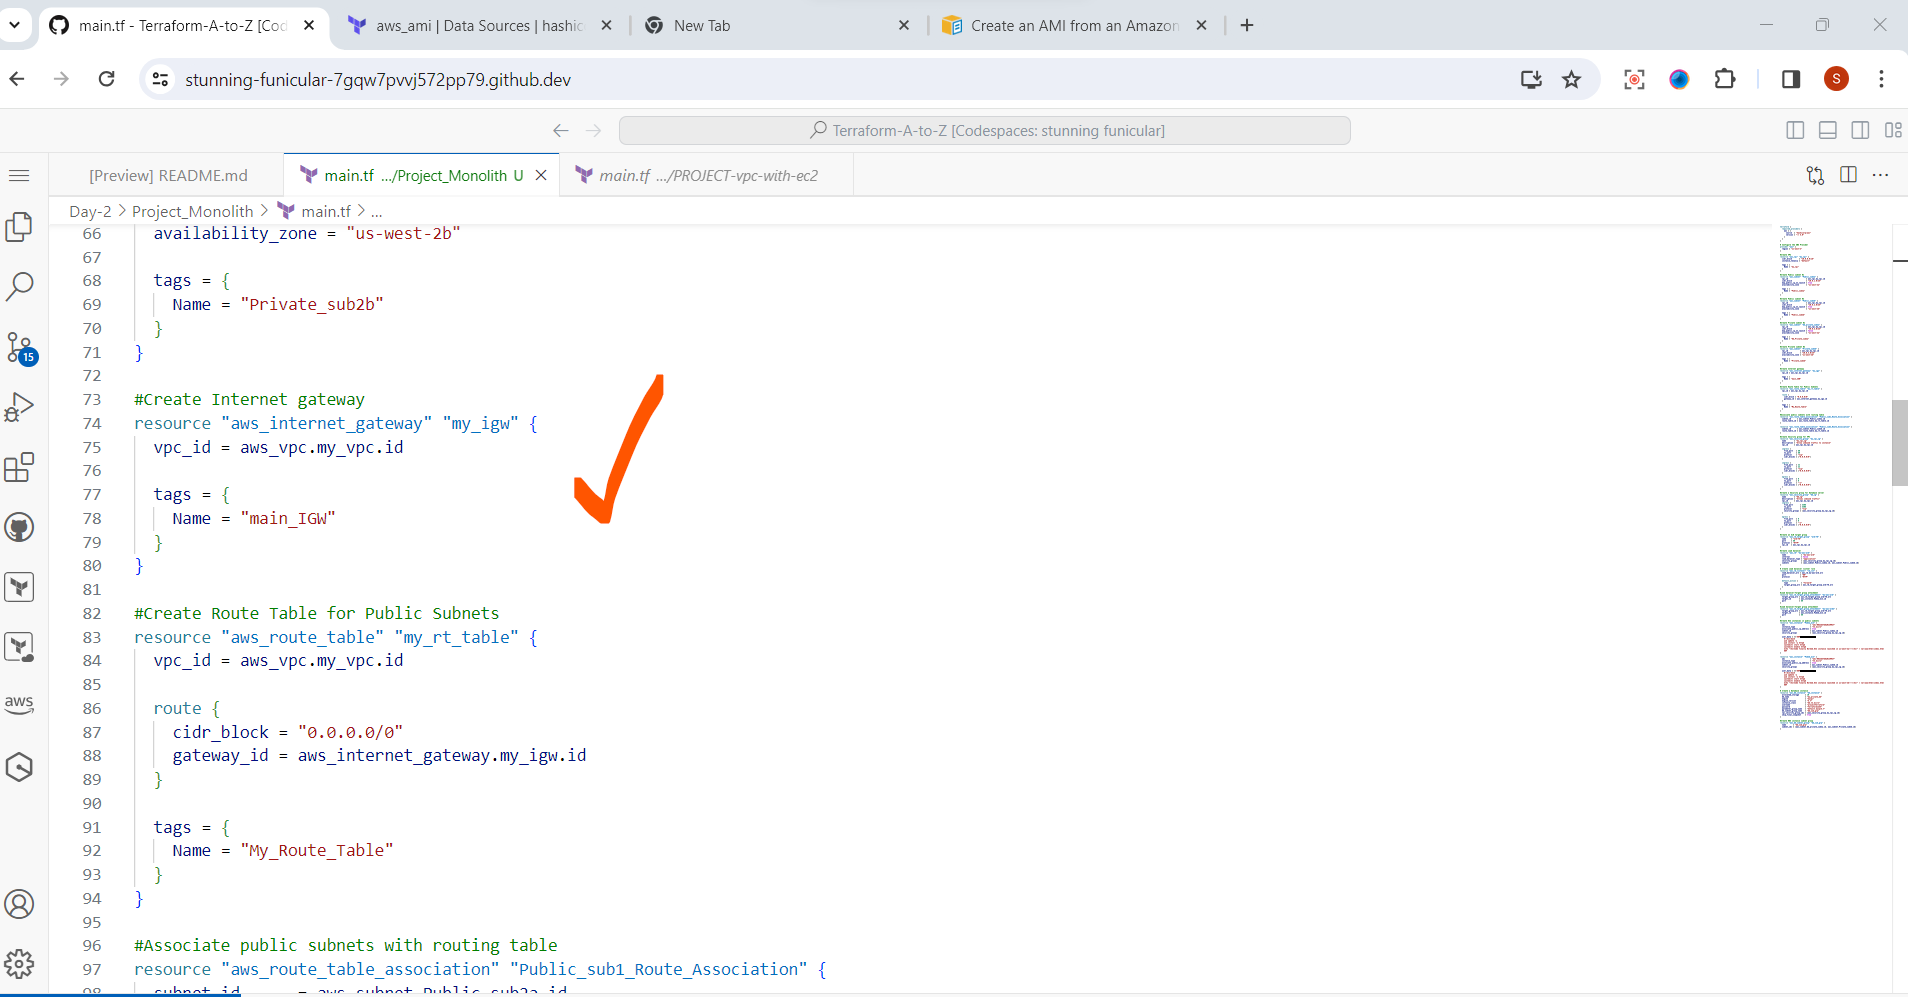
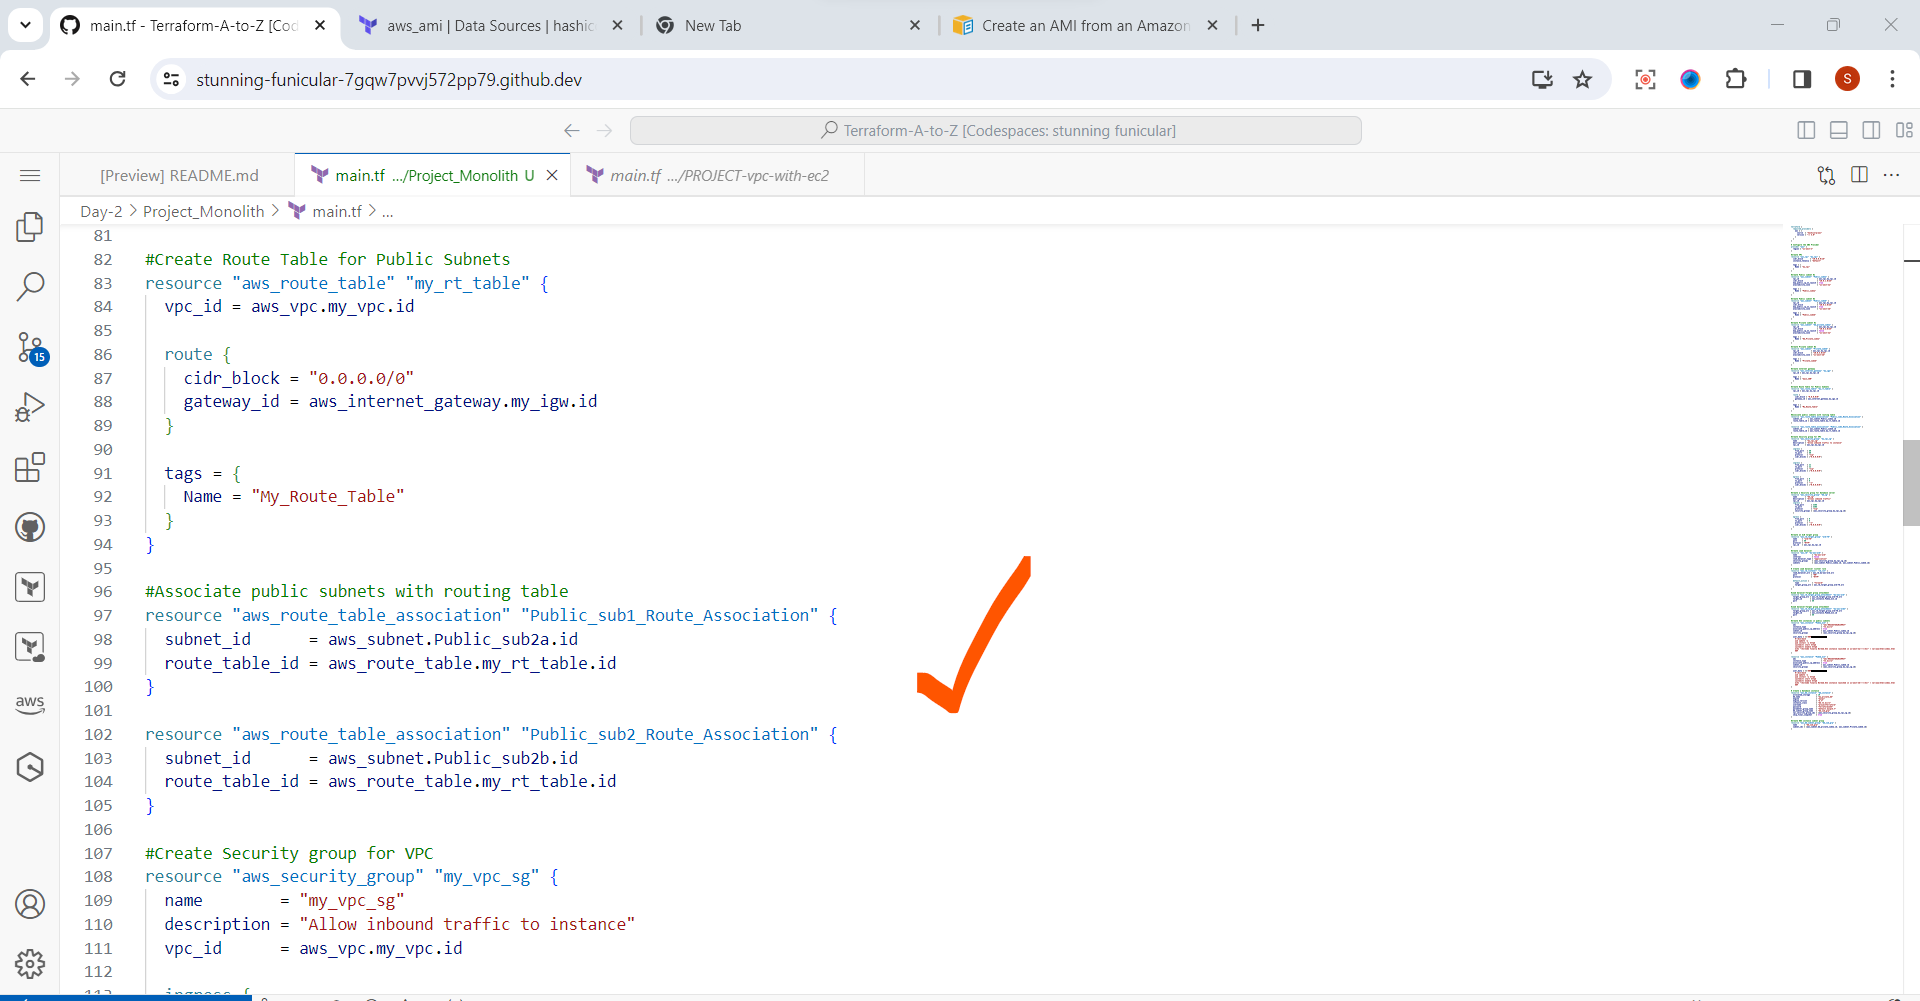
Step 5: Create Route Table for public subnets
Create a Route Table to route the outside world and map it to our Internet Gateway. Let’s do it by declaring aws_route_table and aws_route_table_association resources:
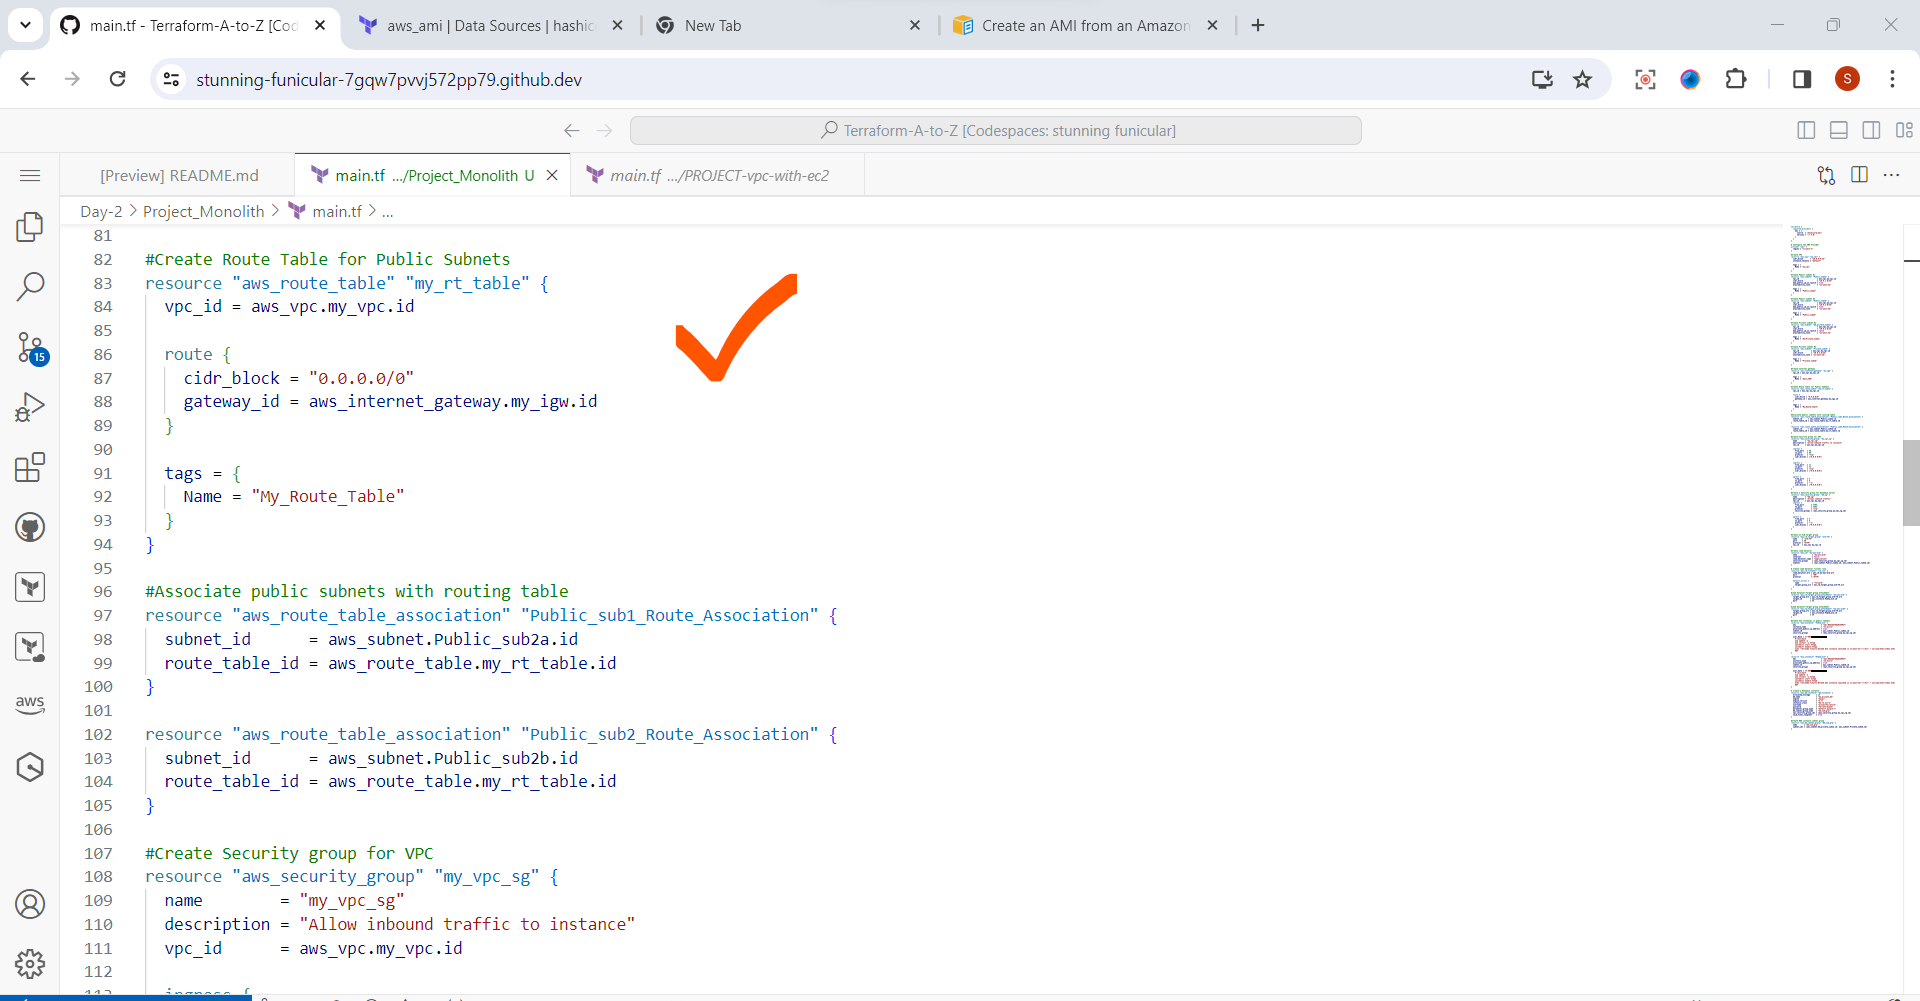
Step 6: Associate Public Subnets with Route table
Here we have to specify the subnet id for each public subnet and the route table id. aws_route_table_association resources:
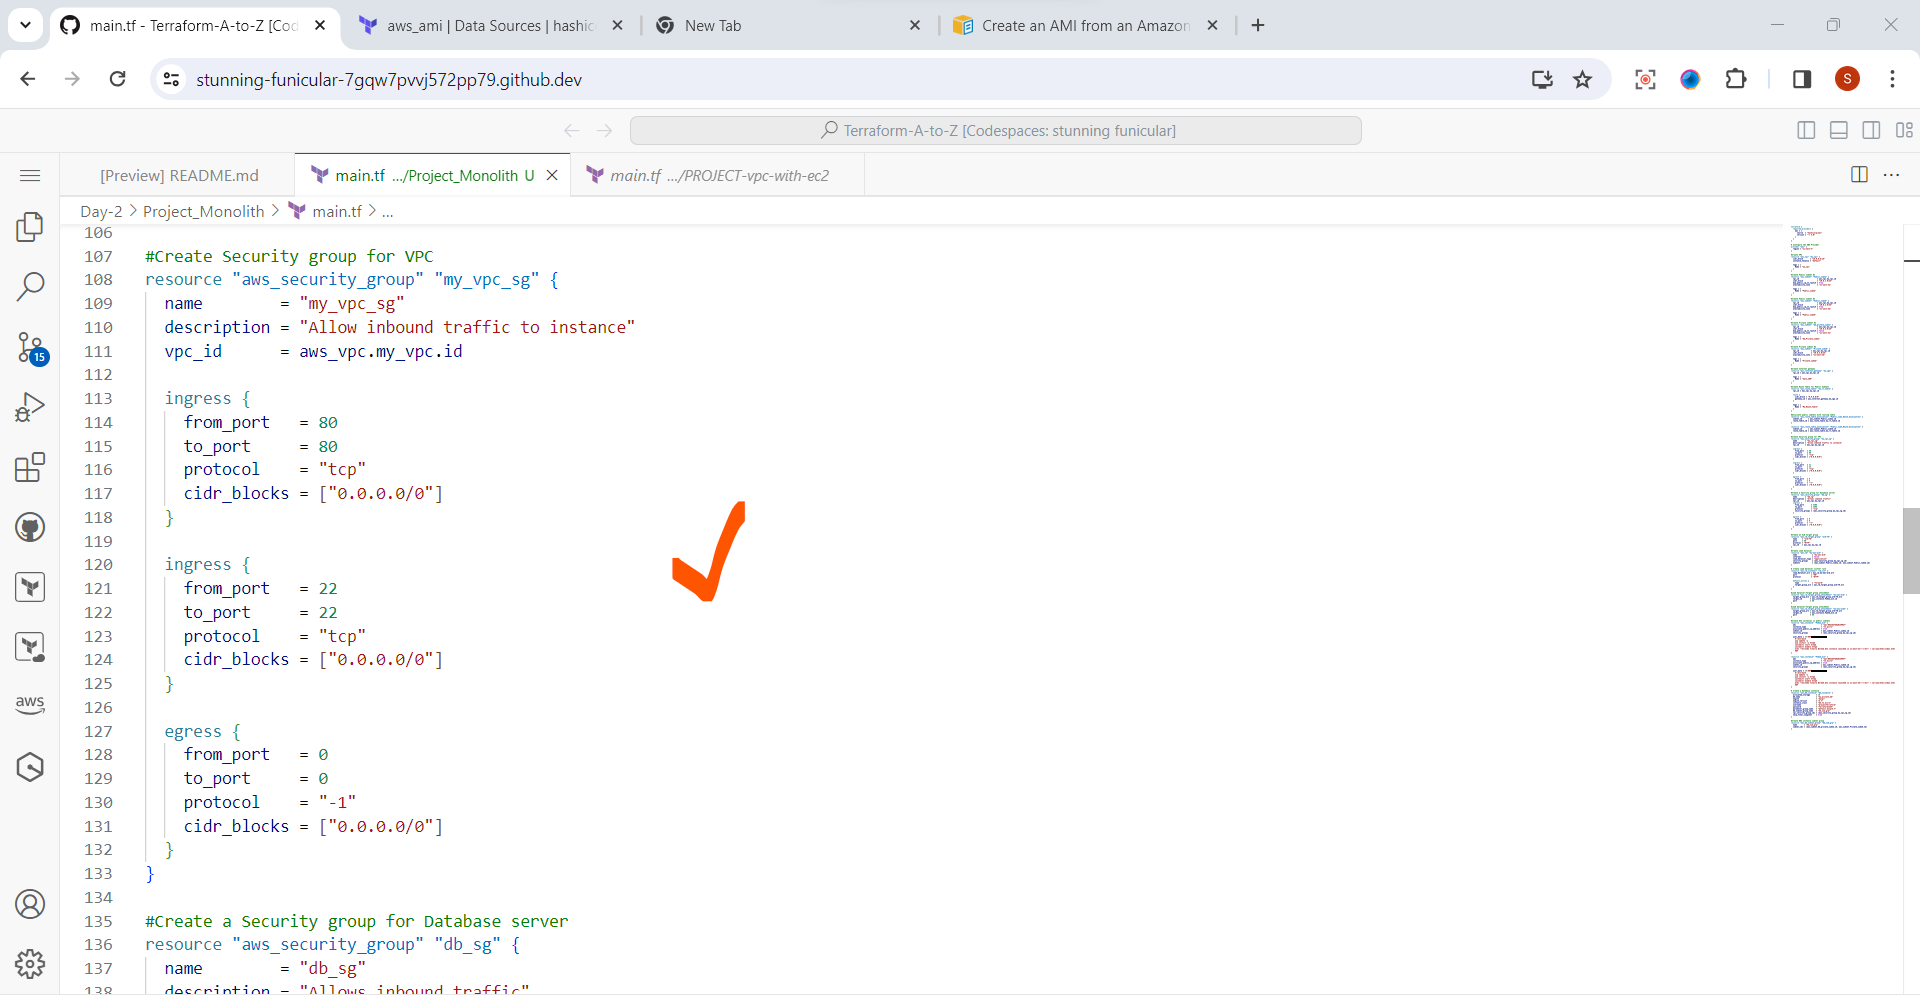
Step 7: Create Security Group for VPC
Security Group – a stateful firewall rule allowing inbound traffic to the network object. In our case, we’ll use it to block any outside connections to our instance except SSH.
Let’s add Security Group by adding the aws_security_groupresource to our .tf file:
Here we’re allowing incoming SSH connections (22/tcp) from any addresses (0.0.0.0/0) inside the Security Group, and also, we’re allowing any connection initiation to the outside world from the Security Group. So, we’ll be able to SSH to the instance protected by this Security Group and make any connections.
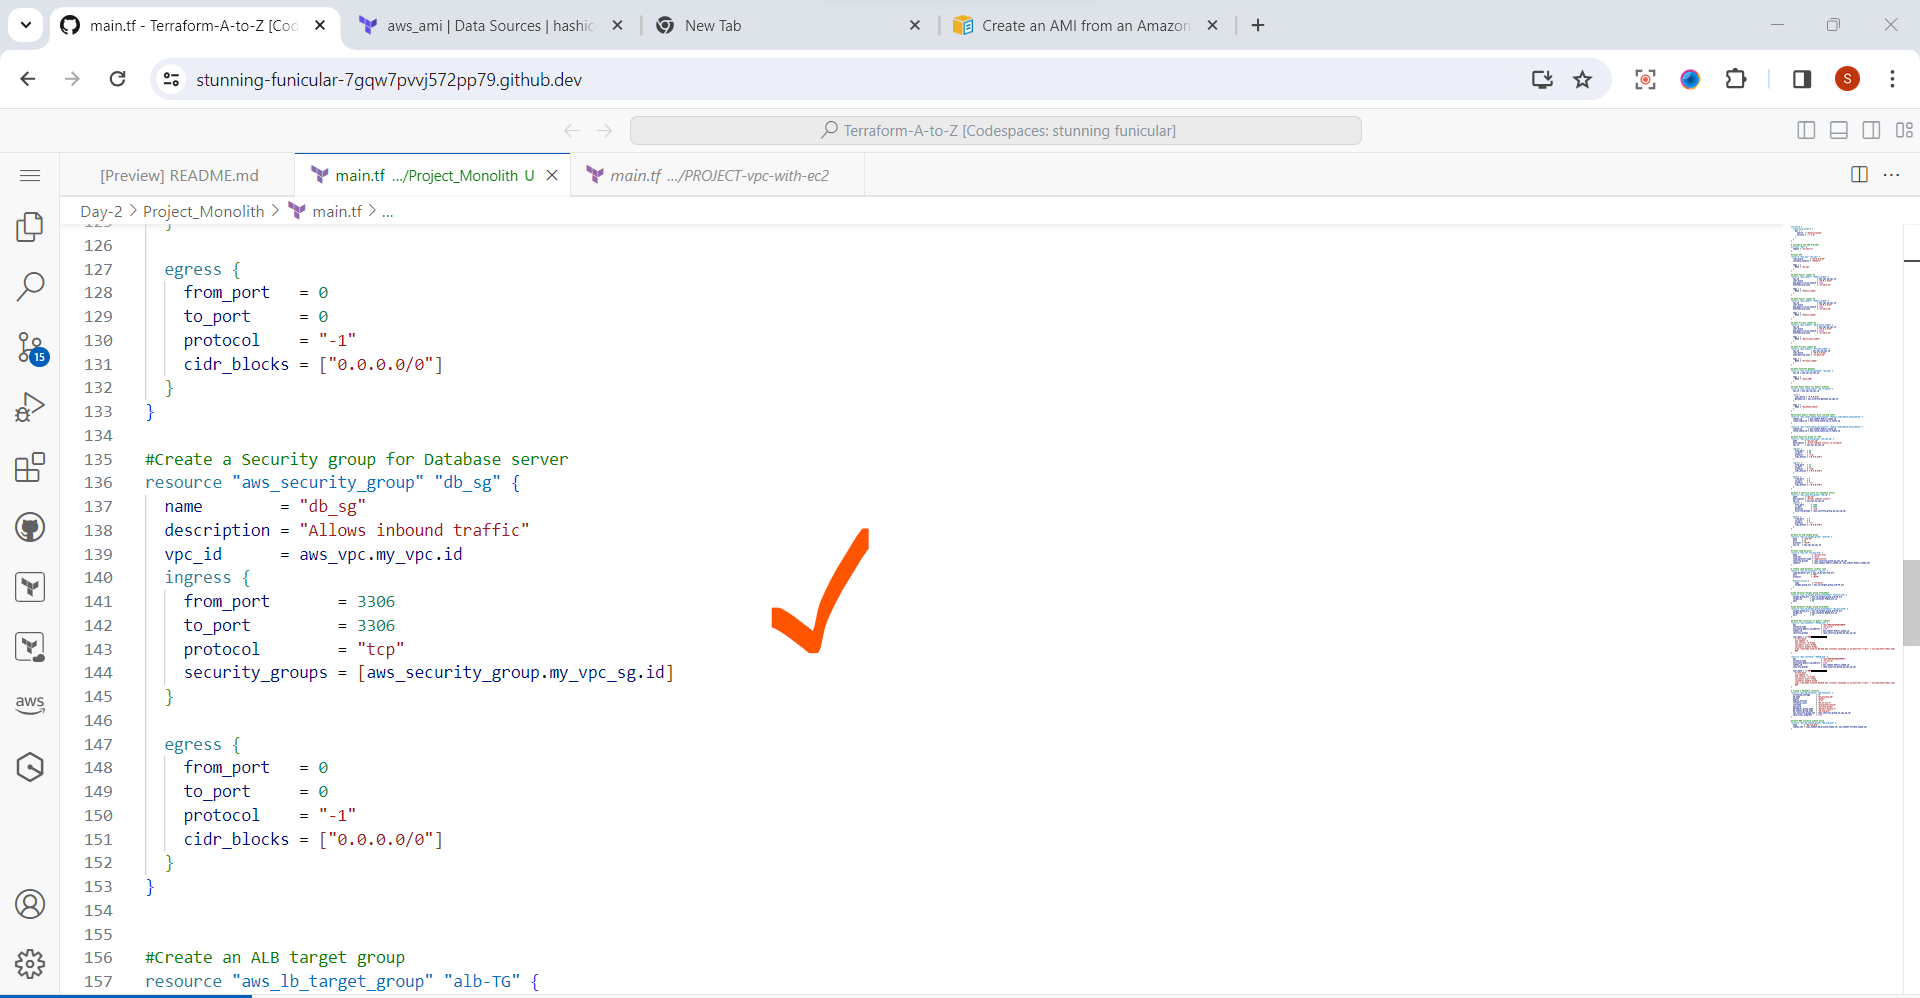
Step 8: Create Security Group for Database server
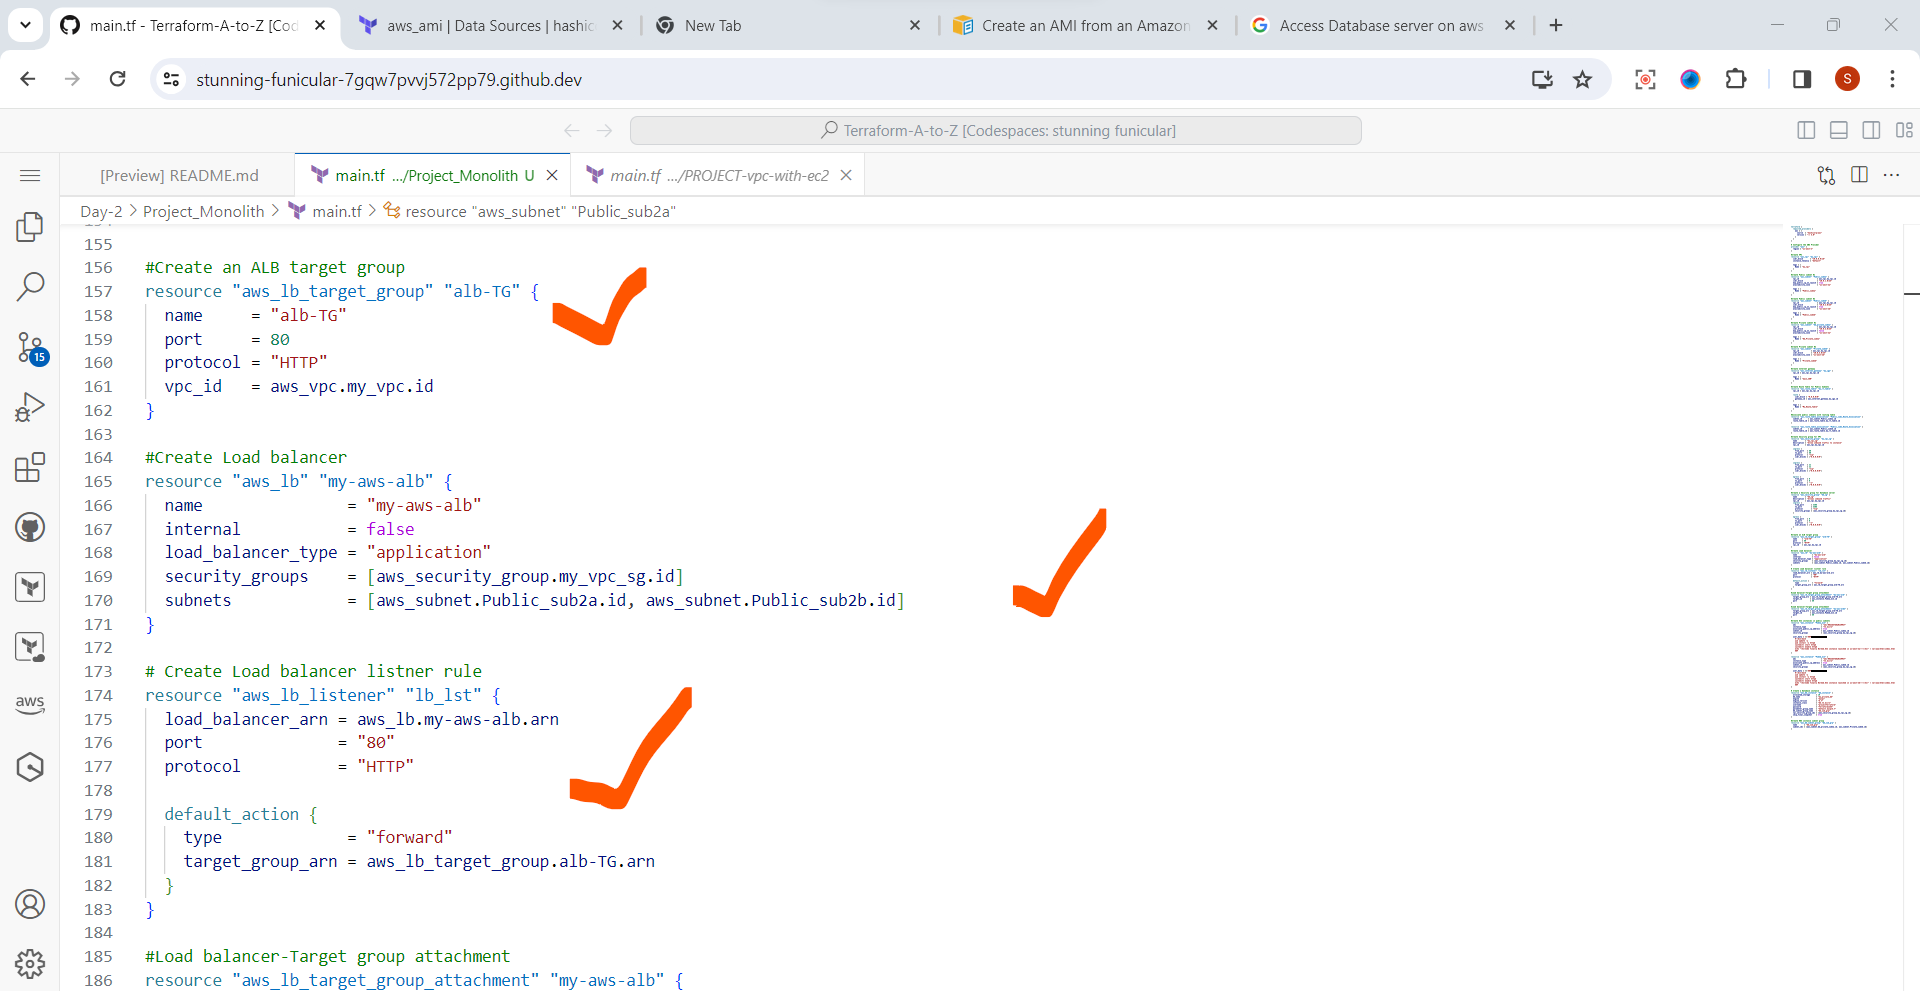
Step 9: Create an ALB target group and Load balancer
Next, we will create the Application load balancer and the target group. The load balancer is listening on port 80 and the target group must also have port 80 specified
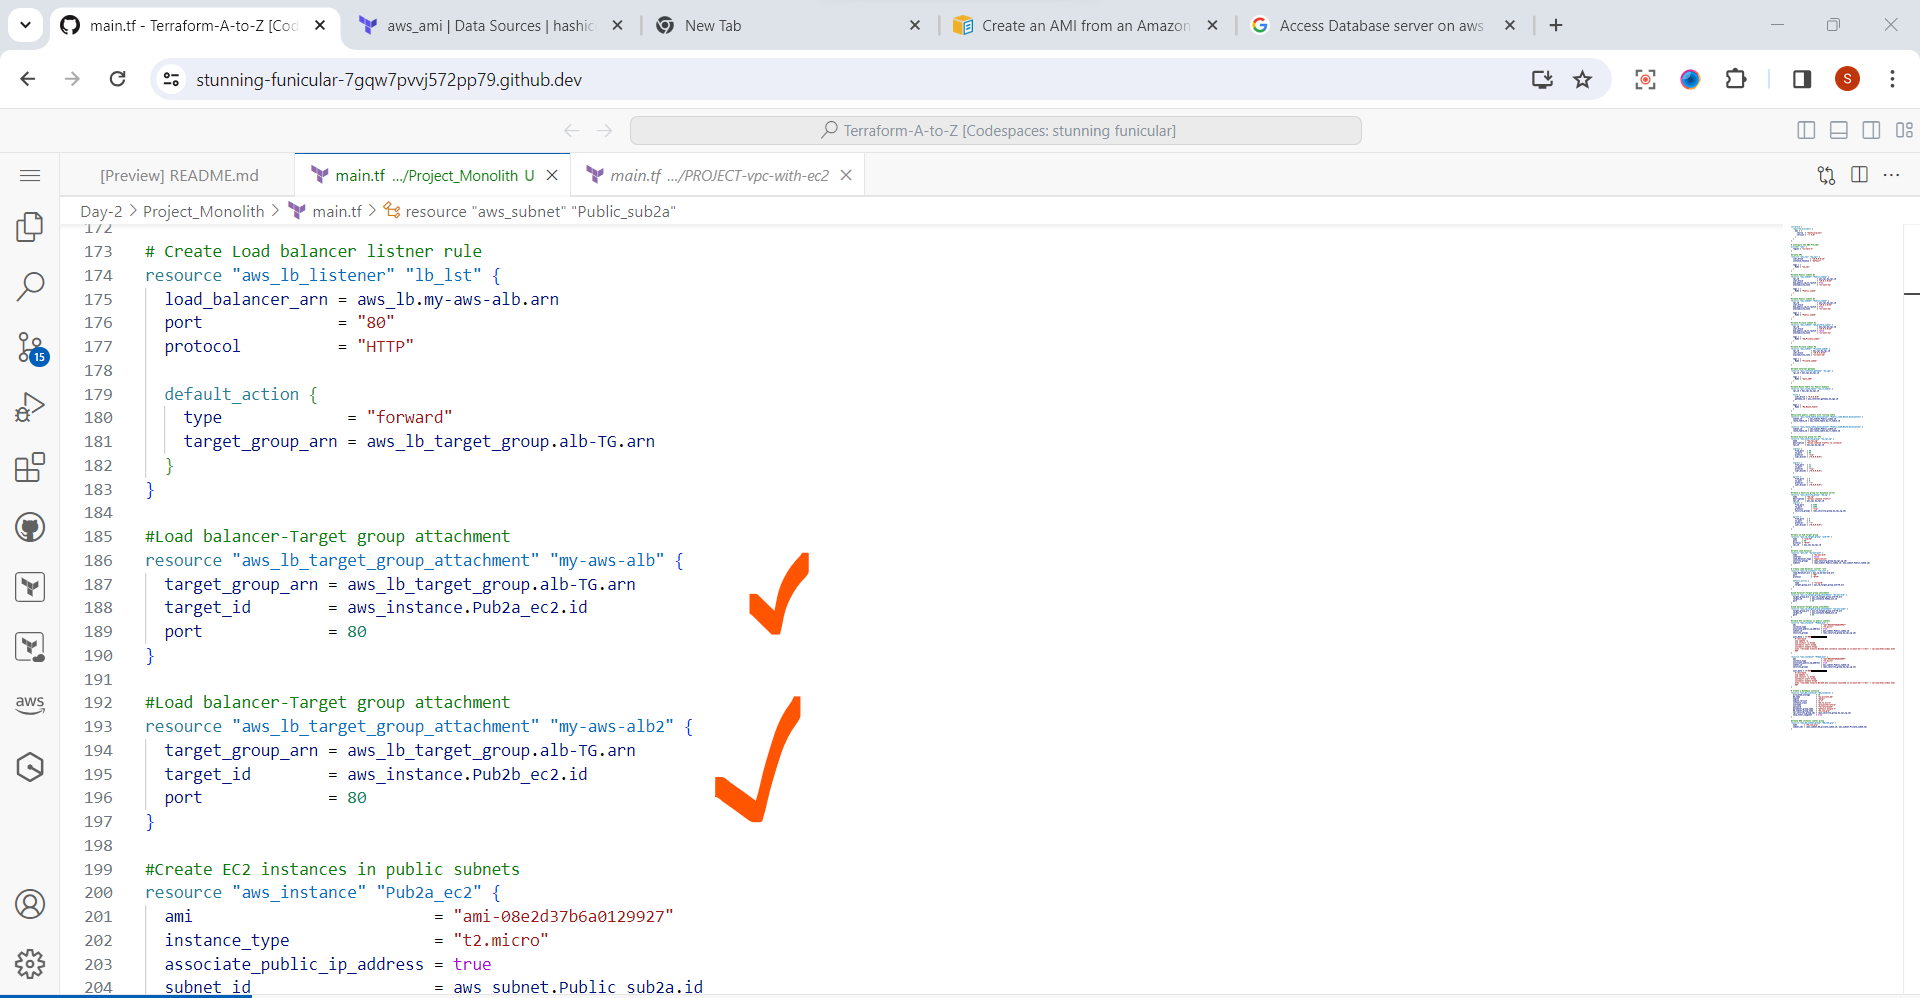
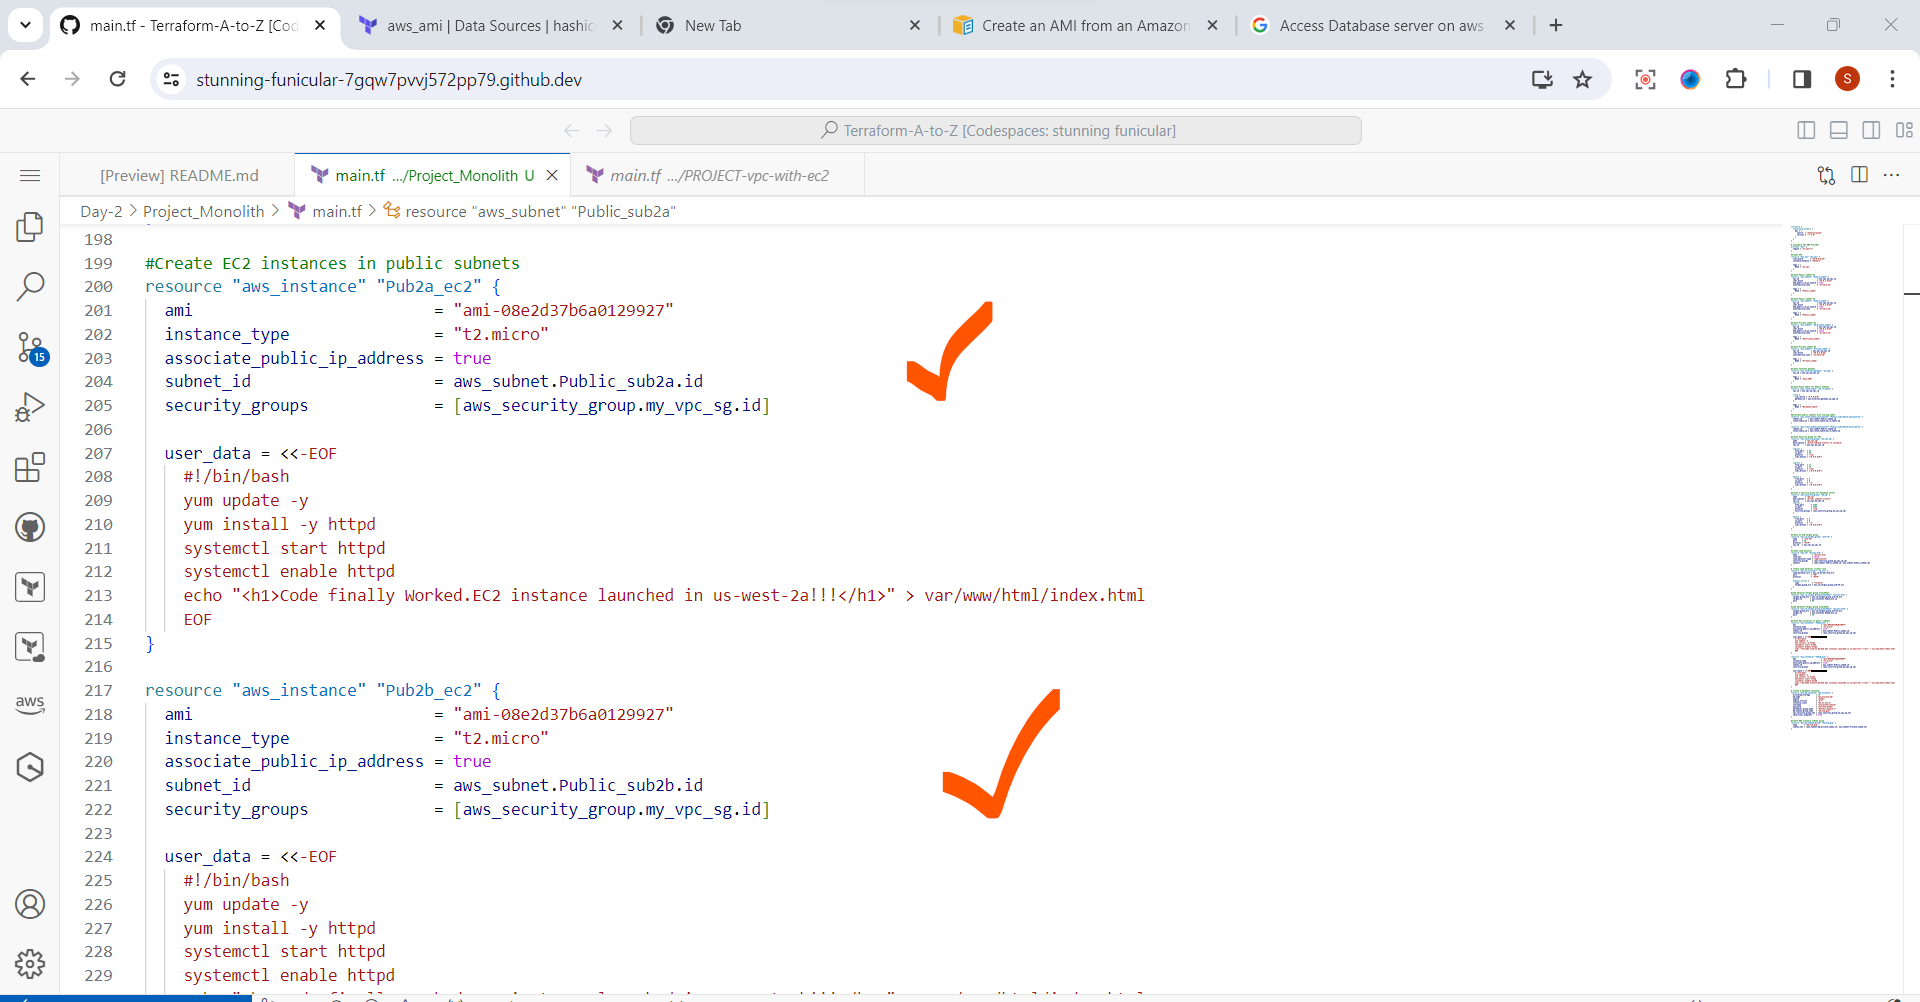
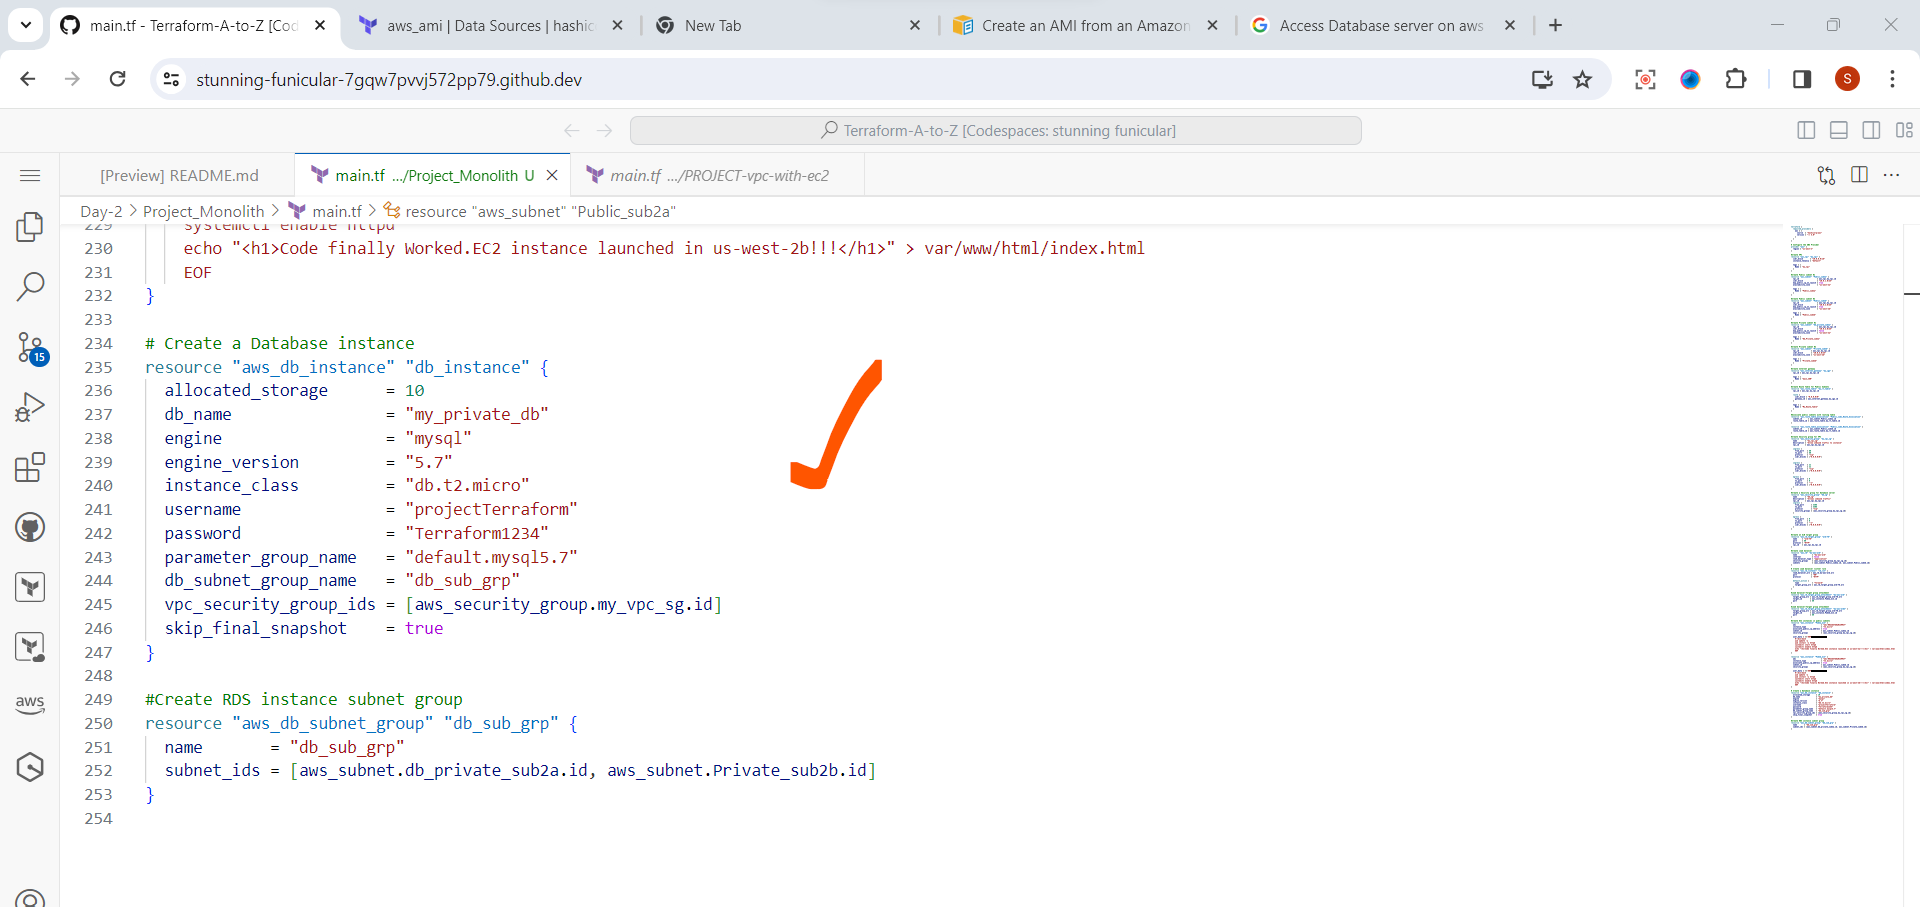
Step 10: Create ec2 instances and database instance
Now we will create the ec2 and database instances and also do some bootstrapping in our ec2 instances, Let's declare aws_instanceresource:
Here we’ve specified Ubuntu 18.04 AMI id in the us-west-2 region, set instance size to the smallest available – t2.micro, and set the SSH key name. If you don’t have it yet, please, create or upload one here: https://console.aws.amazon.com/ec2/v2/home?region=us-east-1#KeyPairs:sort=keyName.
We’ve also launched our instance in just created Public Subnet and protected it with our Security Group.
To allow connection from the outside world, we also asked AWS to attach a temporary Public IP address to our instance by setting the associate_public_ip_address option to true.
And the last thing we need to add to the .tf file is the output resource, which will print us our instance Public IP address:
- Database Instance
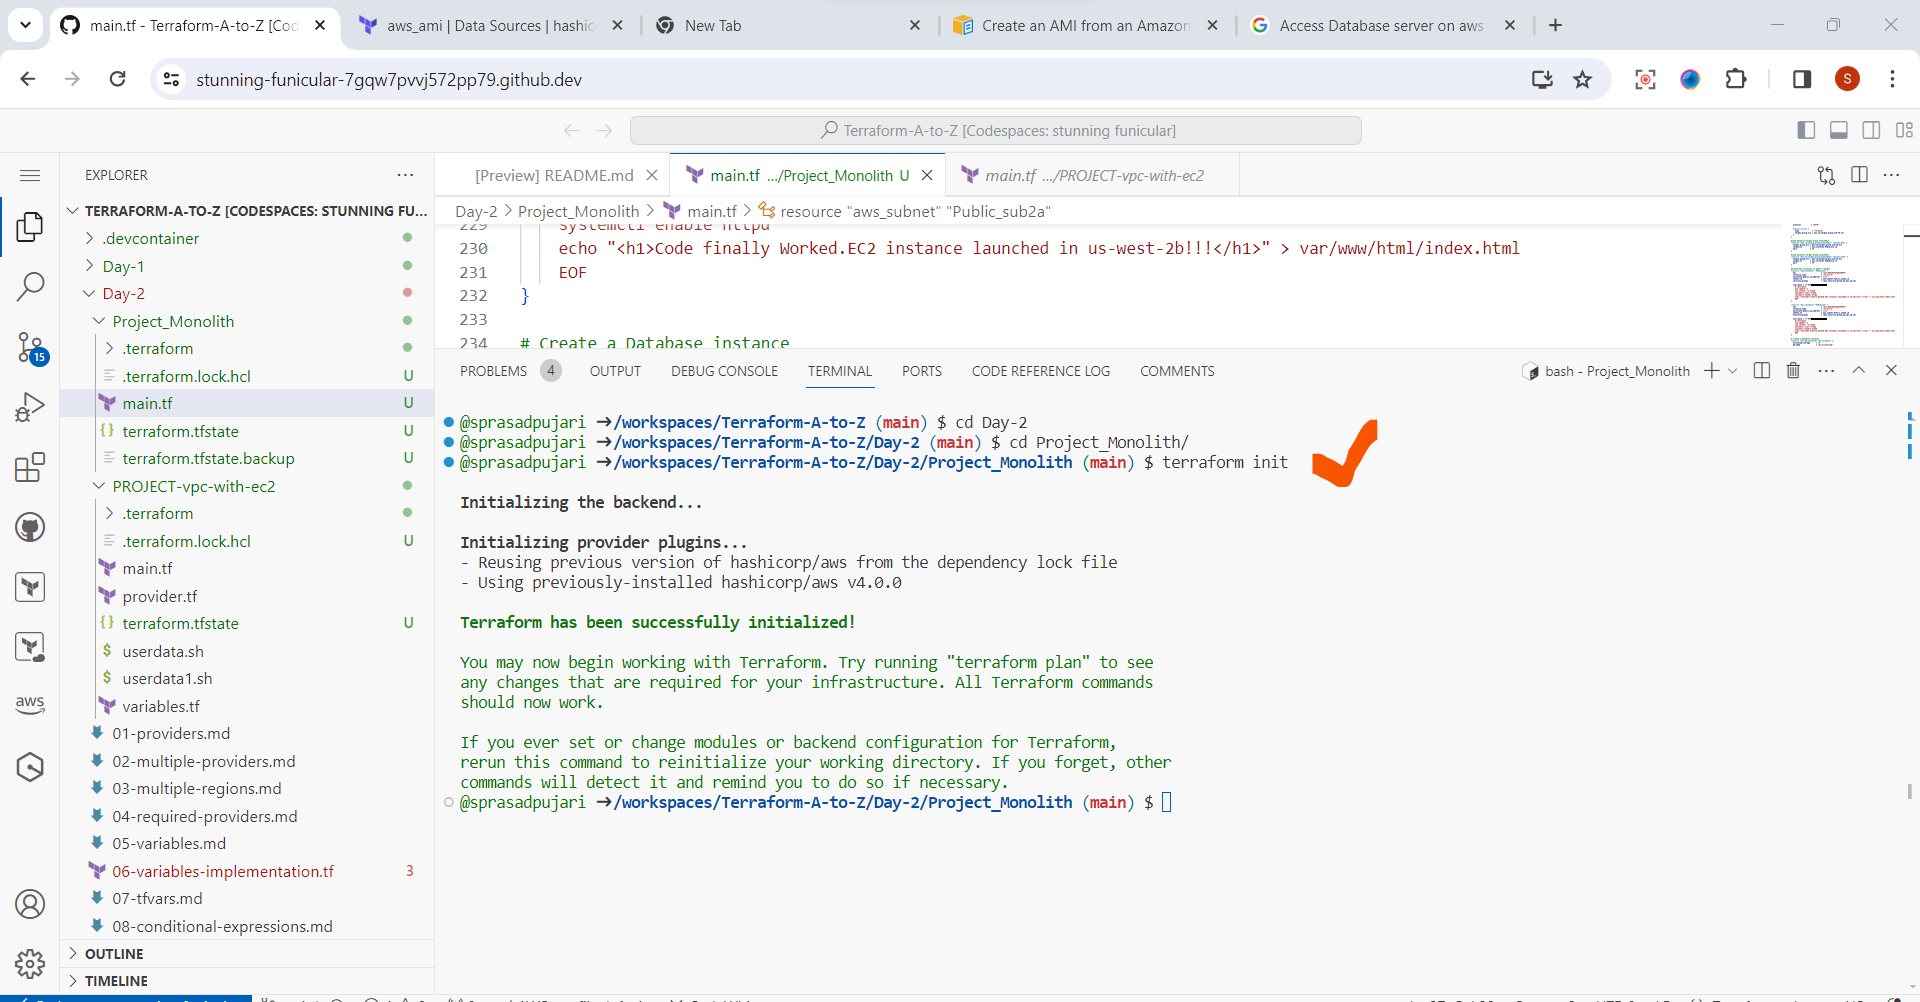
Step 11: Now Run Terraform command
Now the real fun starts. The first code we would run is seen below
terraform init
This command prepares the current working directory for terraform to run the configuration
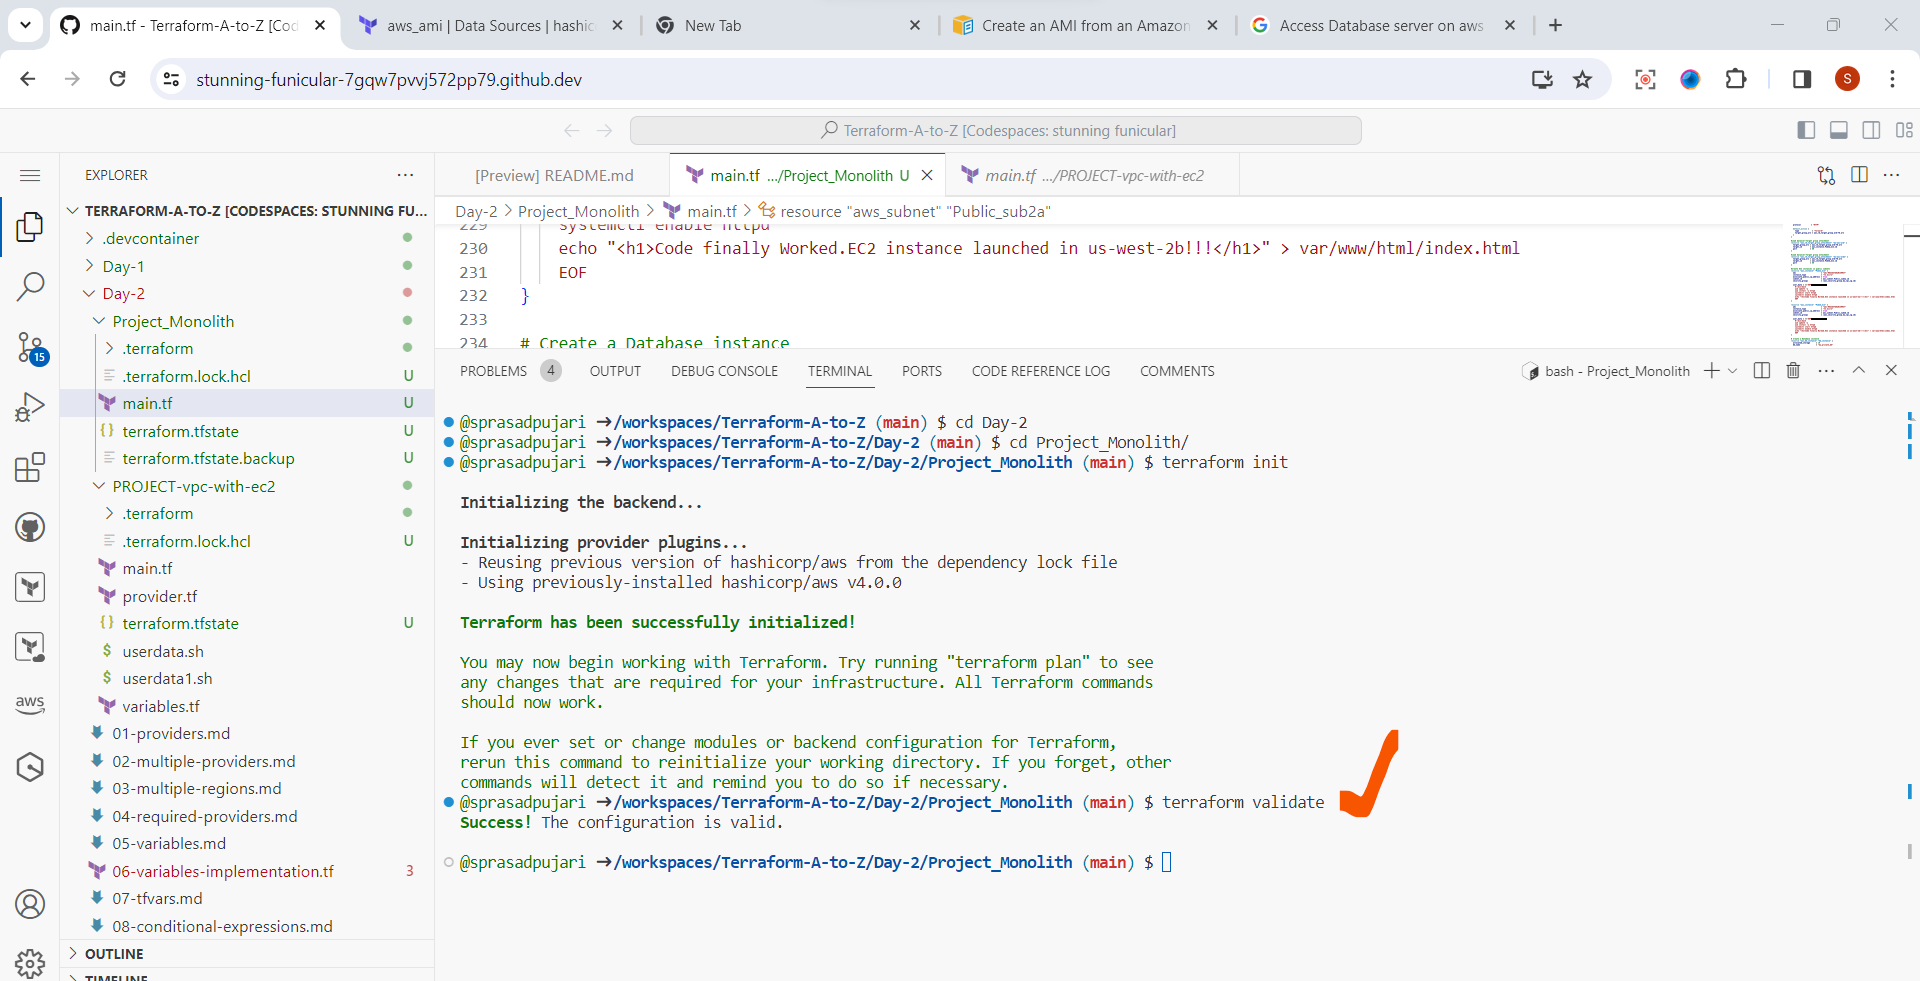
Once it is done ,we need to run below command .
terraform validate
The code is literally a lifesaver as it validates your configuration, pointing out any errors or unspecified attributes in your resource blocks. I got that so many times after running the code severally. Now our configuration is super valid
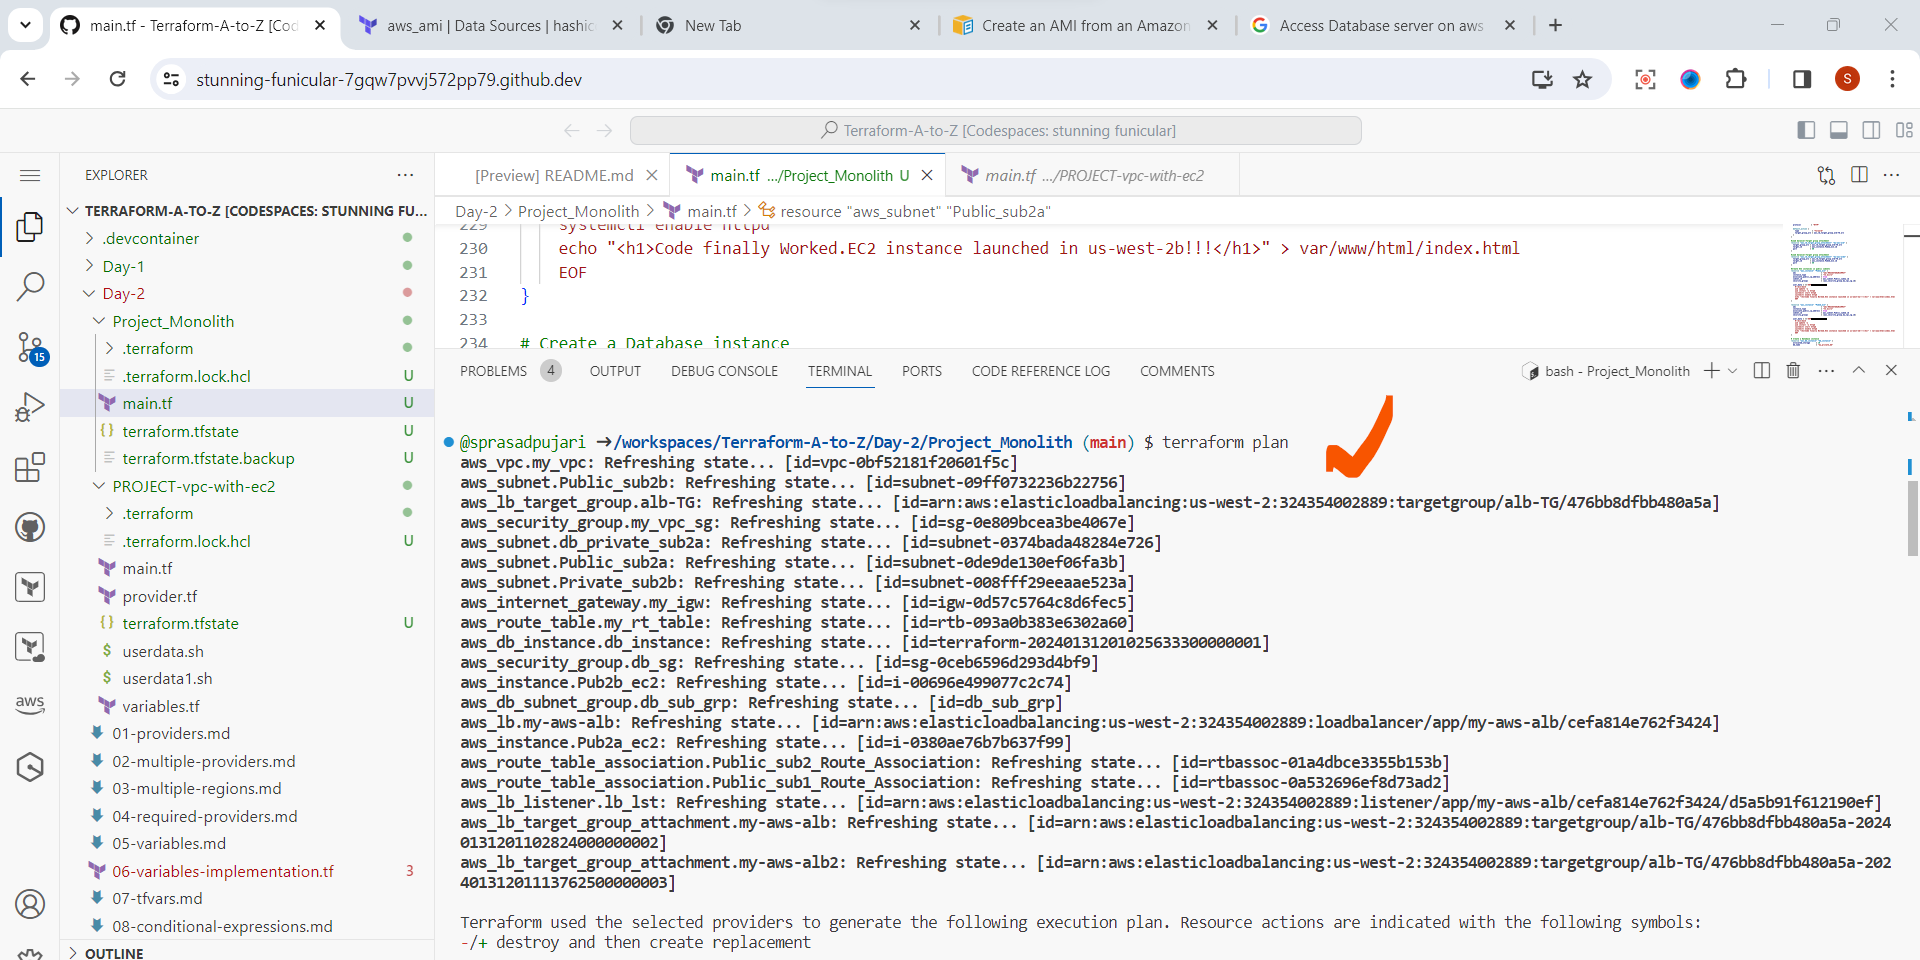
After that, we will run
terraform plan
This basically shows a plan for every resource that is to be executed/deployed. It allows you to review the plan before executing the configuration
Then finally
terraform apply
This takes action on the terraform configuration to create the resources

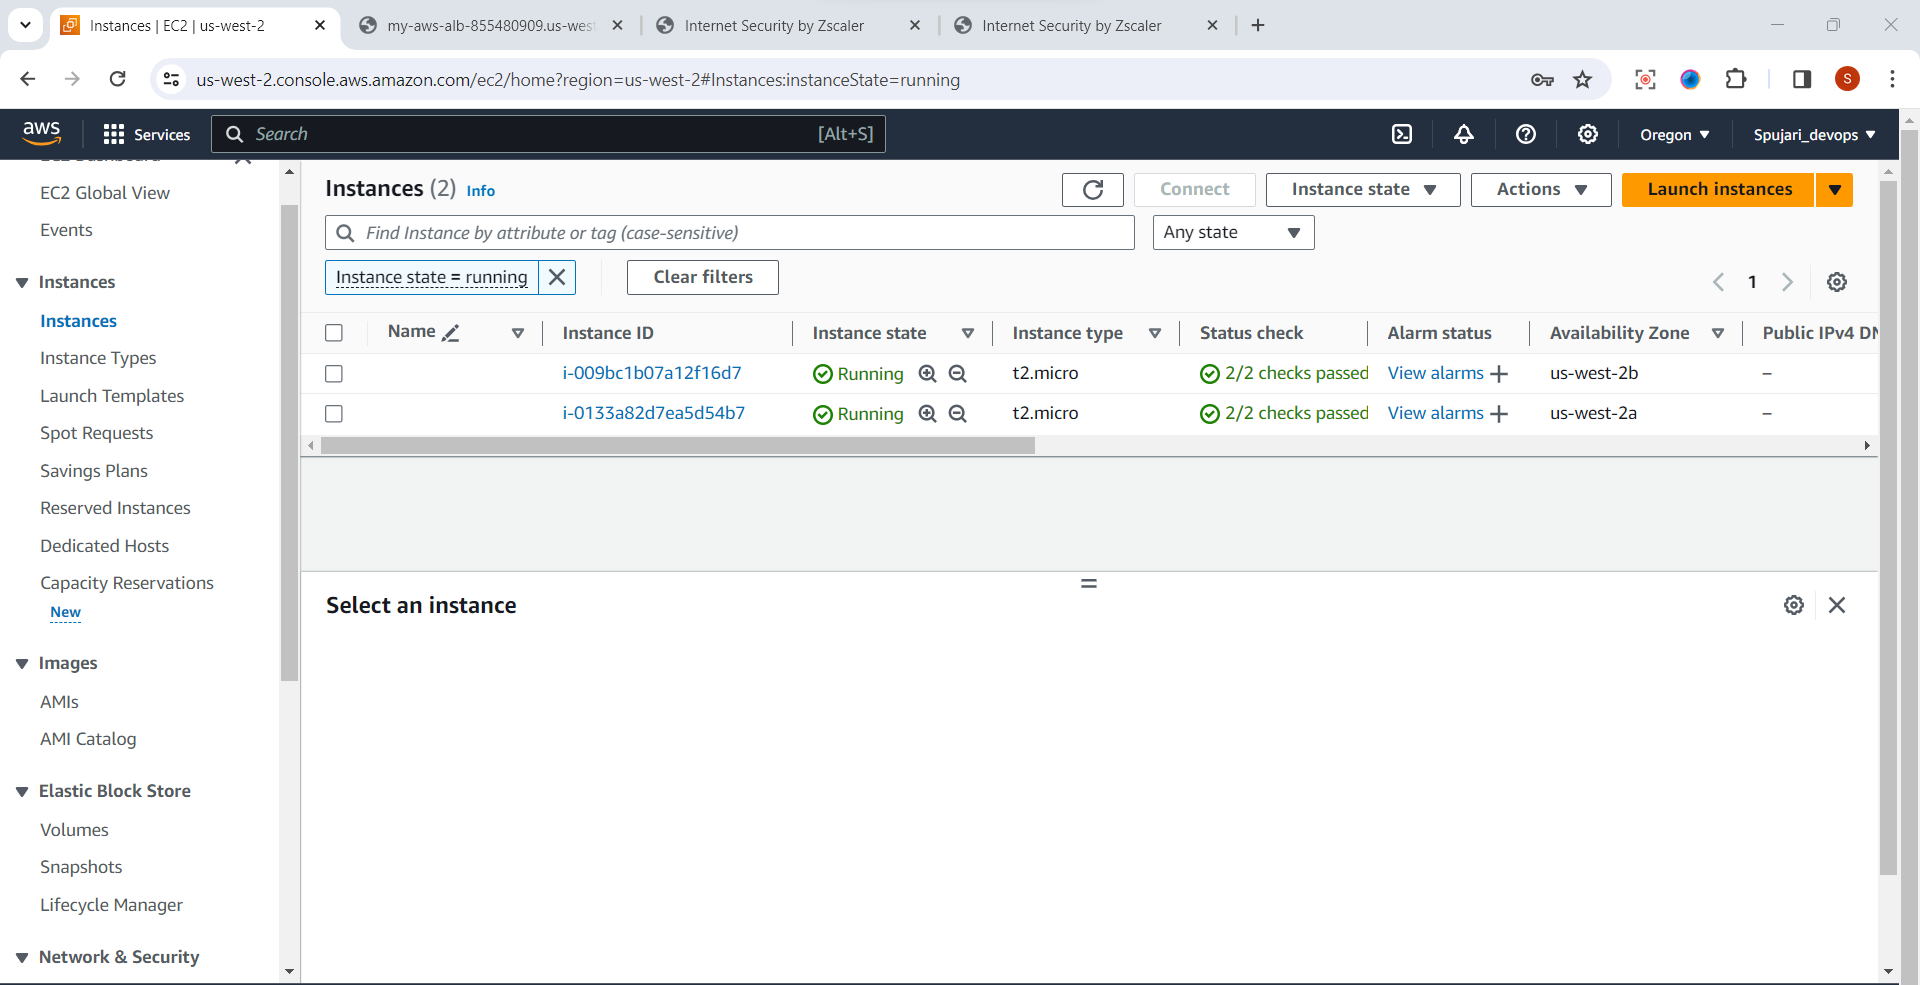
Step 12:Let’s navigate to the AWS console to see what we spun up.
EC2 Instance
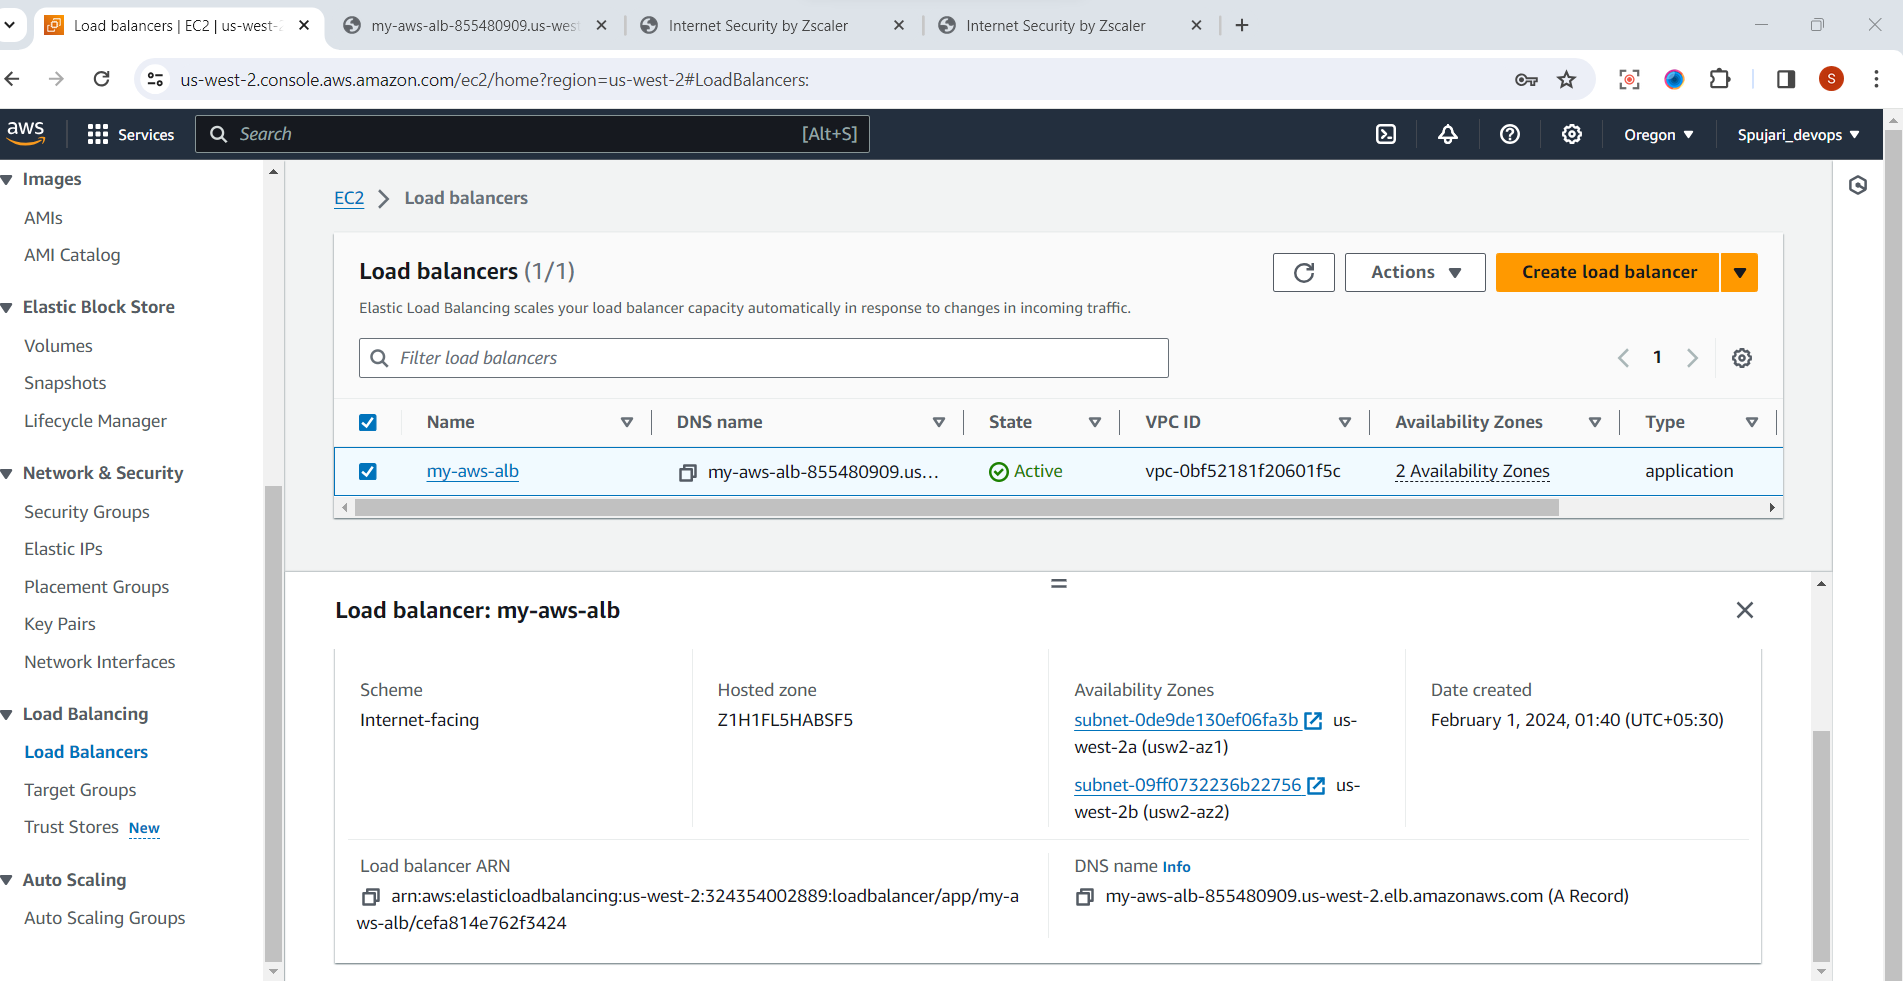
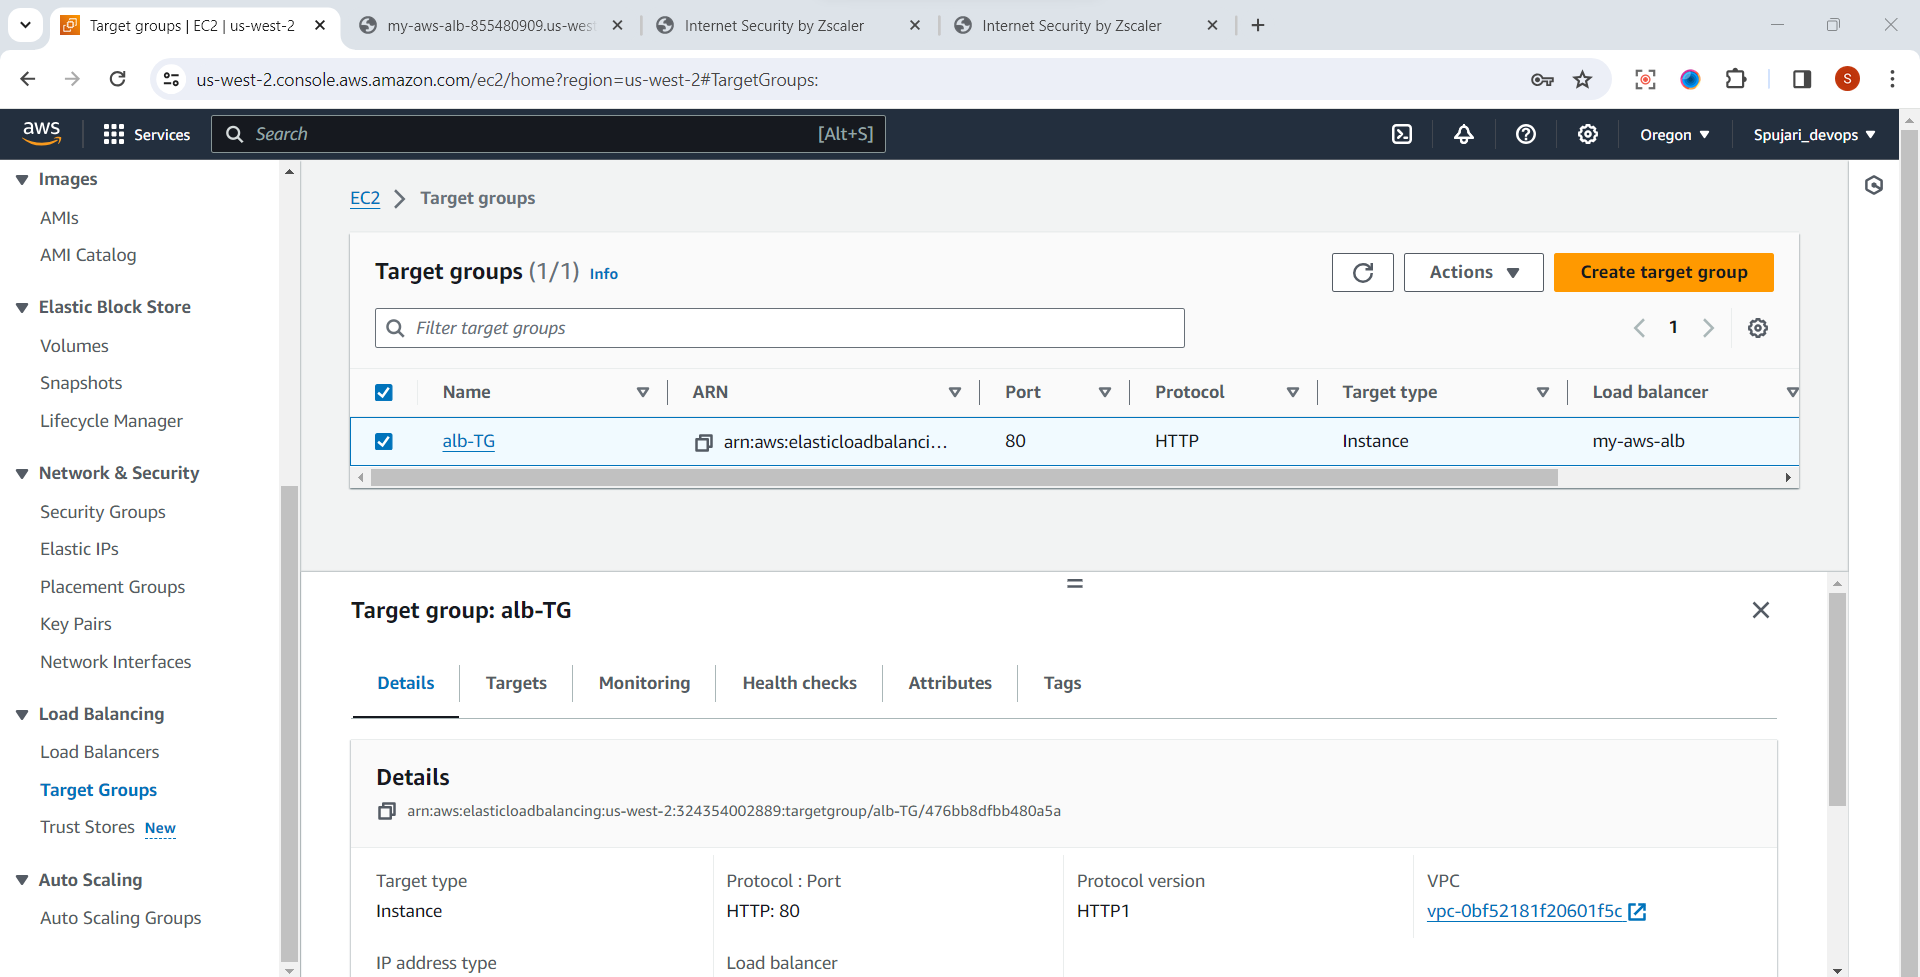
Load Balancer and target group
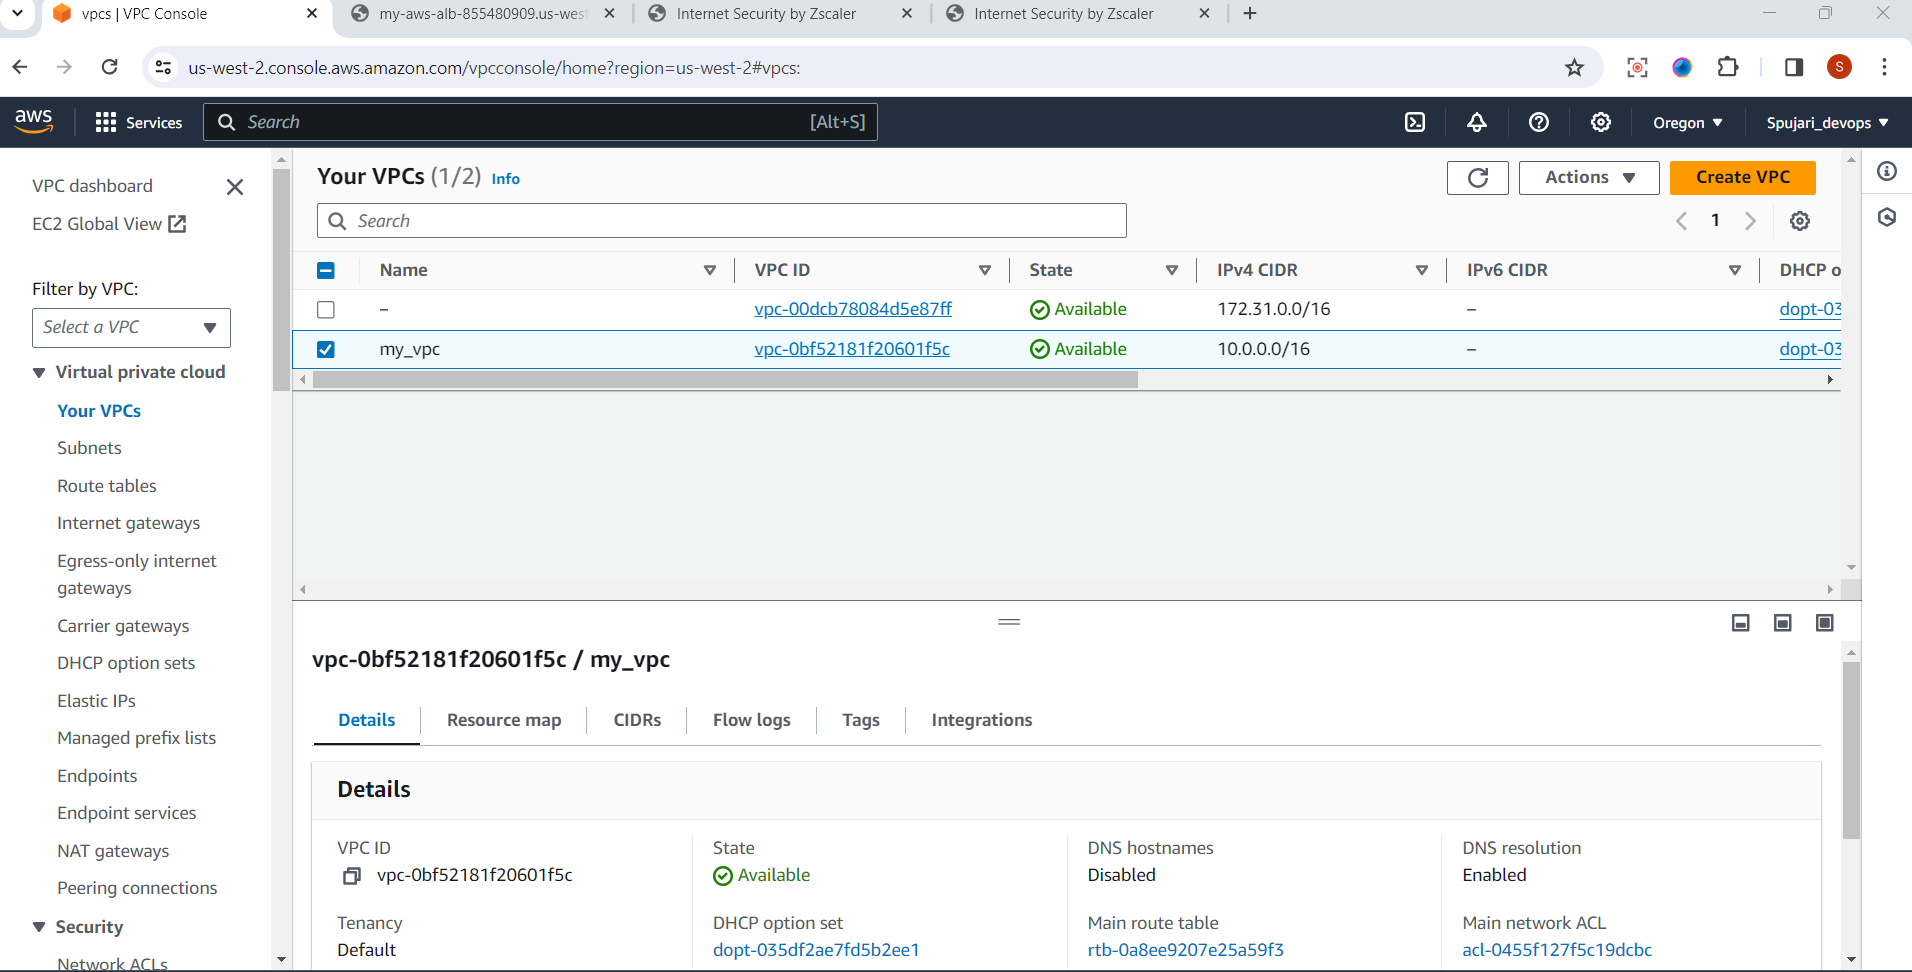
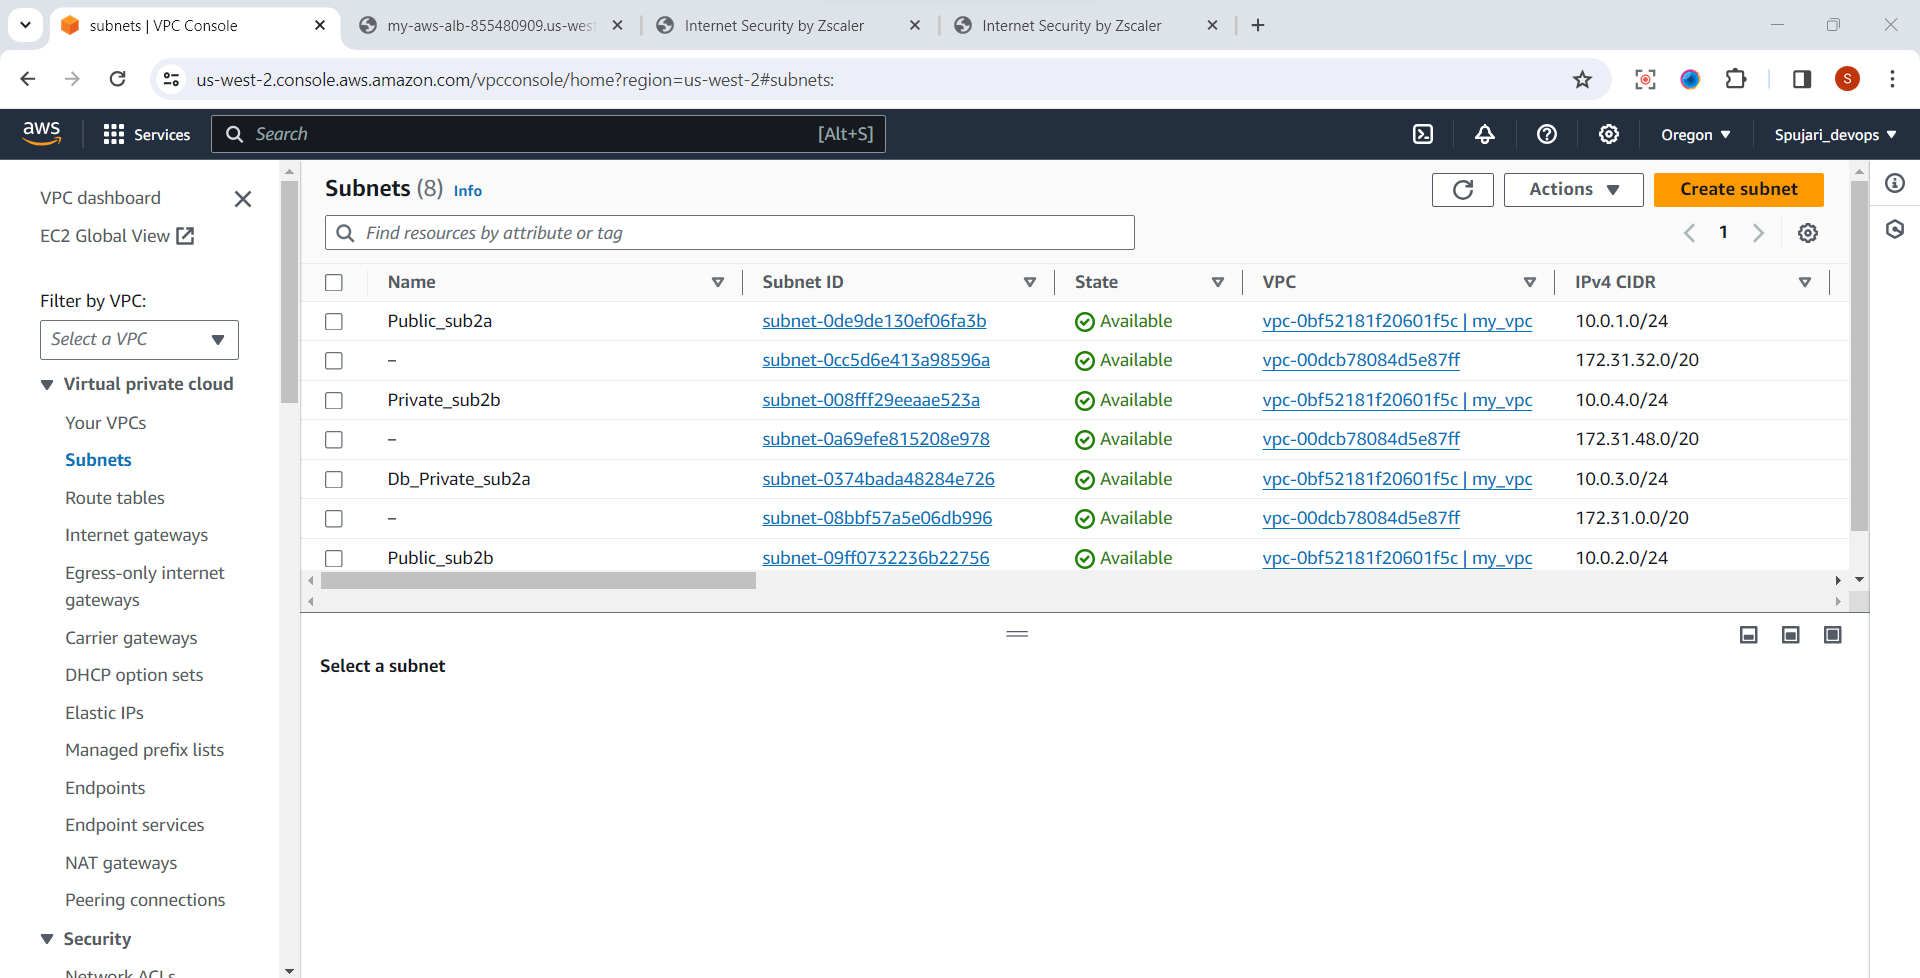
VPC and Subnets
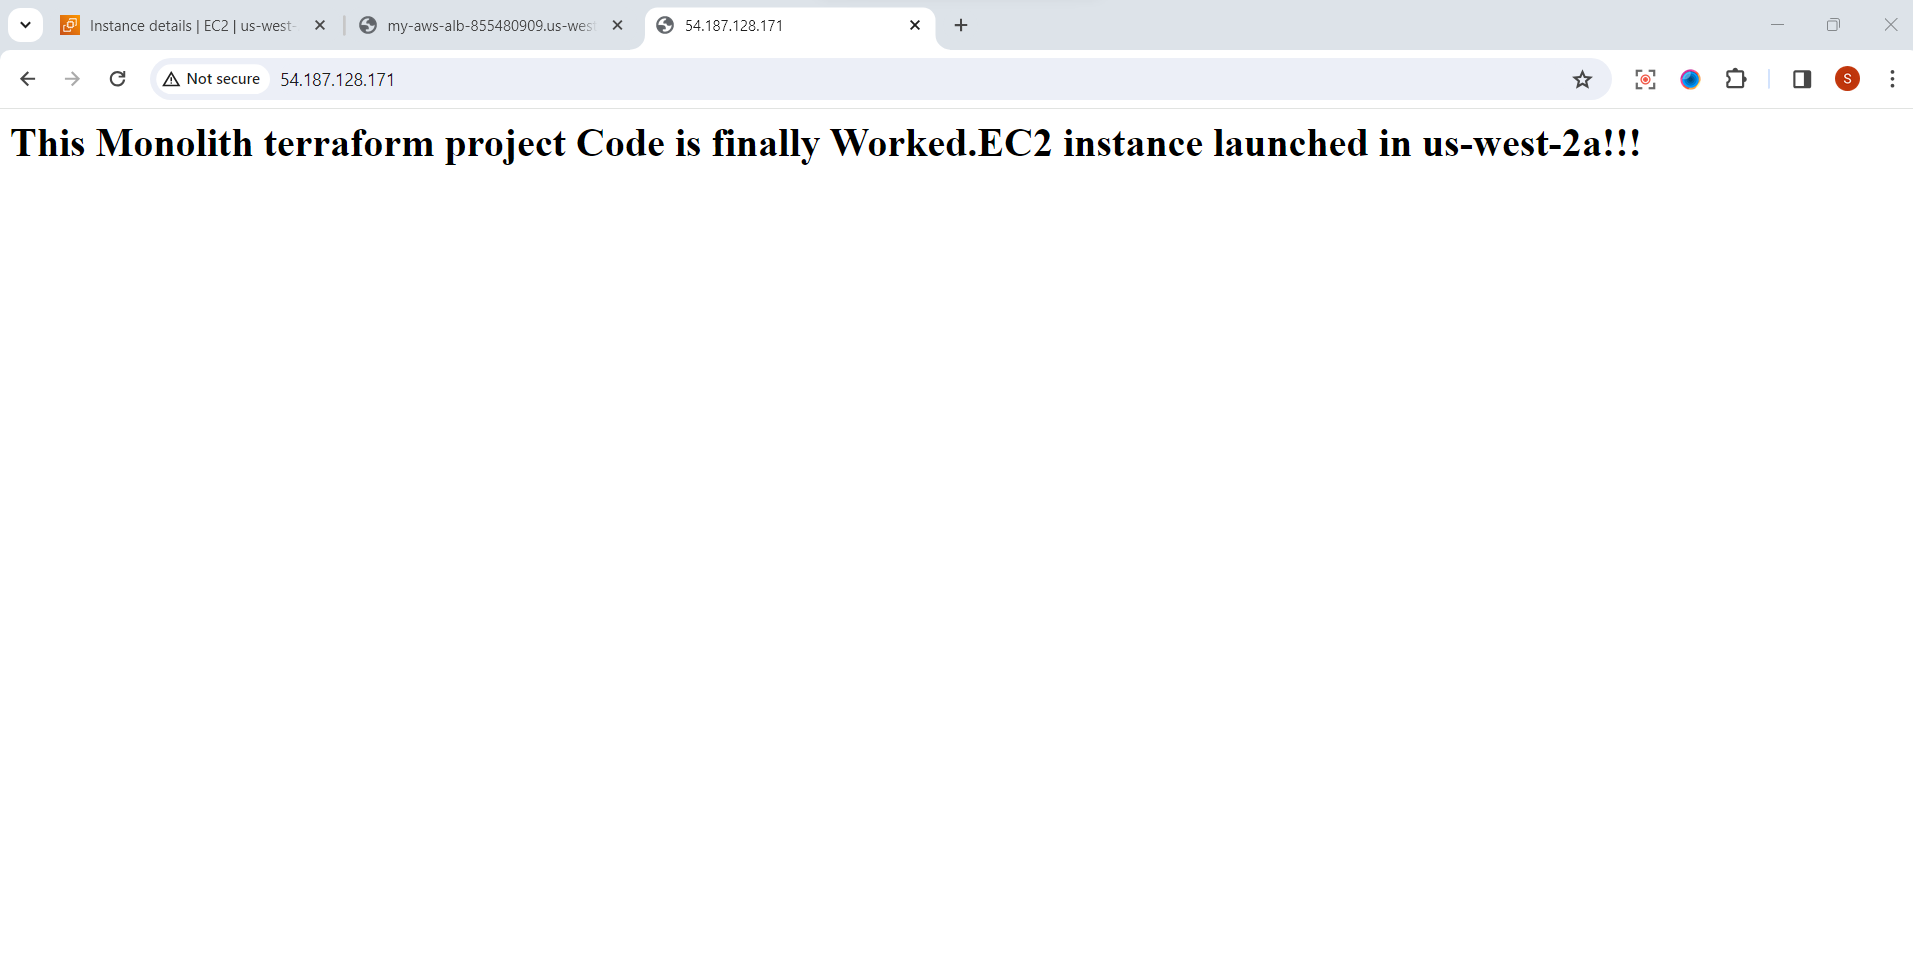
Copy EC2 instance public Ip and paste it into browser ,and see the our Static website is deployed successfully.
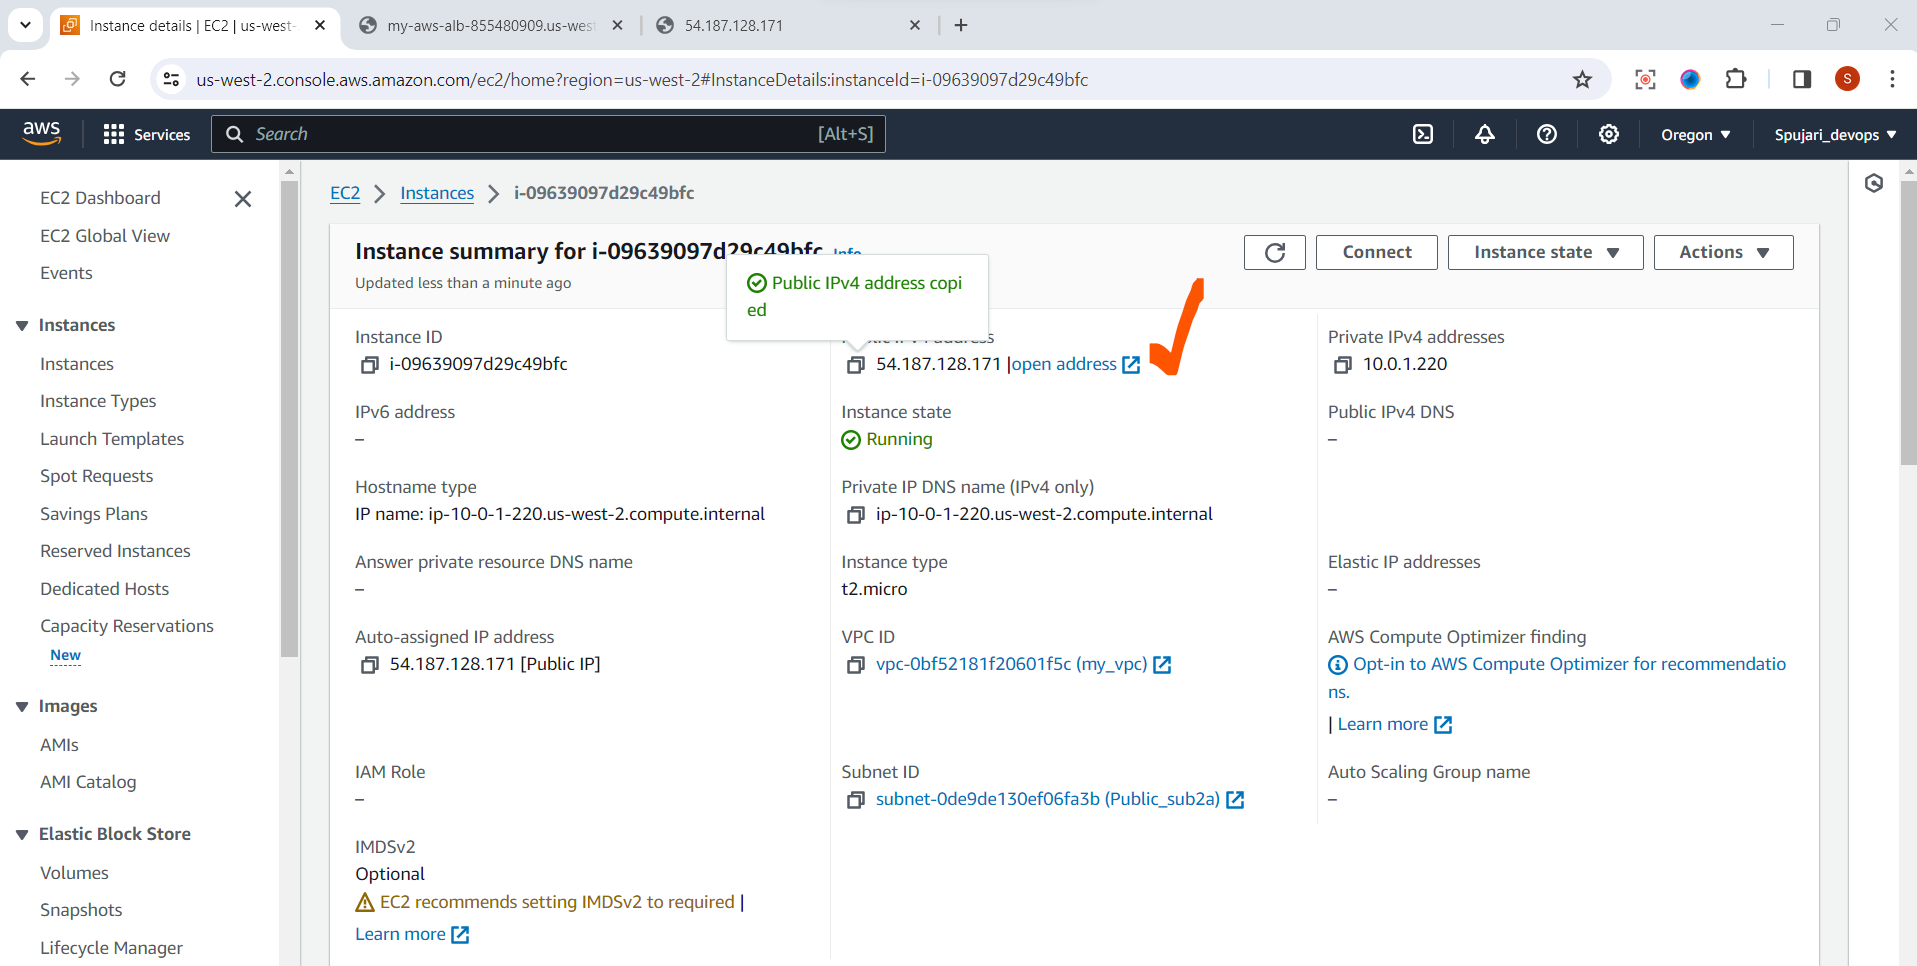
Paste it in browser
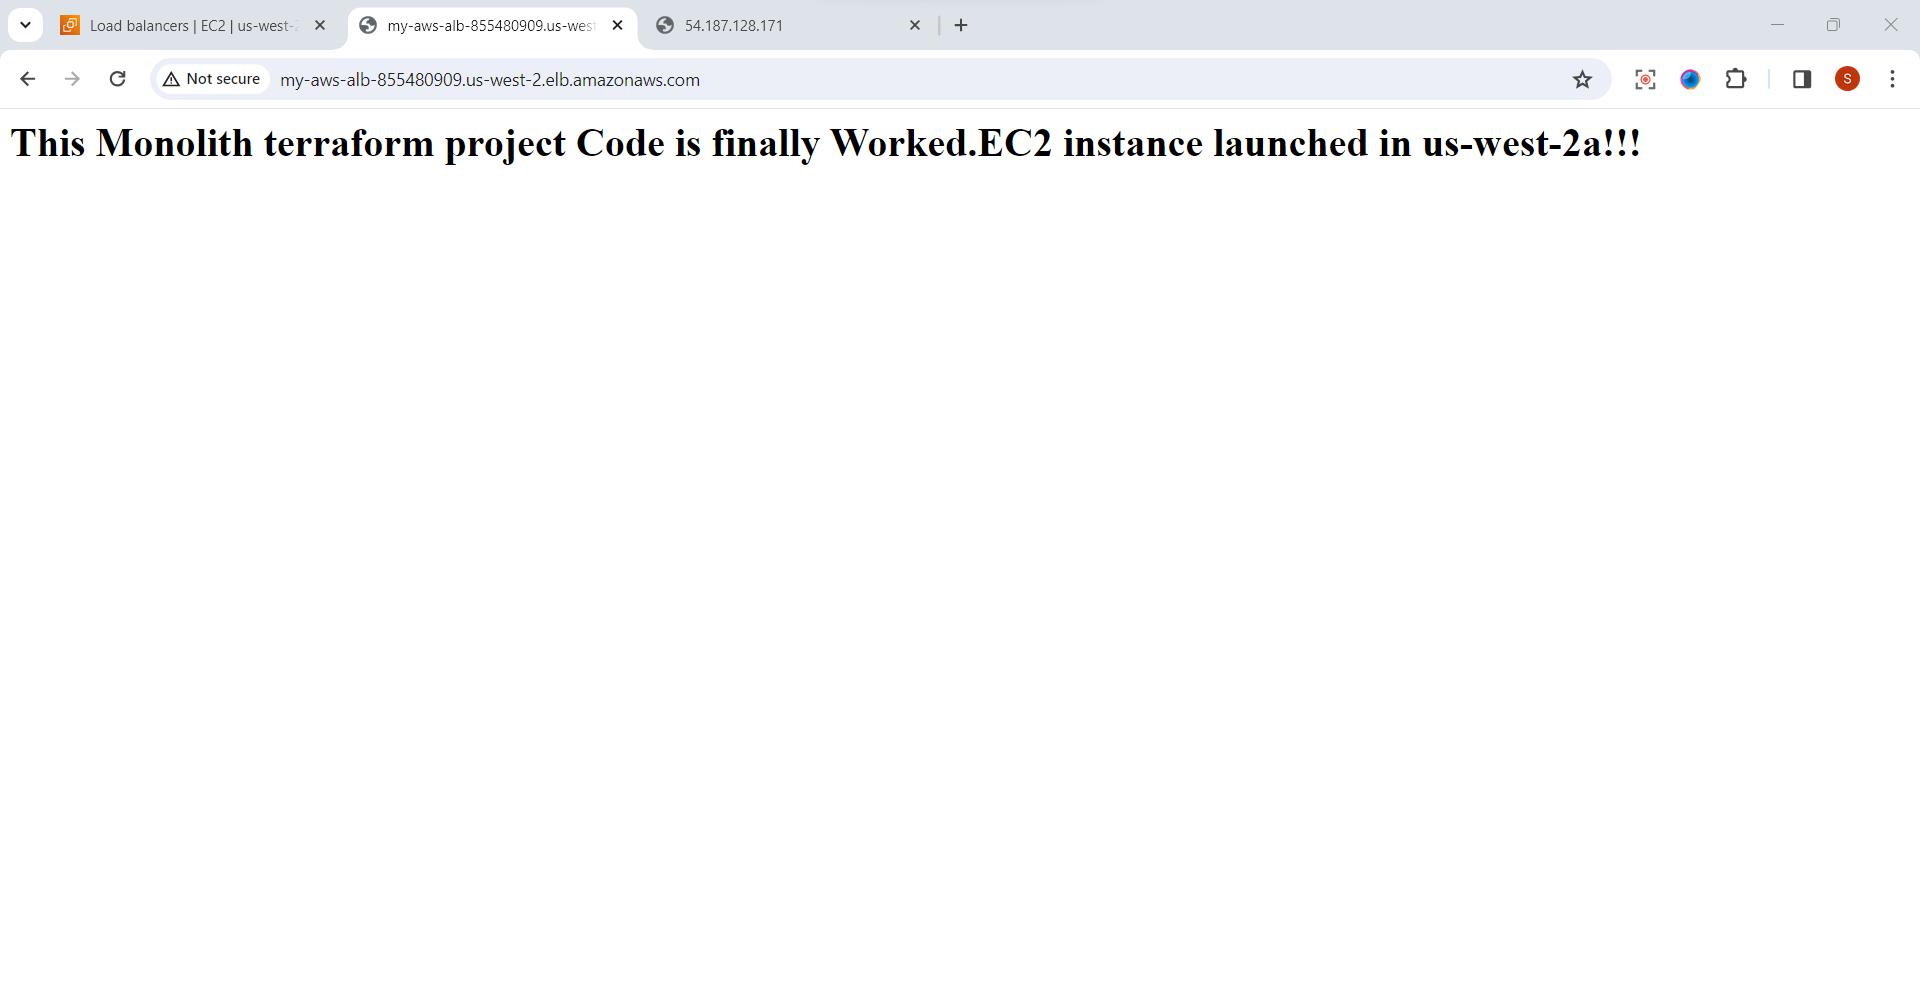
Copy DNS name from load balancer
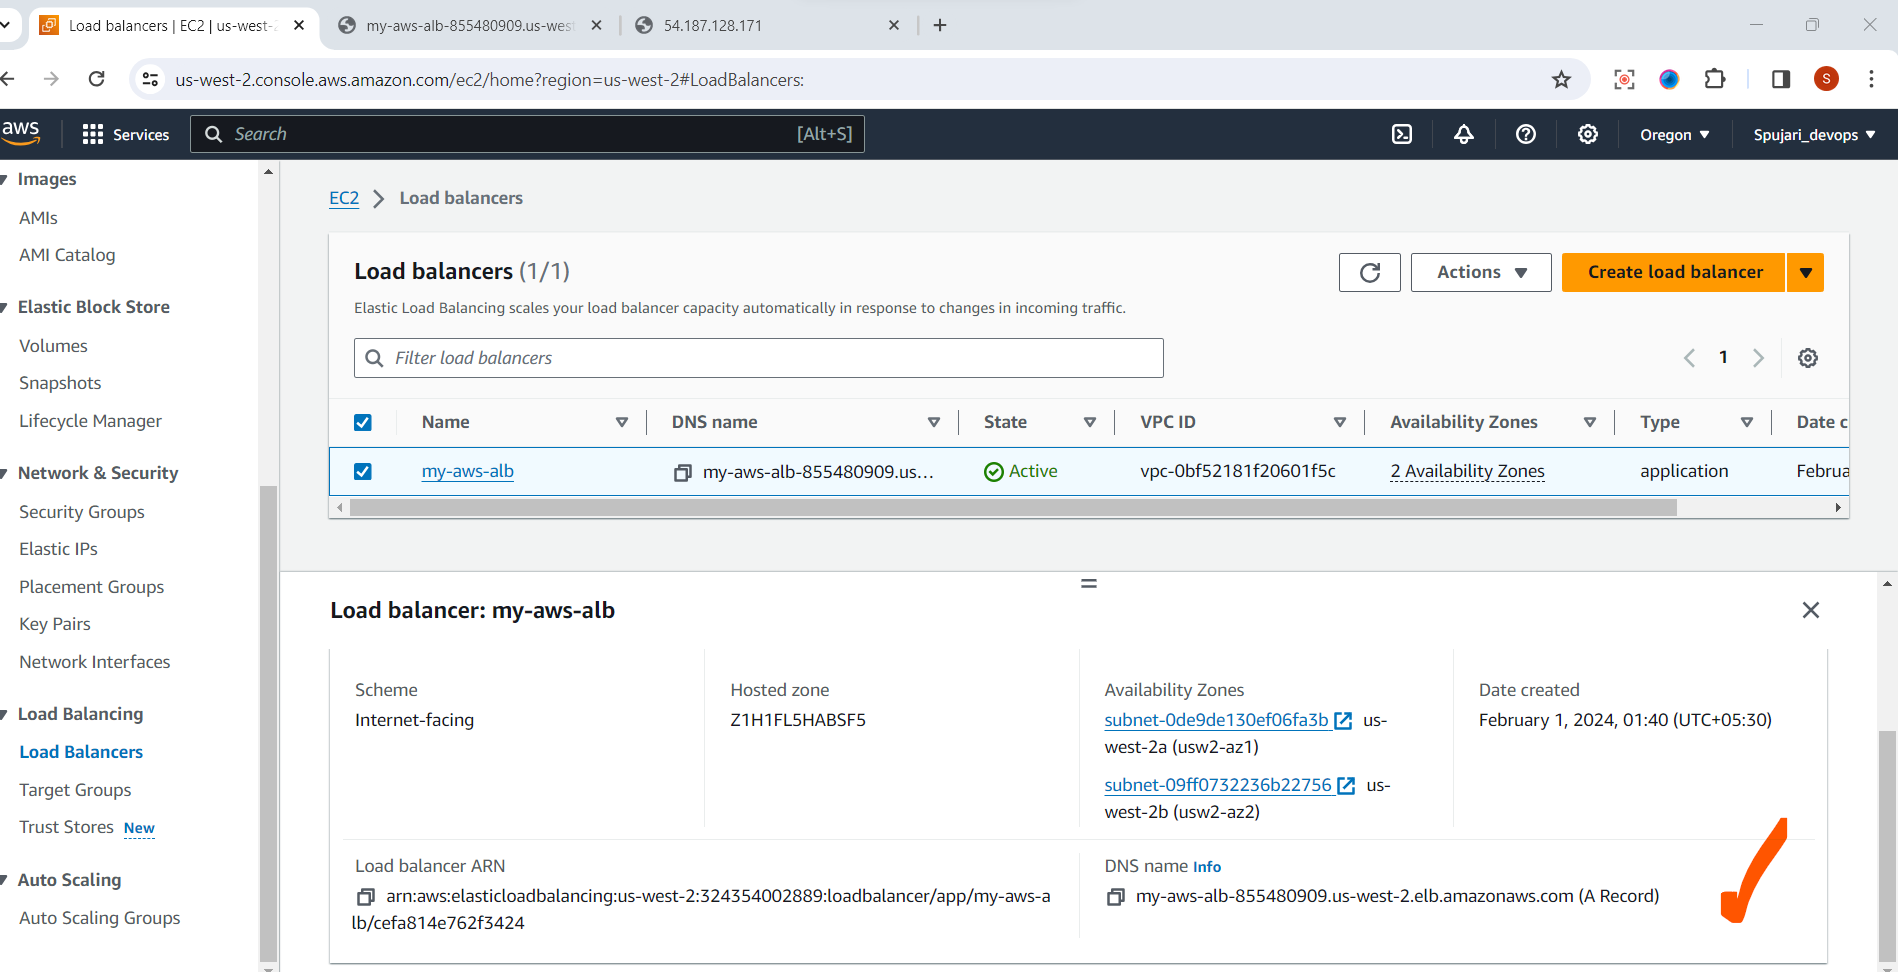
Paste it in browser
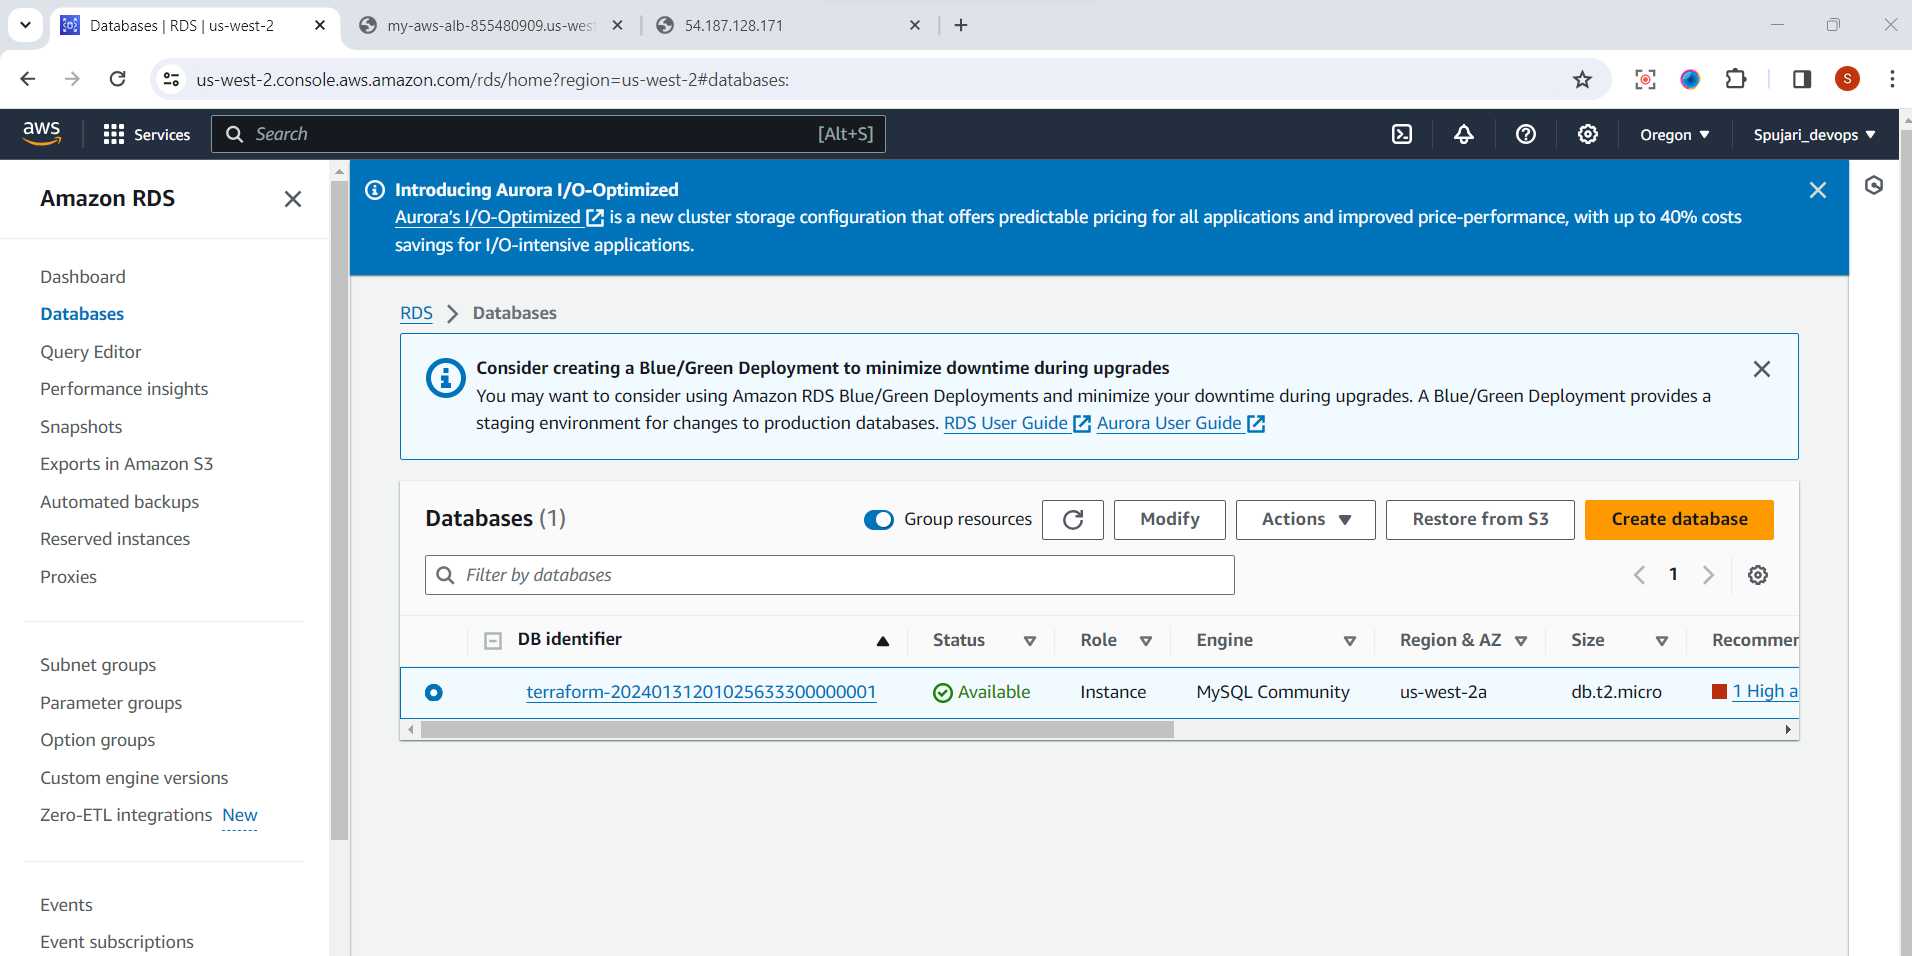
RDS MYSQL instance
Go to AWS console -->Search RDS -Click on Database-and See Database instance is created successfully
Before we wrap this up, we will run one more code
terraform fmt
This basically rewrites the configuration to a format and style for readability and consistency.
Finally, we will have to take down everything we have created using the command below
terraform destroy
This guide takes you through creating a basic AWS infrastructure using Terraform. Feel free to customize the configurations based on your specific requirements. Happy deploying!
If this post was helpful, please do follow and click the like button below to show your support .
- Thank you for reading💚
Best Regards,
Sprasad 🌐✨


